Life, with Clotted Cream
An ordinary life with a dusting of luxury.
Traditional South African Vetkoek

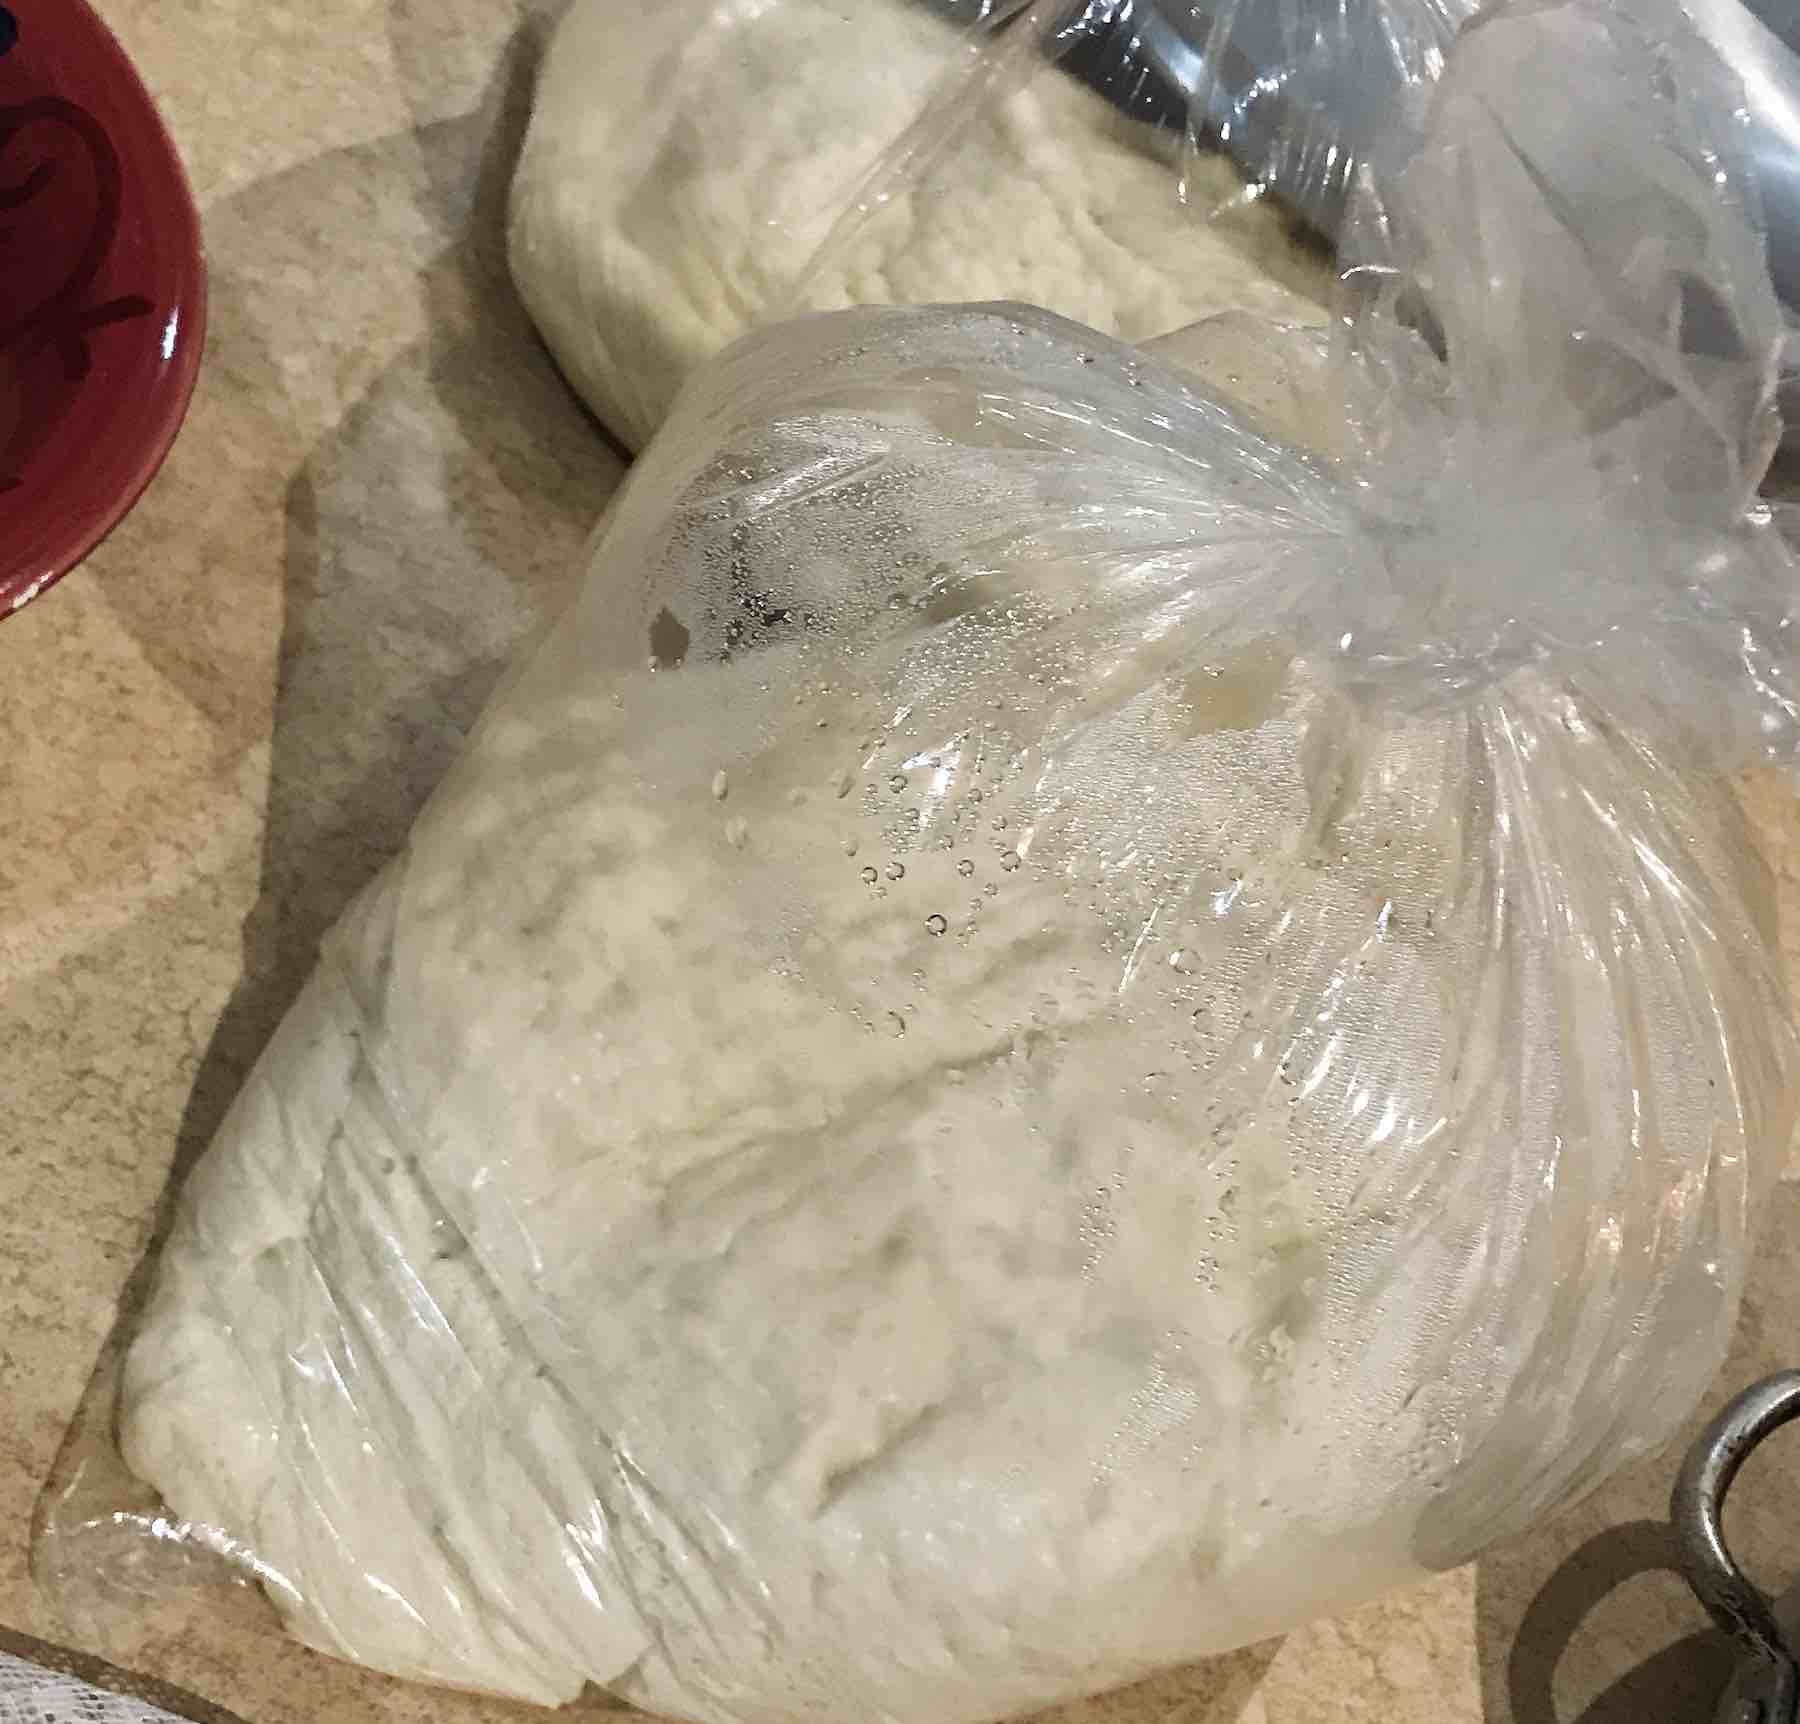
Friday nights are Vetkoek nights. In South Africa you can buy 1kg bags of ready-made bread dough from any bakery or supermarket especially for this purpose. Delectable little rounds of bread dough deep fried until golden on the outside and fluffy and soft on the inside… Perfect for a rainy Friday evening where you just want to have comfort food and a shiny face!
Vetkoek is South Africa’s answer to Street Food. You can eat it anywhere and any time of day and it is welcome at any occasion no matter how formal or informal. As a family we love to make vetkoek for packed lunch when we go on safari for a day or when we go on a road trip somewhere.
You can literally pile any toppings you want on it and it will still be perfect! I think there are as many variations on a vetkoek as there are households in South Africa – each with their own way of eating and toppings to suit their taste. We even eat soup with vetkoek instead of bread sometimes! Directly translated from Afrikaans to English vetkoek means fat cake and it is exactly as the name suggest: fatty filling and delicious!

Here in the UK we are not so lucky as to have bread dough ready made as they do in South Africa, however, it is probably just as simple to make as it is to drive to the shop and buying the dough.
How do I make vetkoek?
The process is very similar to baking bread. You make a dough, proof it, knock it back, proof again and fry instead of bake. There are two different ways of frying a vetkoek that will both result in two very different taste experiences.
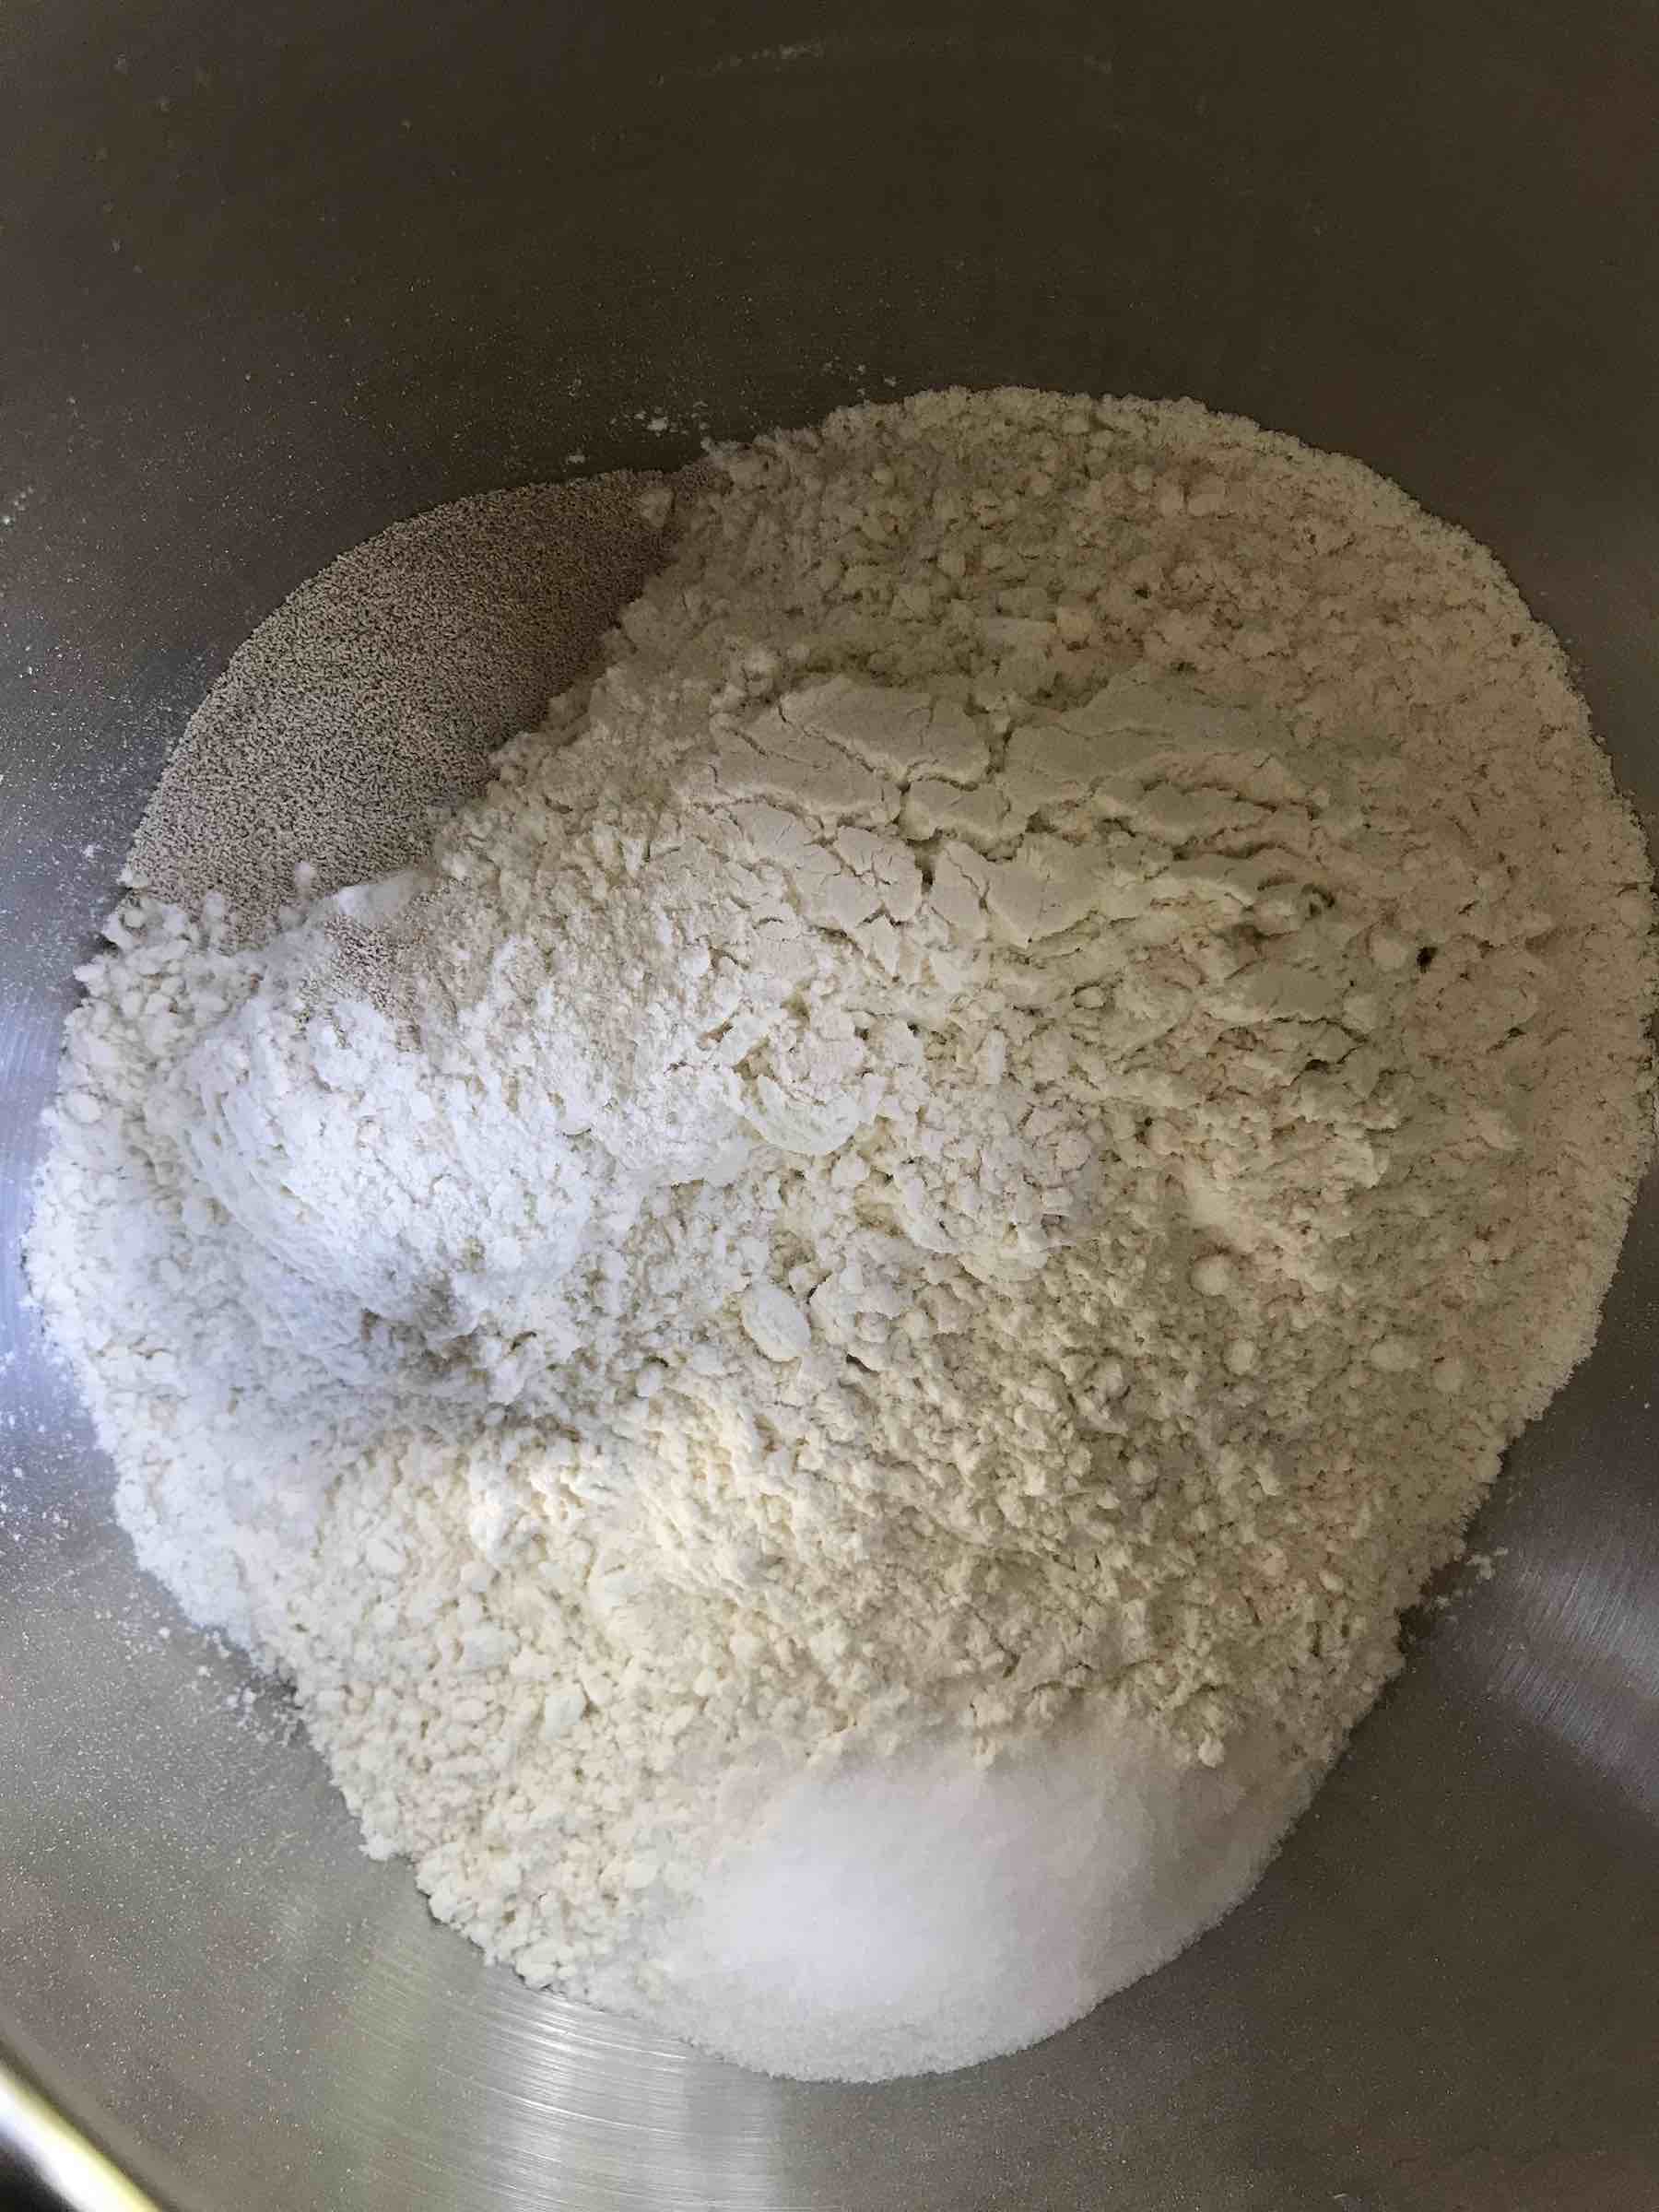
Dry ingredients
In a stand mixer (with dough hook attached) I first pop in the strong bread flour before putting the yeast on one side, the salt on the opposite side and the sugar in between. Although yeast does like sugar, it doesn’t like it in vast amounts, so it is best to keep them separated. I then switch the stand mixer to the lowest setting to enable the ingredients to gently combine without causing a puff of flour cloud in the air. Of course you can do this by hand as well. I prefer heaping the flour on a clean work surface before gently combining the ingredients gently by hand.
Water temperature
Yeast doesn’t activate when the water is too cold and if the water is too hot it kills the yeast so it is really important to get the correct temperature. Normally yeast will thrive in lukewarm water that is around 27 degrees Celsius. This can be fairly easily achieved by combining ⅔ boiling water and ⅓ iced water. This will give you the perfect yeast-growing water. I always ensure that I have at least 700ml of water ready for every 1 kg of flour I intend to use even if I don’t use it all, I can always use it somewhere else later!
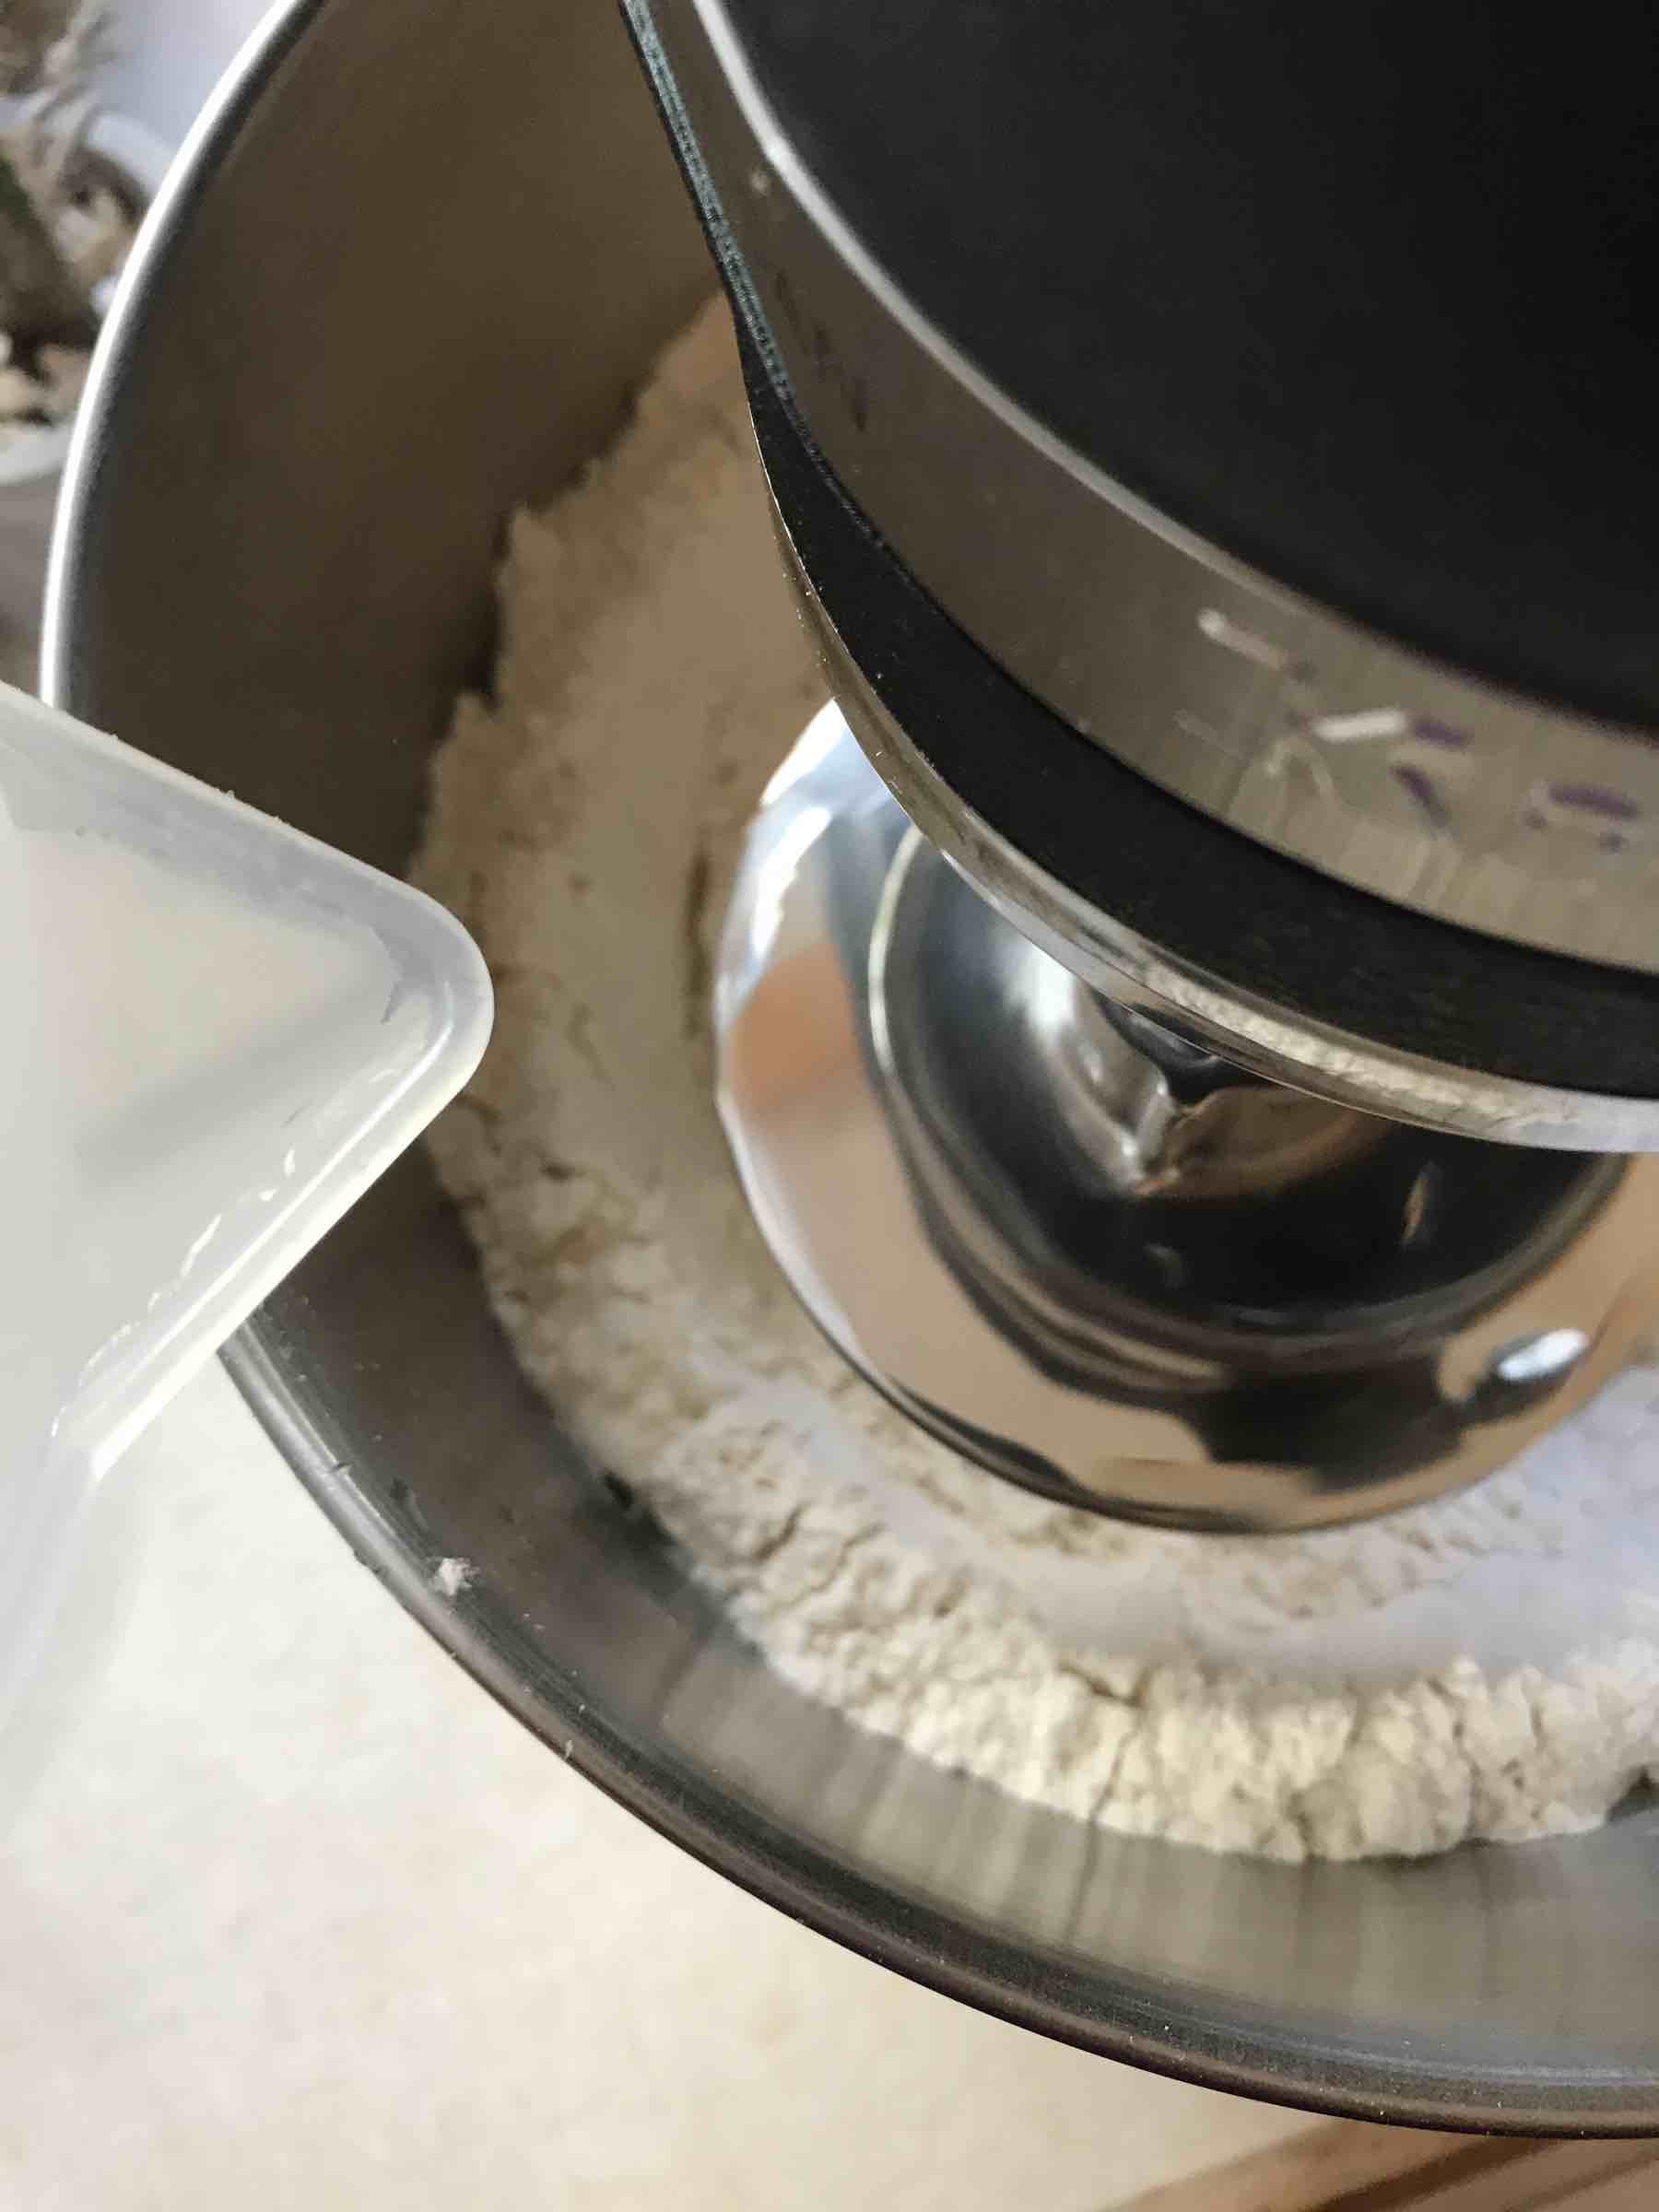
Mixing it up
Whilst the stand mixer is on a low speed slowly add in the water bit by bit. Depending on the humidity, you may want to either increase or decrease the water to ensure you have a fairly stiff dough. Vetkoek shouldn’t be a very soft dough since you are frying it, it shouldn’t contain an excessive amount of water. For this batch I felt that 600ml was just right since it was a rainy day and the humidity was very high. As soon as the dough starts to come together, I pour in two tablespoons of oil. I find that this helps to keep the dough supple and ensures it doesn’t stick to the bowl. Turn the mixer up to a medium speed and knead the dough until it comes away from the sides and the bowl is clean.
If you are doing this by hand, make a well in the middle and gently pour in at least 500 ml of water into the well. Either with a wooden spoon or your hand, work the water into the flour bit by bit. If you need more water then ensure to add it by the tablespoon to ensure you don’t pour too much in. Once a stiff dough has come together, add the oil. Knead by hand for about 10 or so minutes until the dough springs back when you push it in with your finger. It should no longer stick to your hands or the surface.
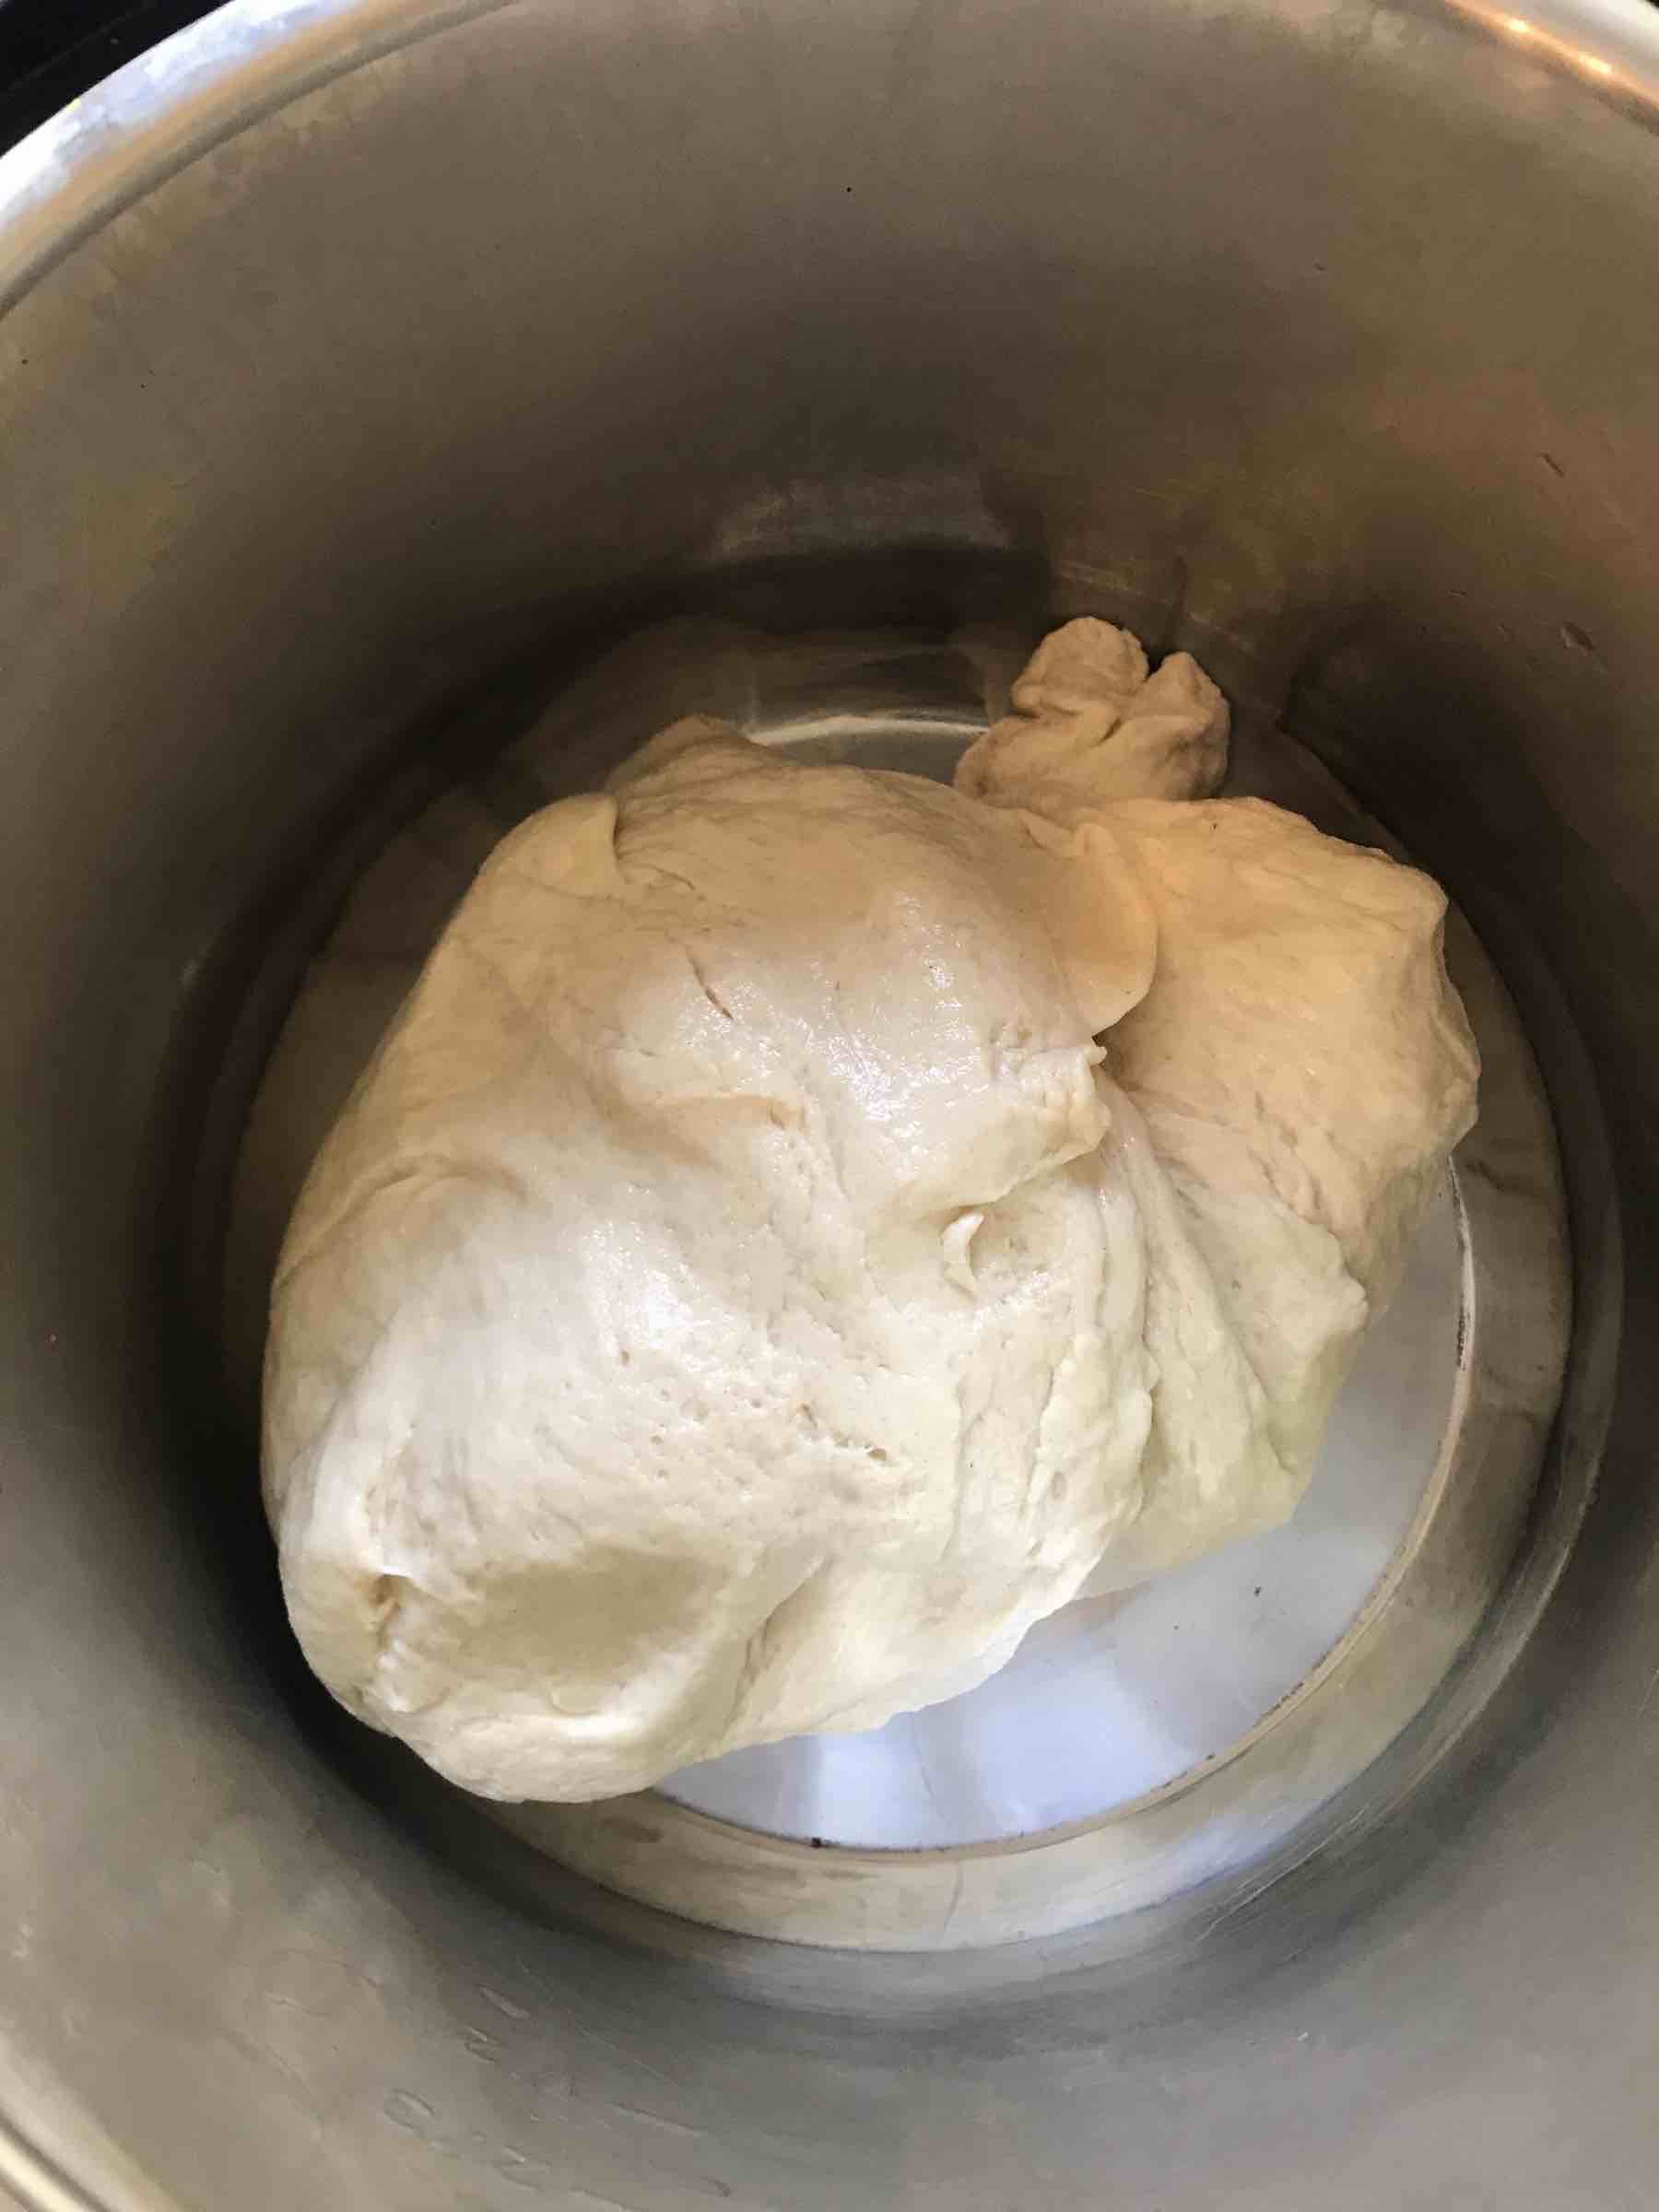
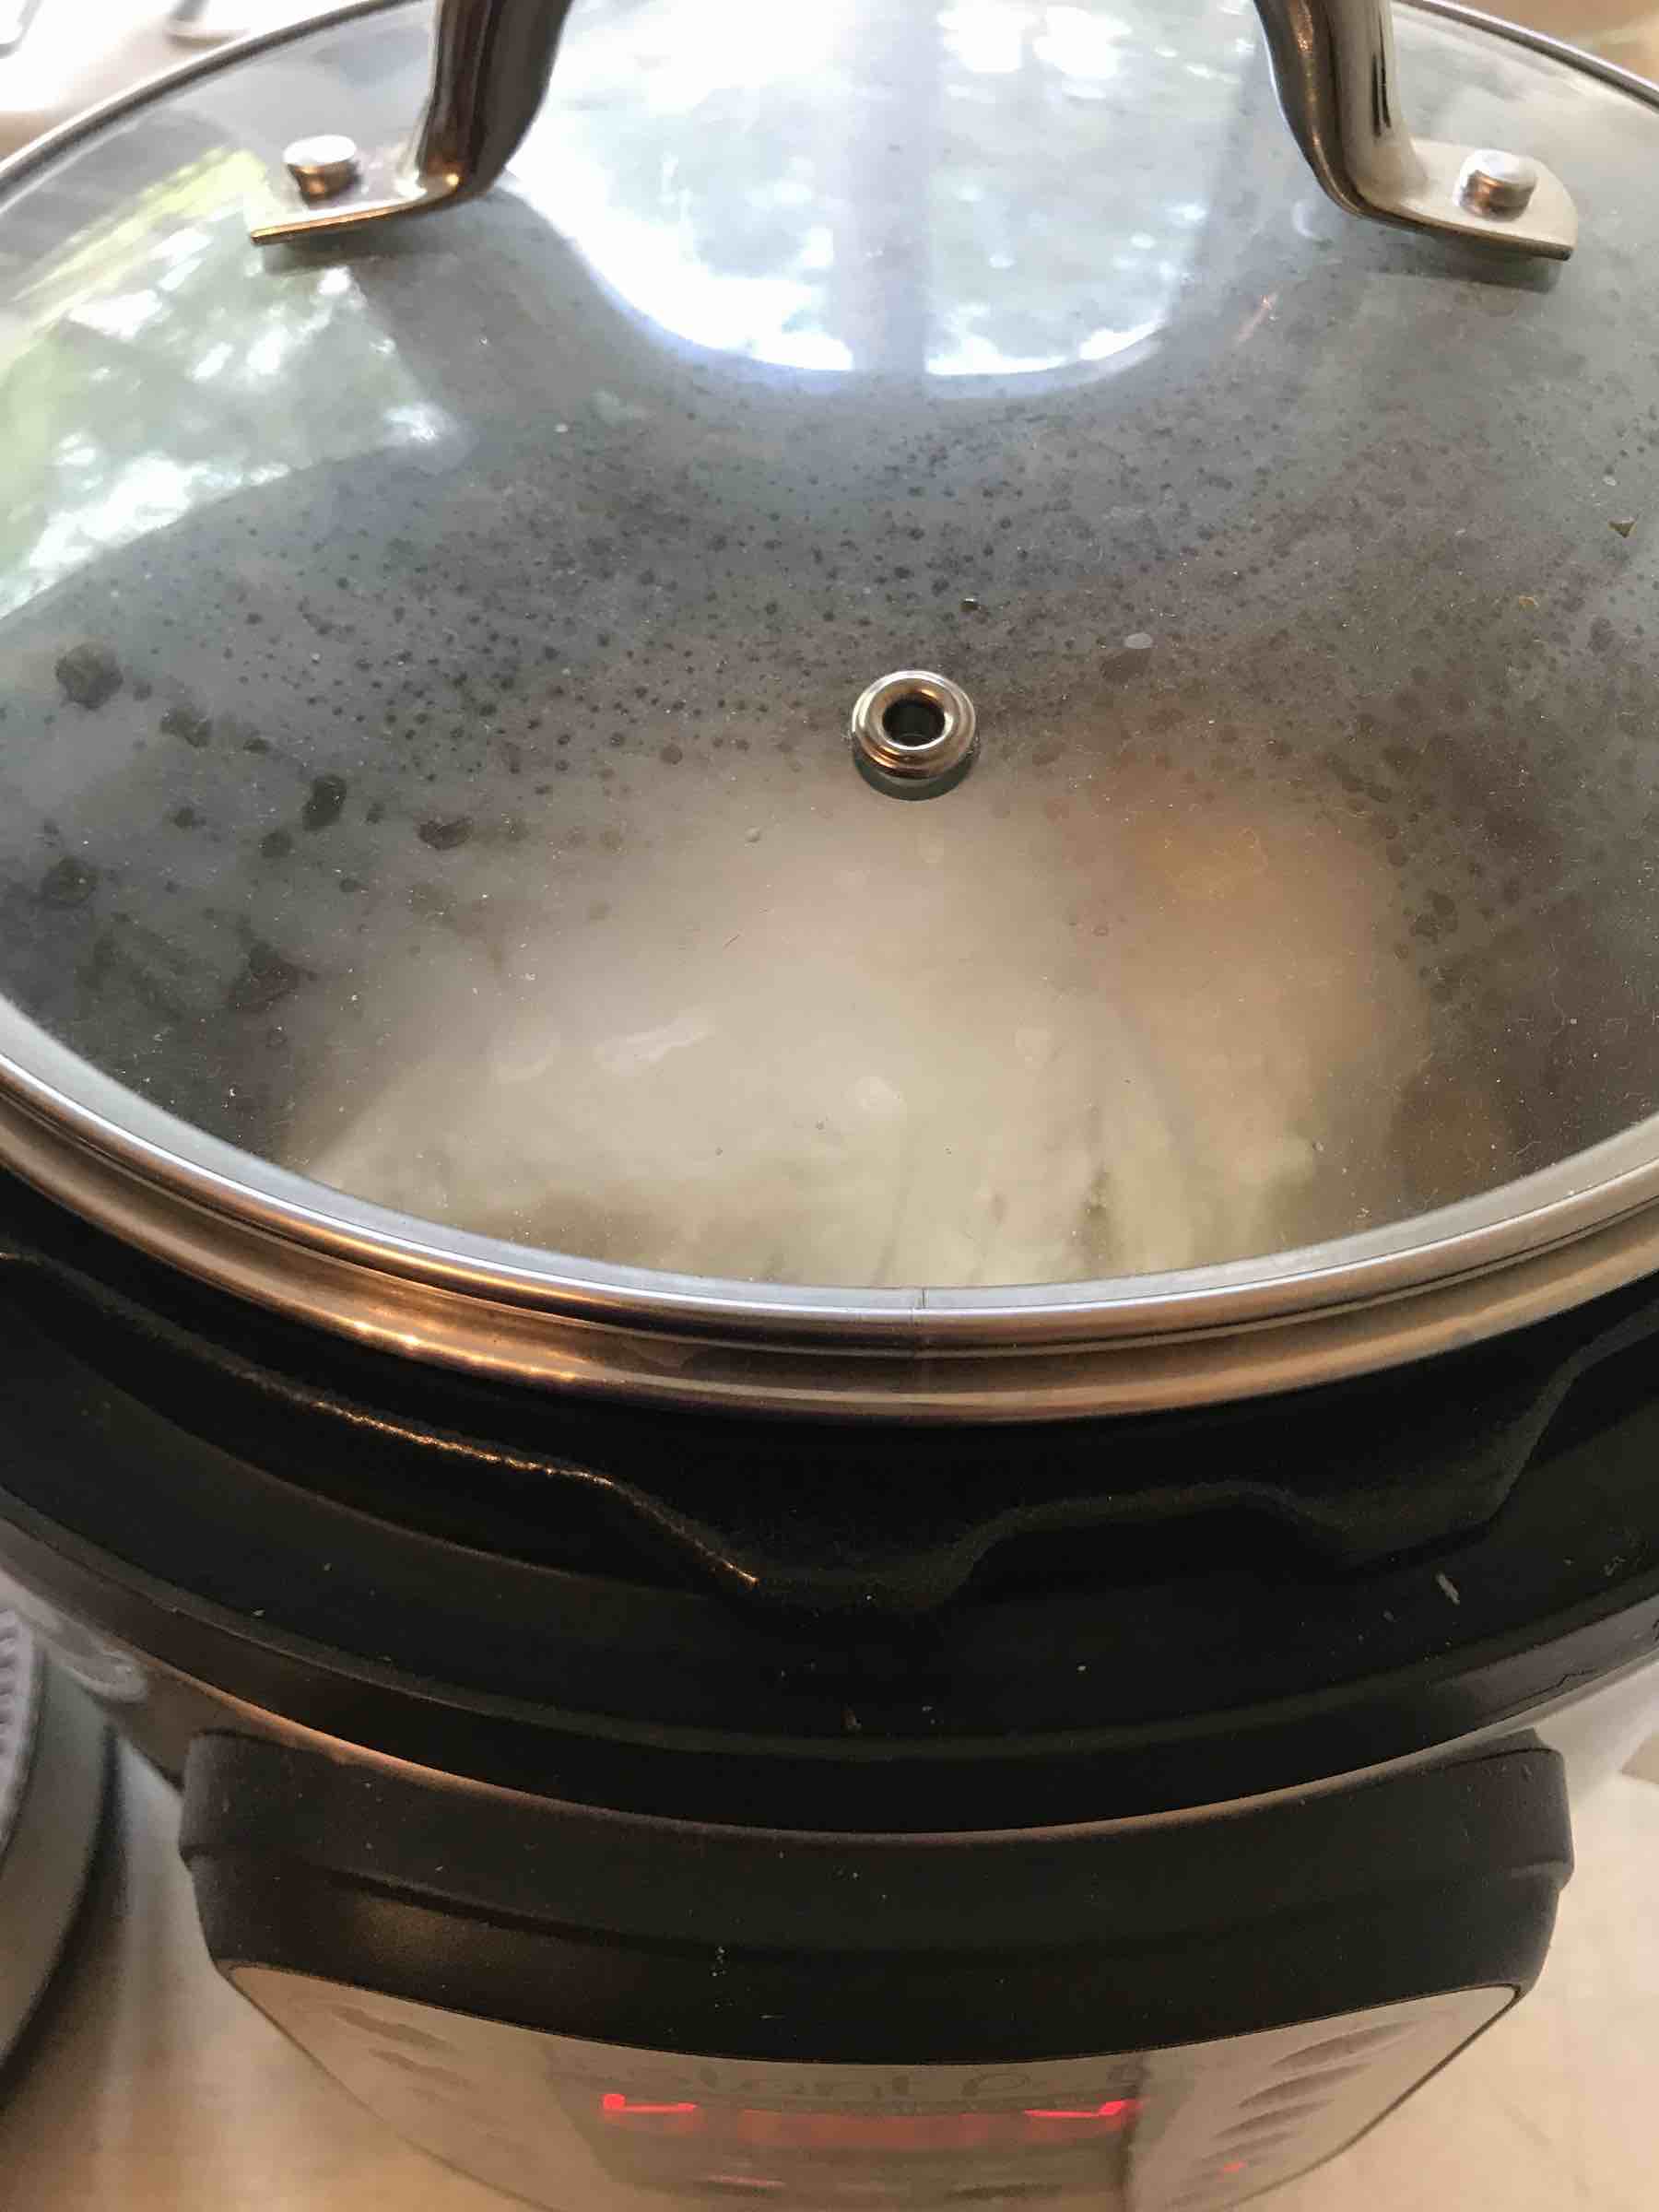
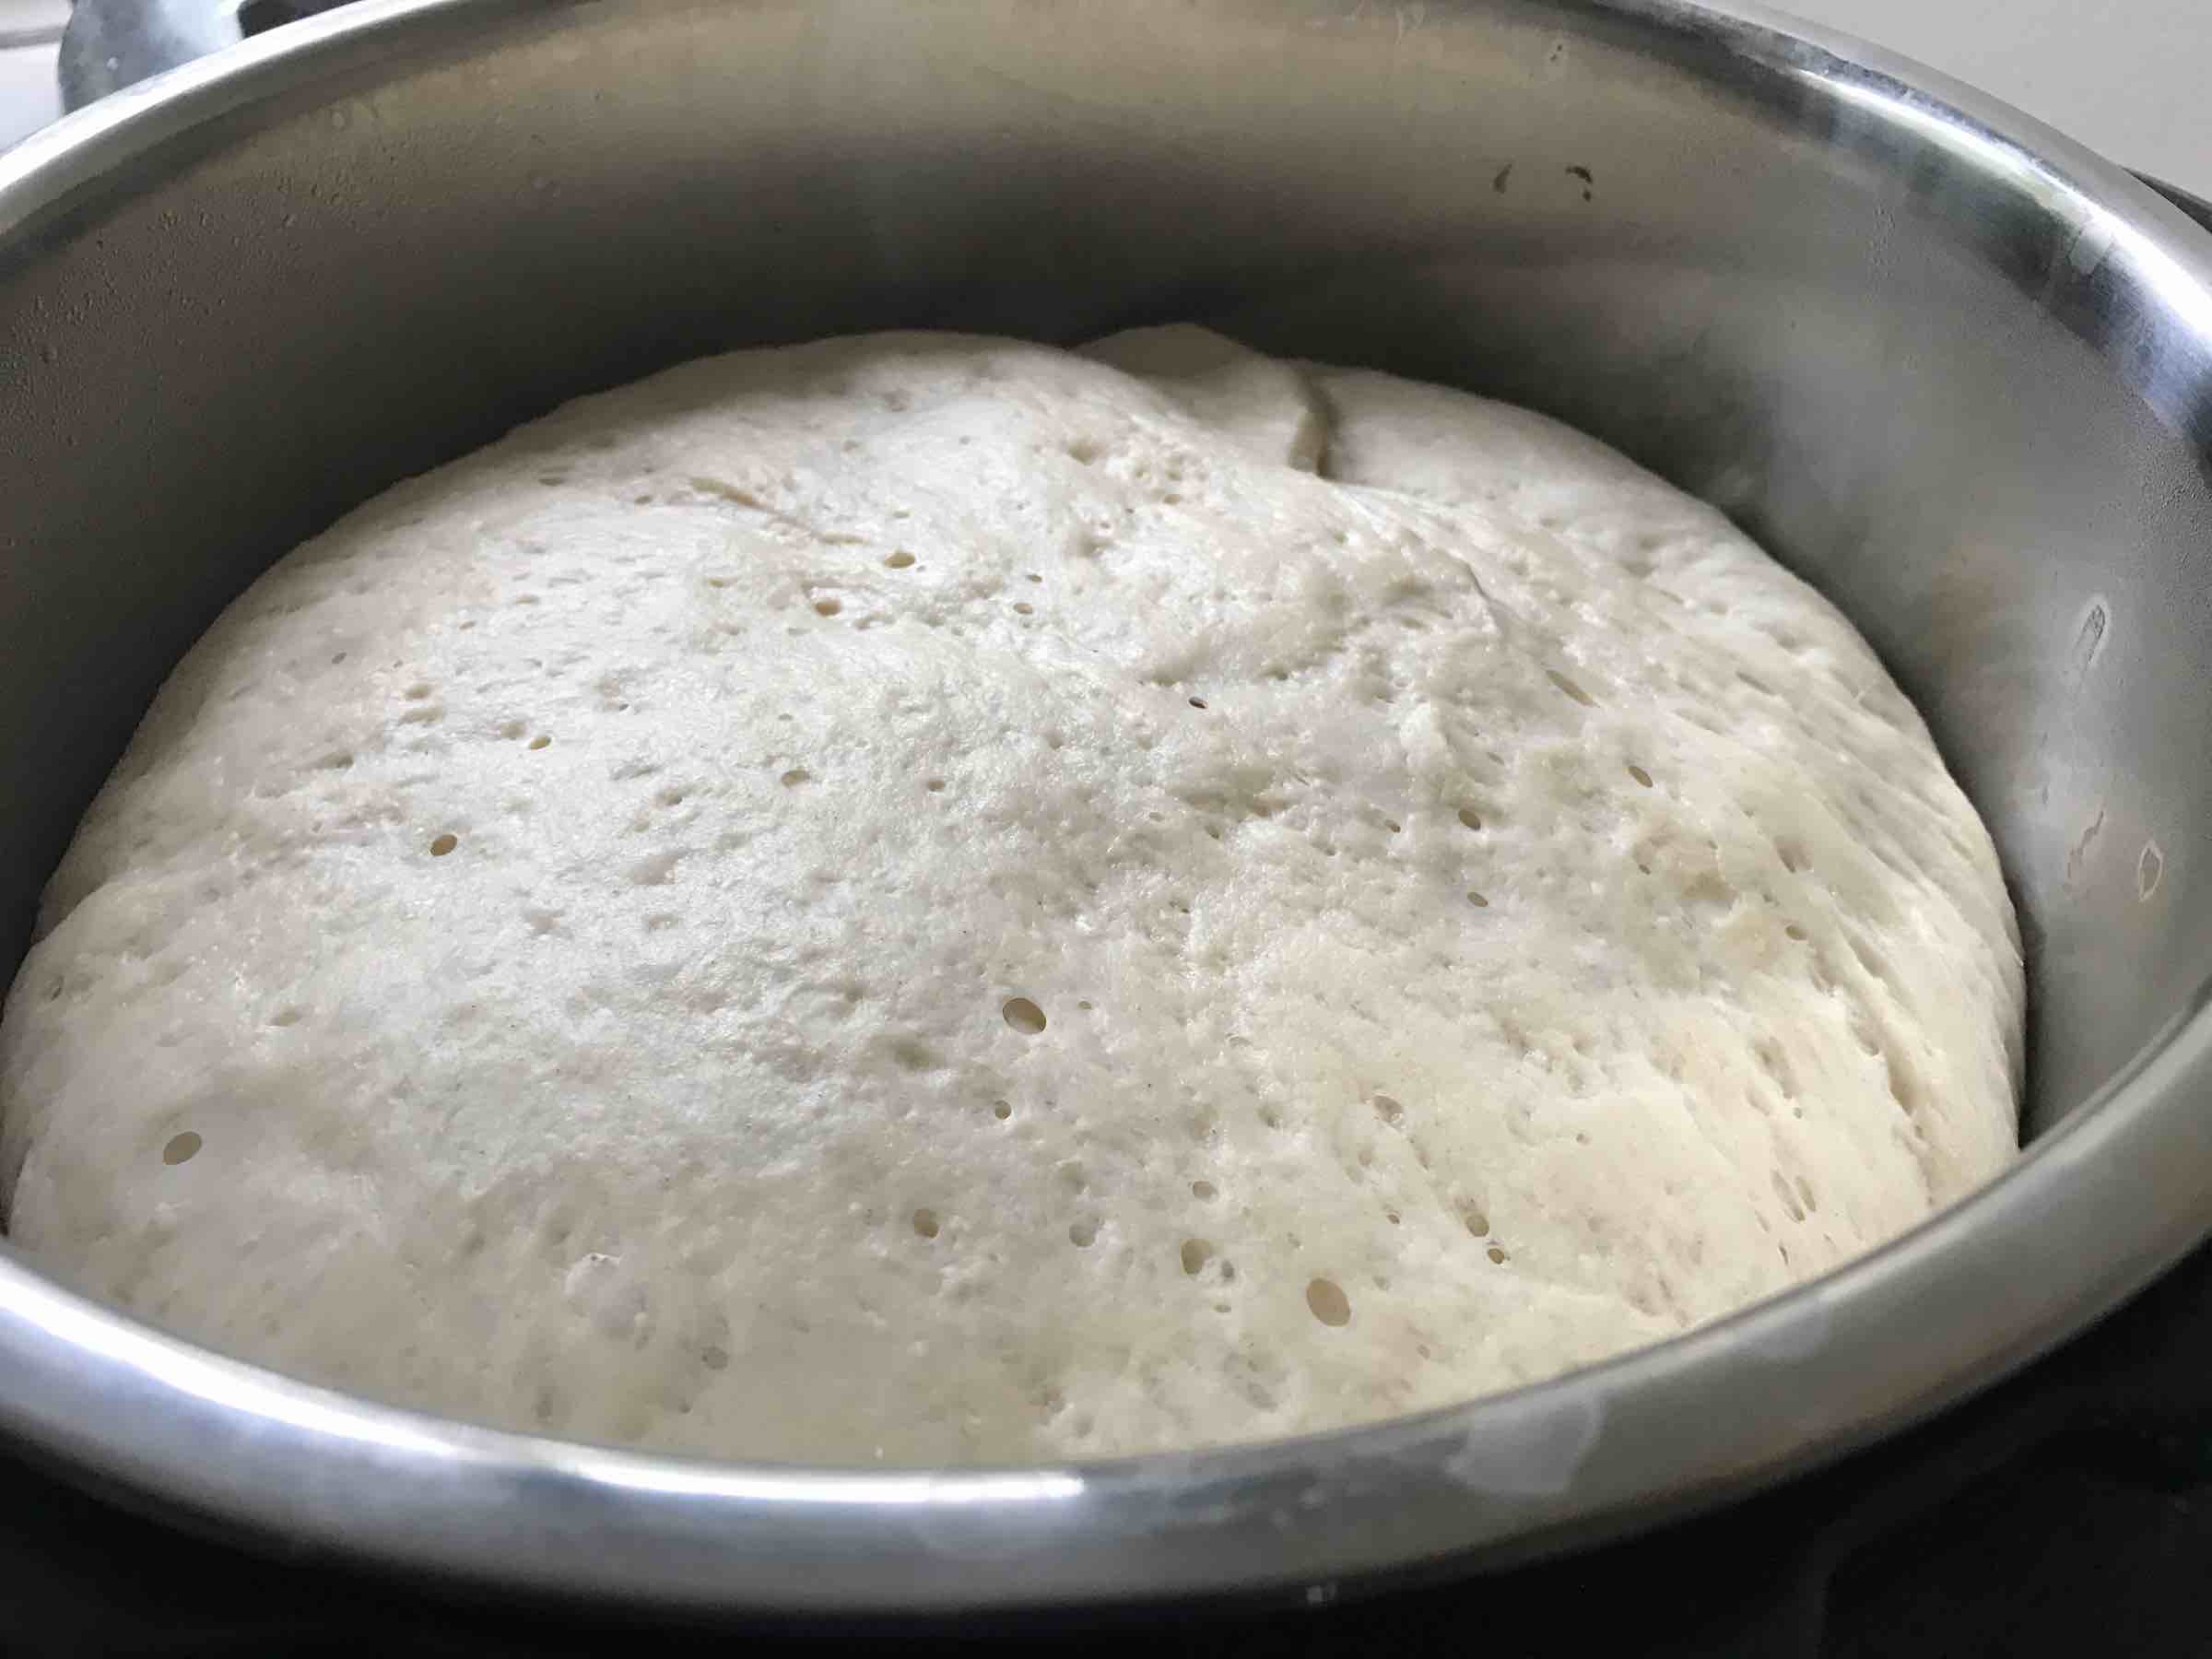

The proof
I used to put my dough in an oiled glass bowl, covered it with a shower cap (yup! You read it correctly…) and then rummage through the house to look for the perfect hot spot to let my dough proof. I no longer need to seek out those nooks and crannies! I simply pop my dough in my Instant Pot, set the yogurt setting to LOW, put the glass lid on and set the timer for 3 hours. I’ve not needed to wait the full three hours as most of the time my dough has doubled in size around 1.5 hours.
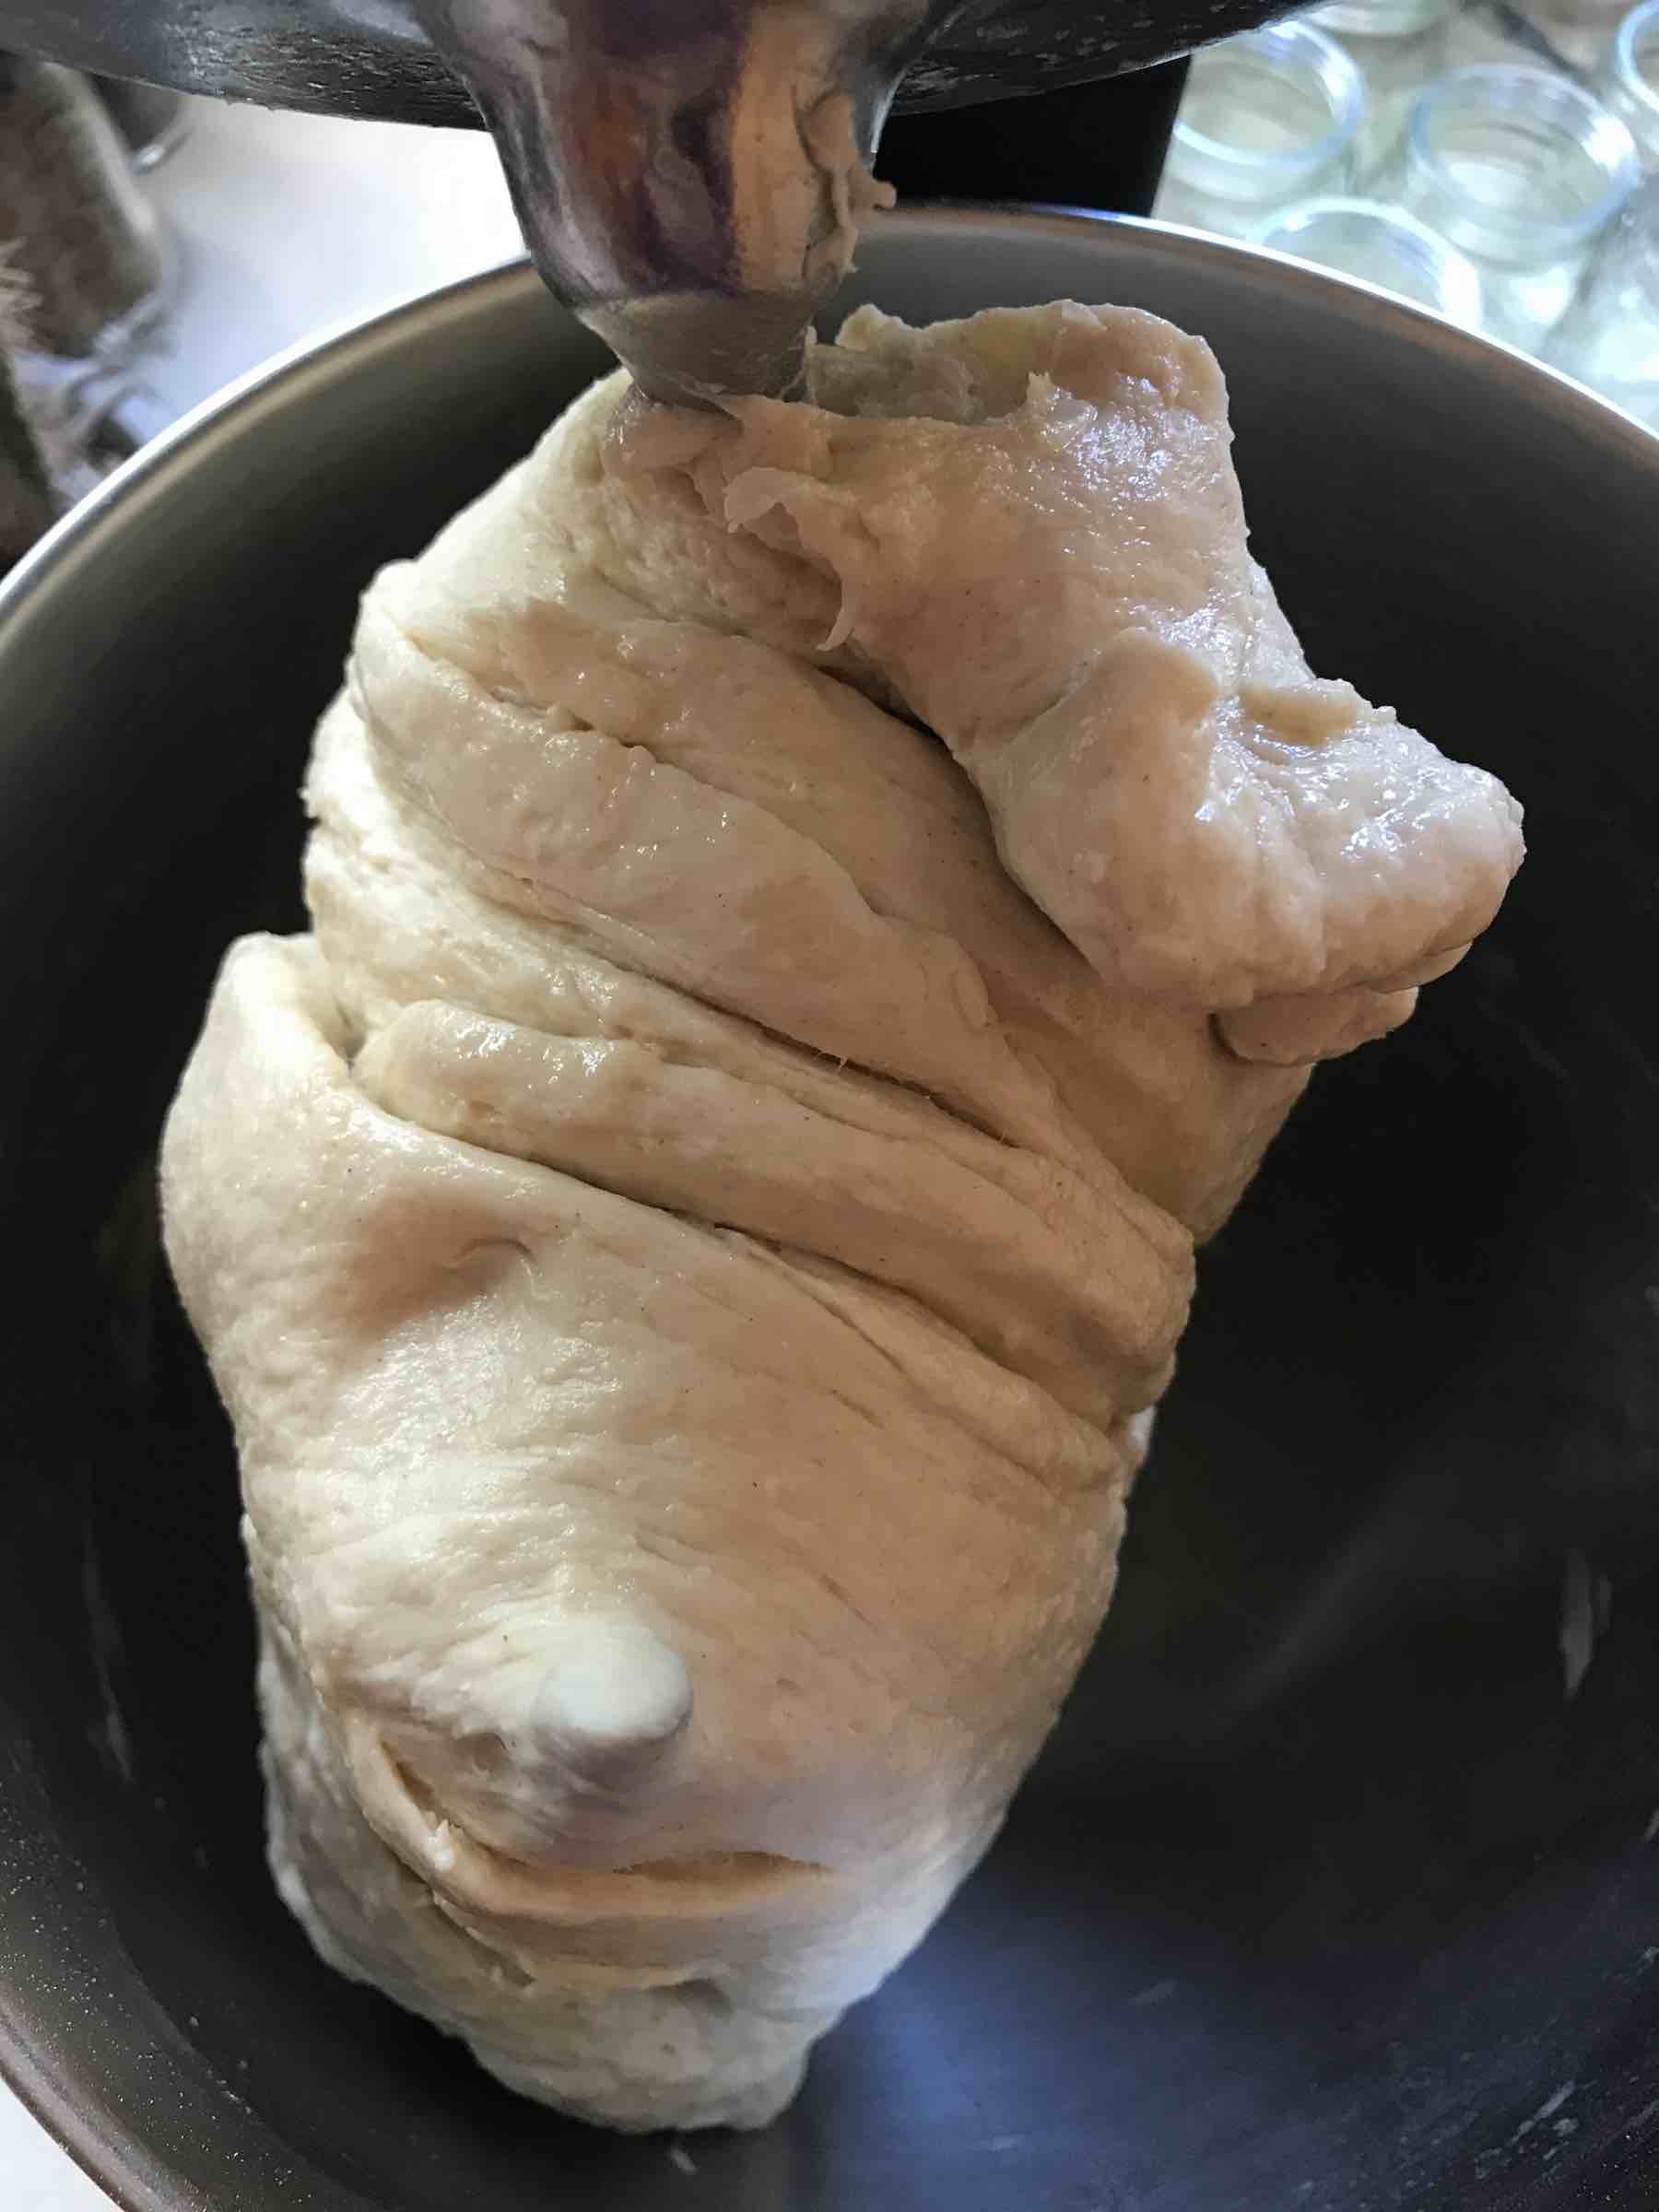
Knocking back the dough
You may wonder why on earth would you need to leave your dough to rise so beautifully just to deflate it once it has doubled in size?! With most breads you would like the bread to have an even texture. When you knock back the dough you are bursting the air pockets that have formed. This will ensure that you are not left with huge air bubbles inside your bread ultimately leading to huge holes. With vetkoek. some people prefer the middle to be hollow, however, the dough still needs to be knocked back.
Forming and second rise
I like to pinch off a piece of dough roughly the size of tennis ball. I then form it into an oval by hand, lightly cover it in flour and leave it on an oiled or floured surface for about twenty or so minutes until it has doubled in size again.
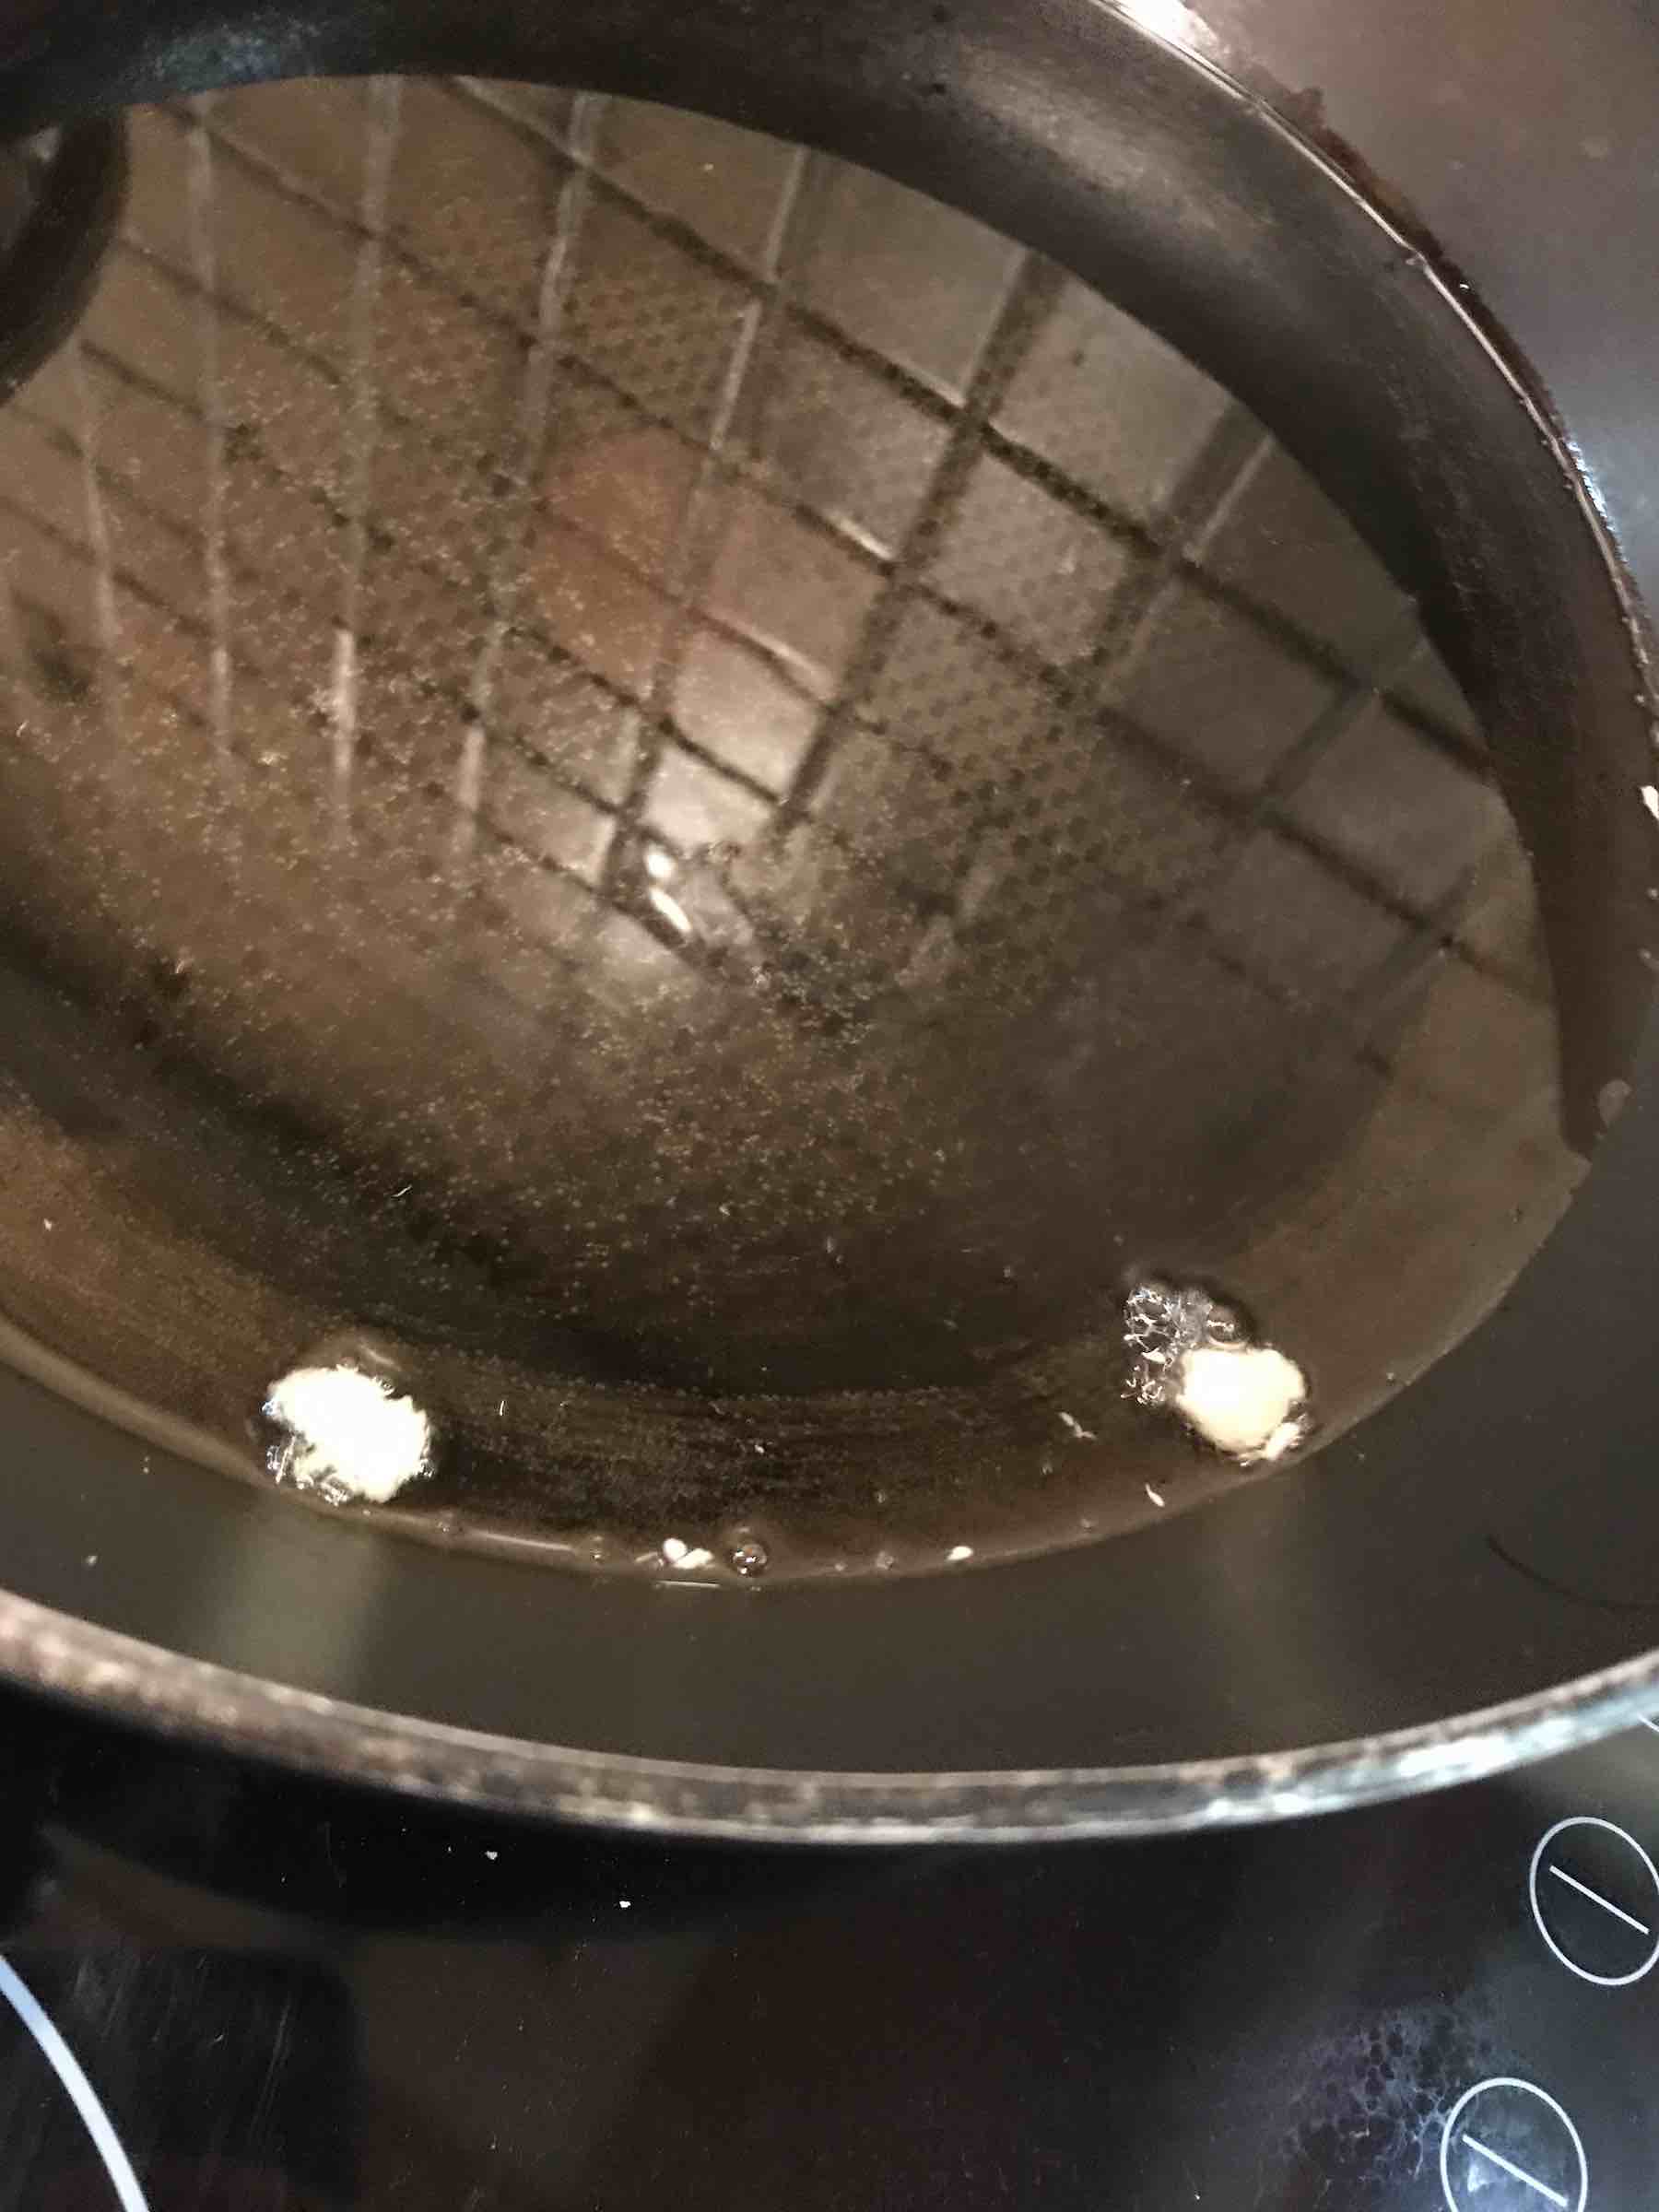
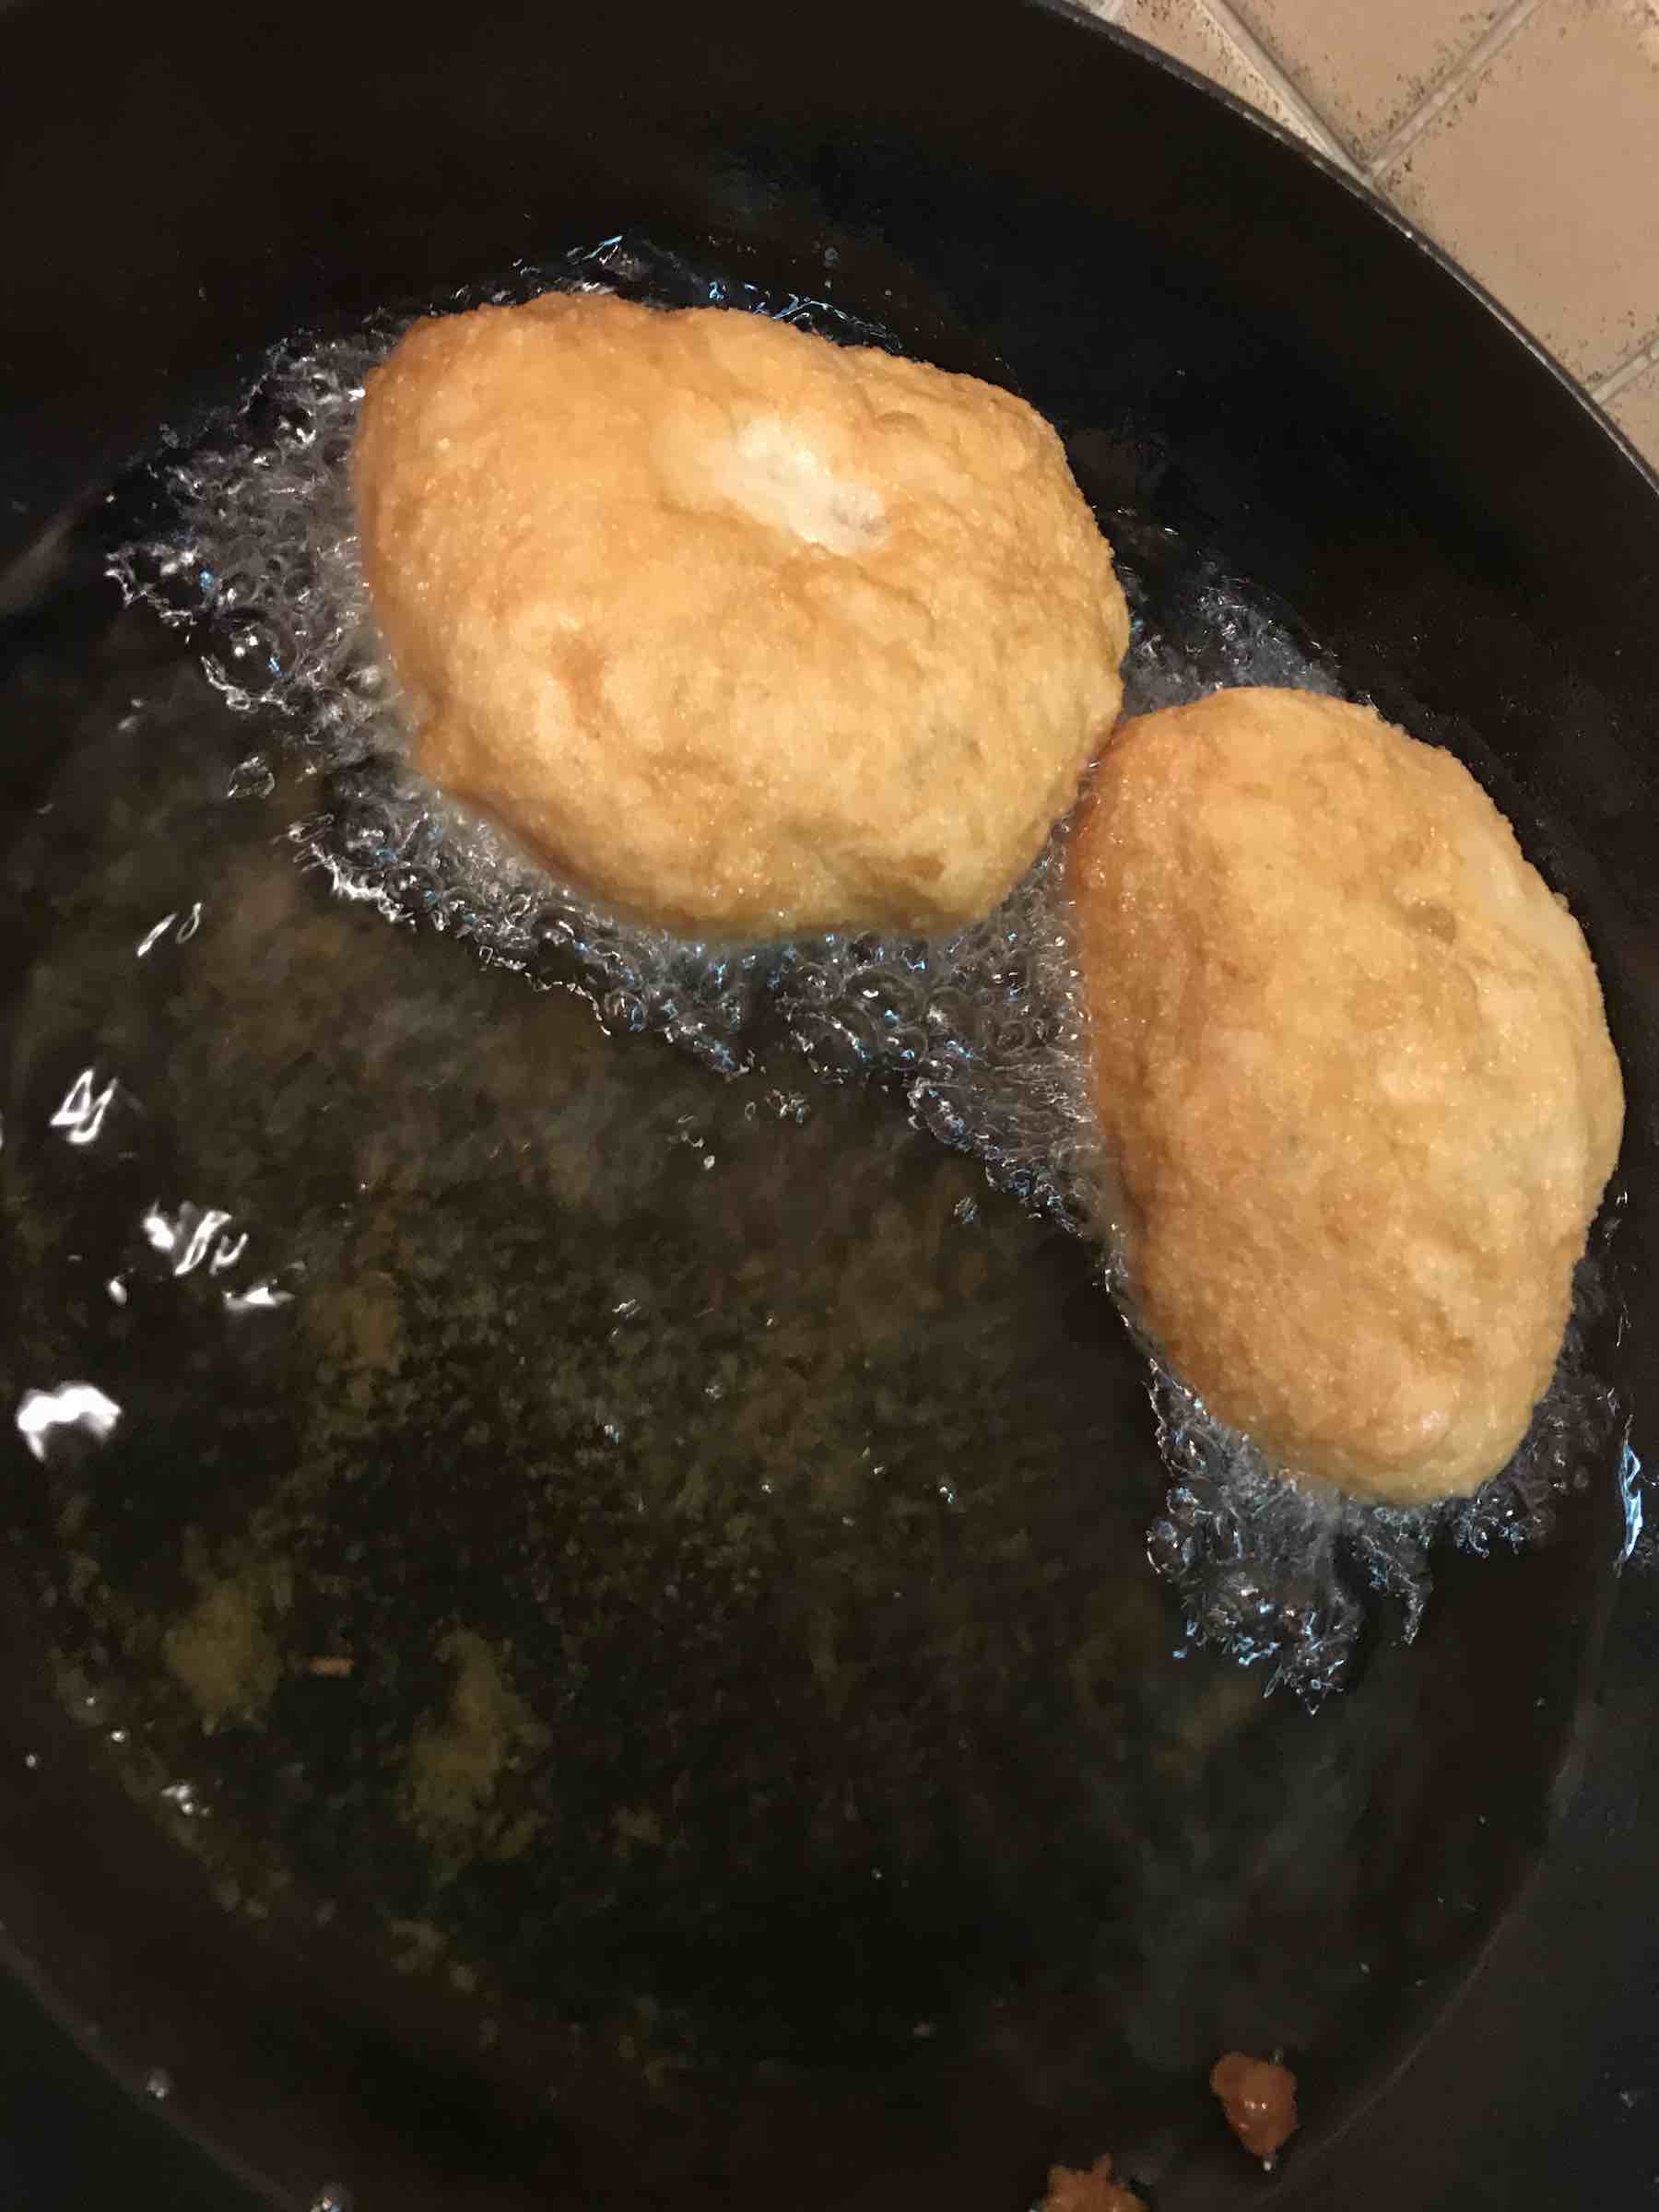
Deep frying
Unfortunately if you are watching your waistline then vetkoek should probably not be your bread of choice, but I can promise you that it will be worth every calorie! Vetkoek is deep fried. It cannot be baked in the oven as this will just result in an ordinary bread roll.
Pour vegetable oil in a deep frying pan or saucepan. To check if the oil is ready put a small bit of dough in. If it immediately starts to bubble then the oil is ready. Once the oil is ready slowly take one dough ball and carefully lay it into the oil taking care to move it away from you so you don’t get any oil splatter on you. Depending on how big your pan is, you can put up to three dough balls into the oil without lowering the temperature too much. Once the vetkoek is golden brown on the bottom, take a pair of tongs and very carefully turn it around. The vetkoek is done as soon as it is golden brown on both sides and it sounds hollow when you tap on it.


How do I bake hollow vetkoek?
Some people prefer hollow vetkoeks as opposed to the more breadier version that you will get with the deep frying method described above. Hollow vetkoeks allow for more delicious filling. Follow the entire recipe exactly the same, however, when it comes to the deep frying, flatten the vetkoek slightly and drop carefully in the hot oil. Take a metal spoon and gently pour some of the hot oil over the top. This will ensure that the vetkoek will puff up making an air pocket inside.

What is vetkoek served with?
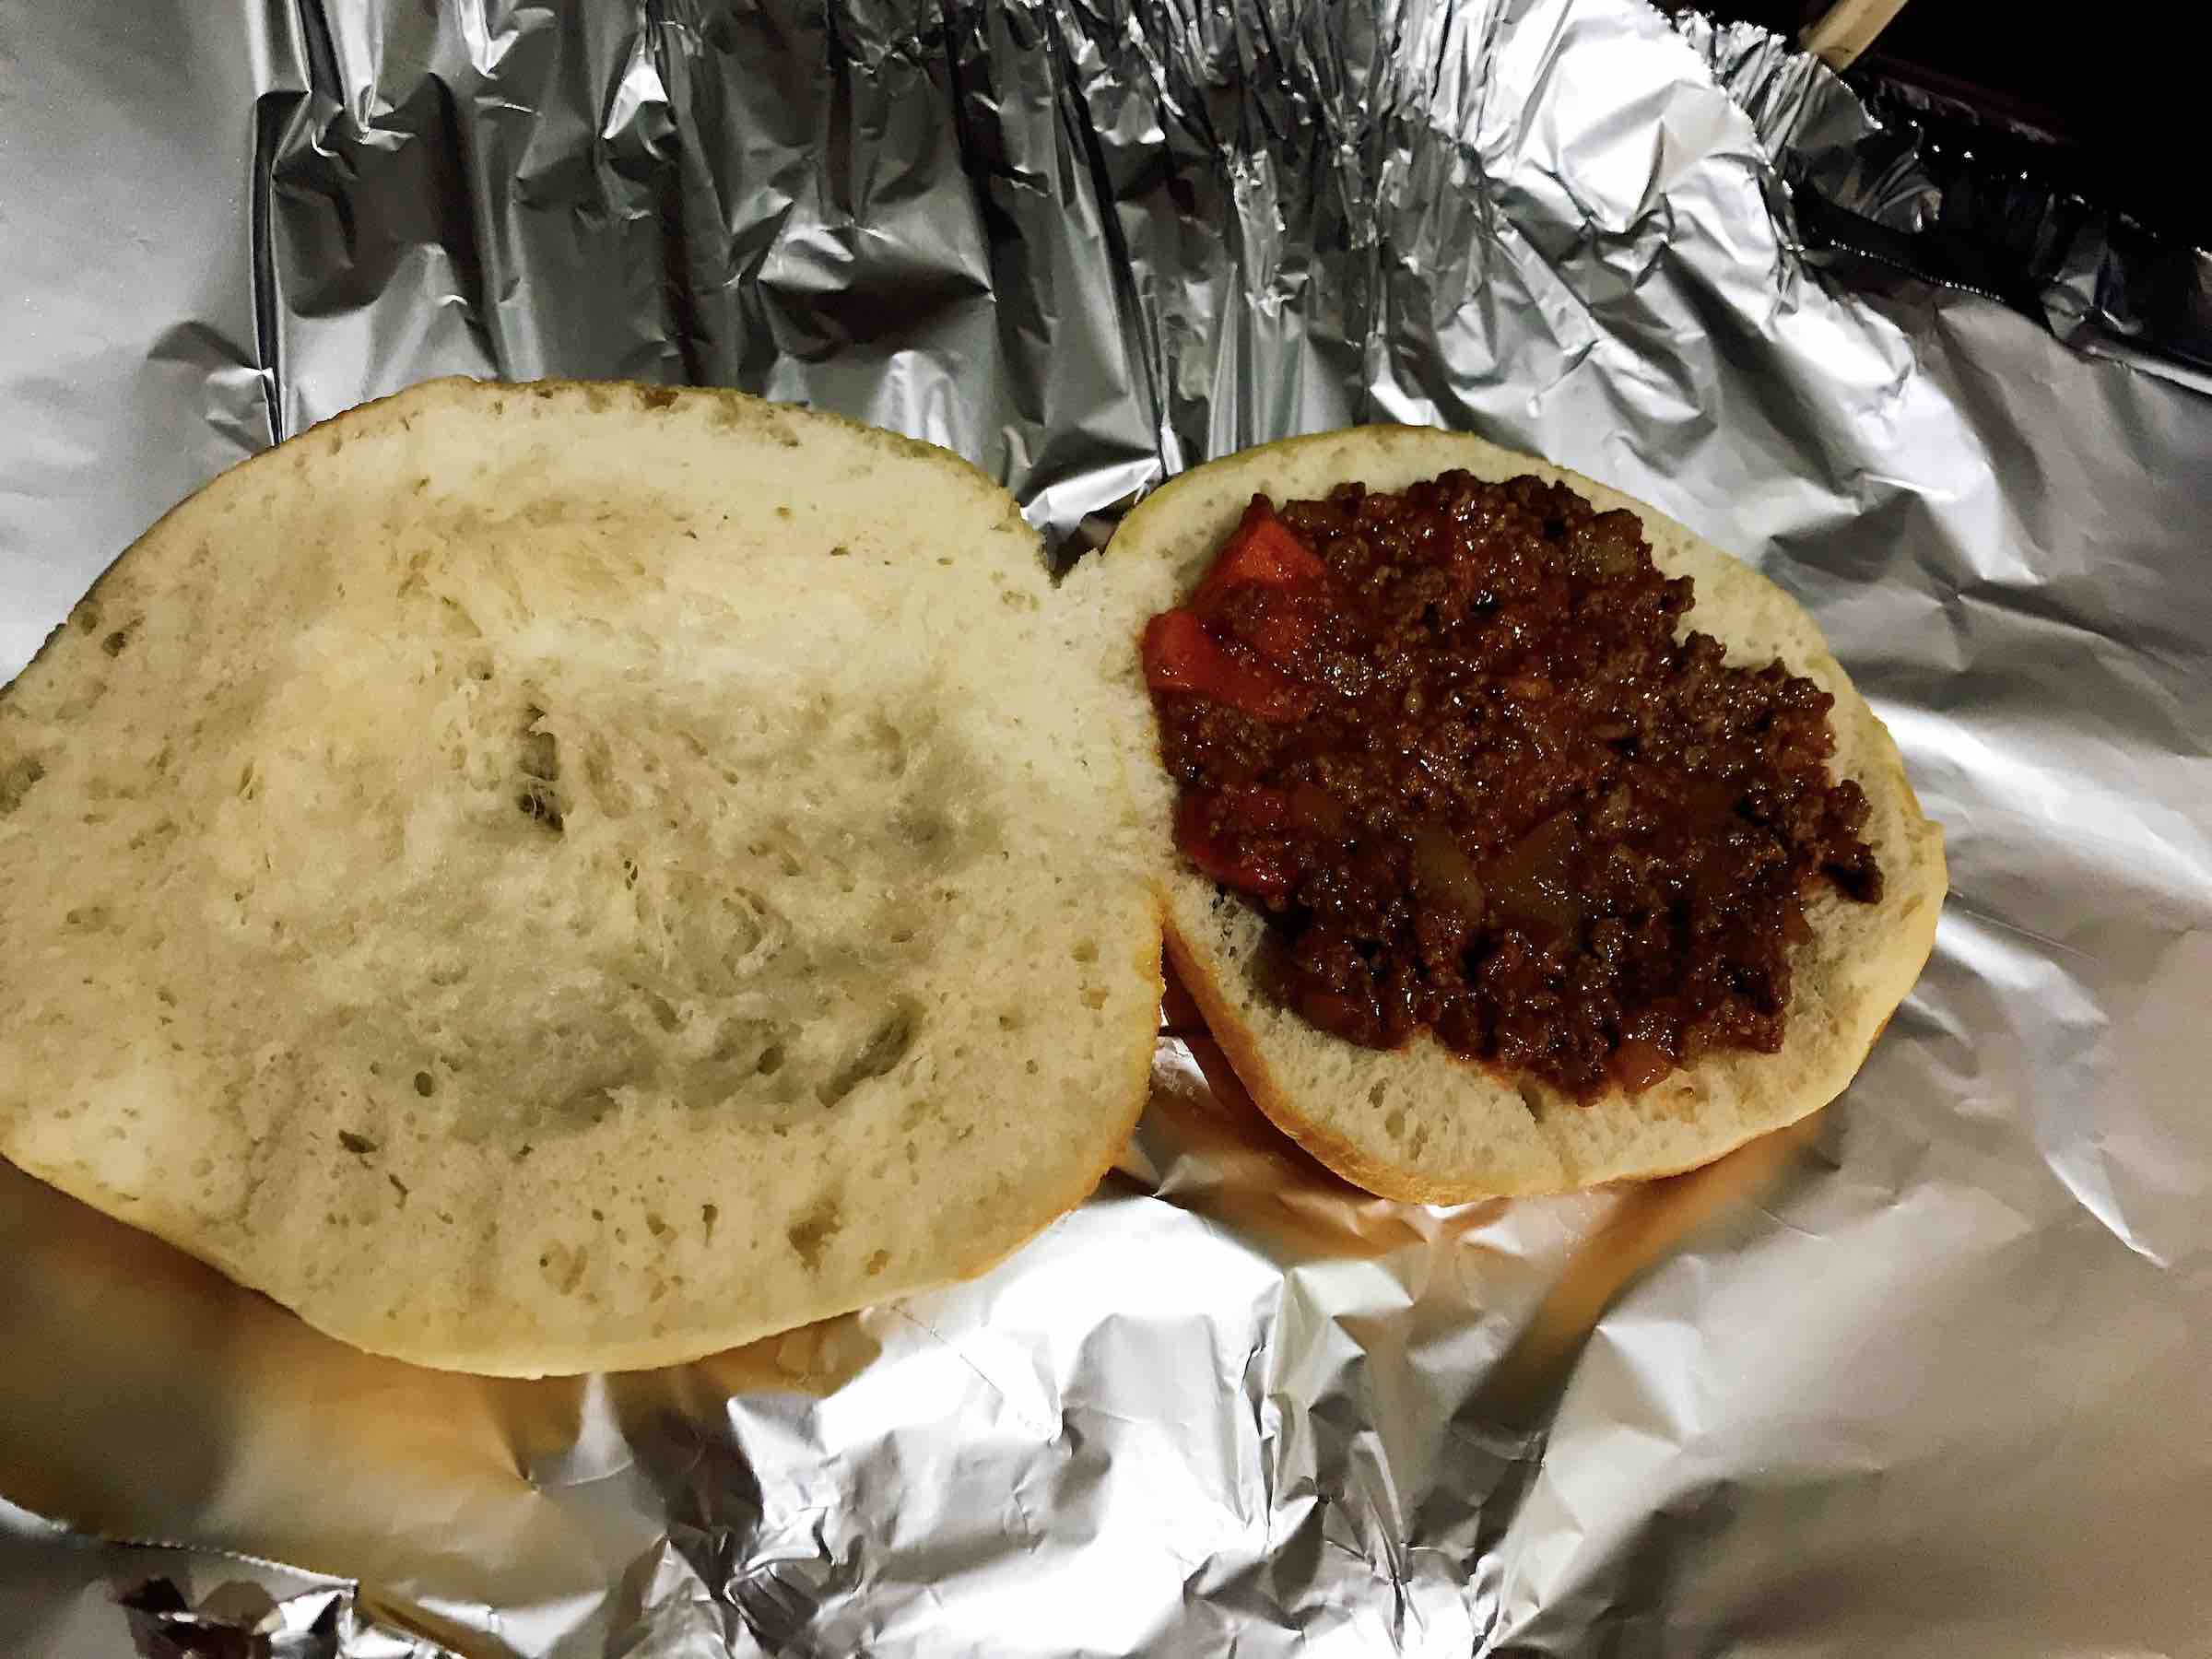
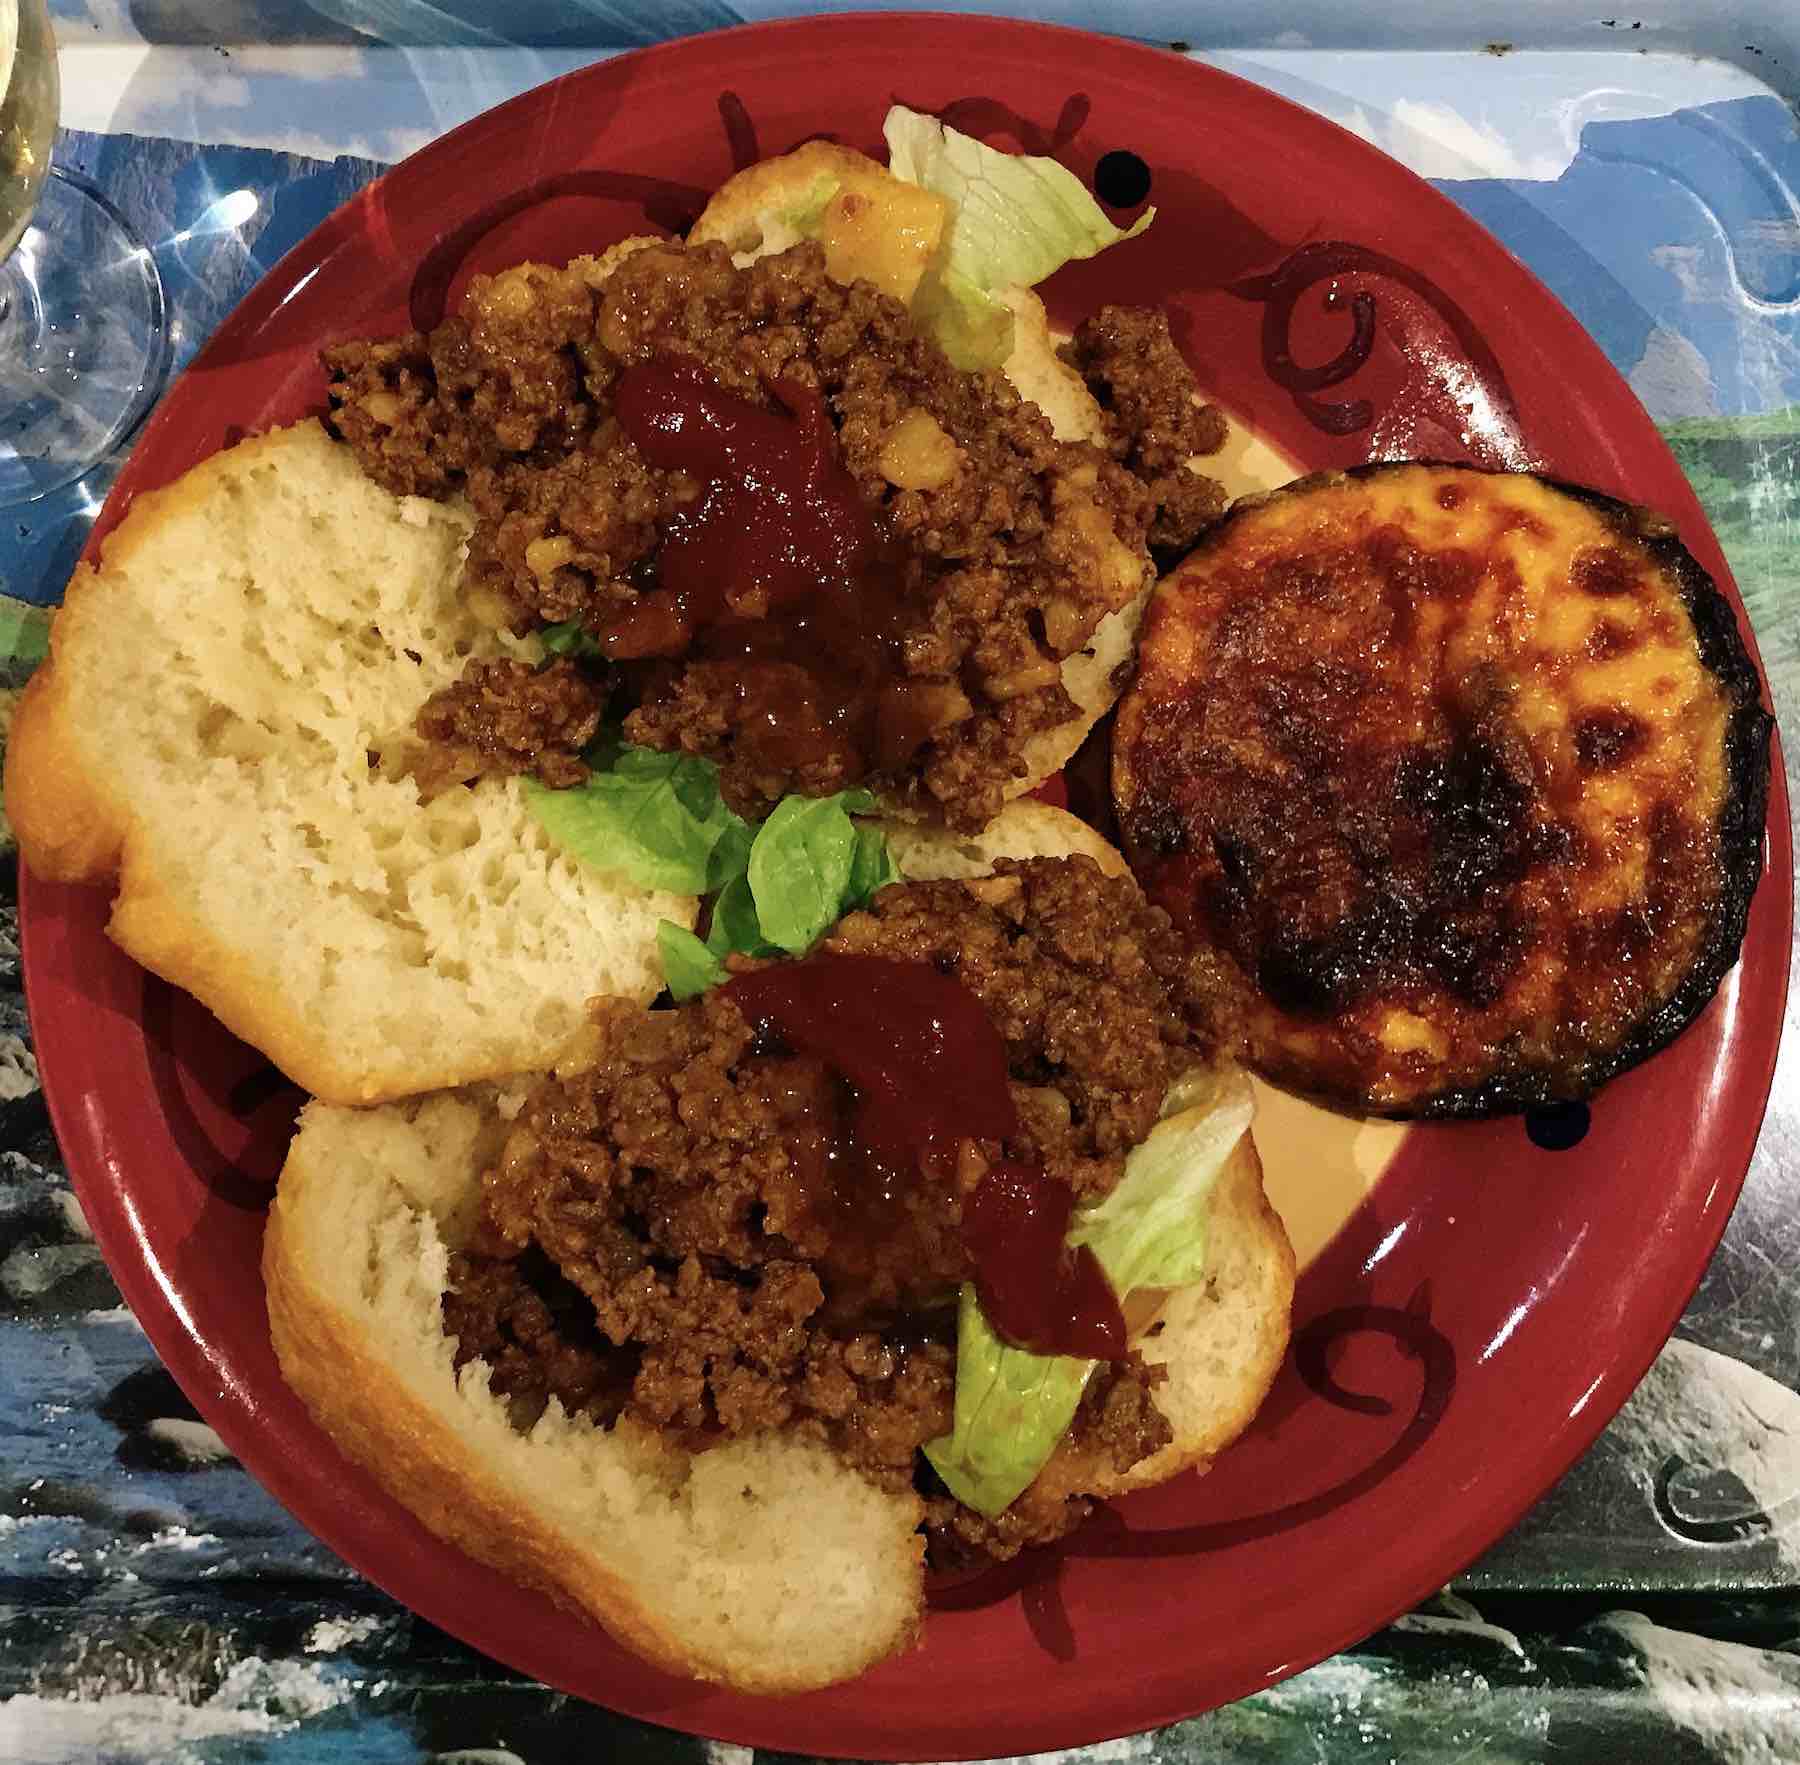
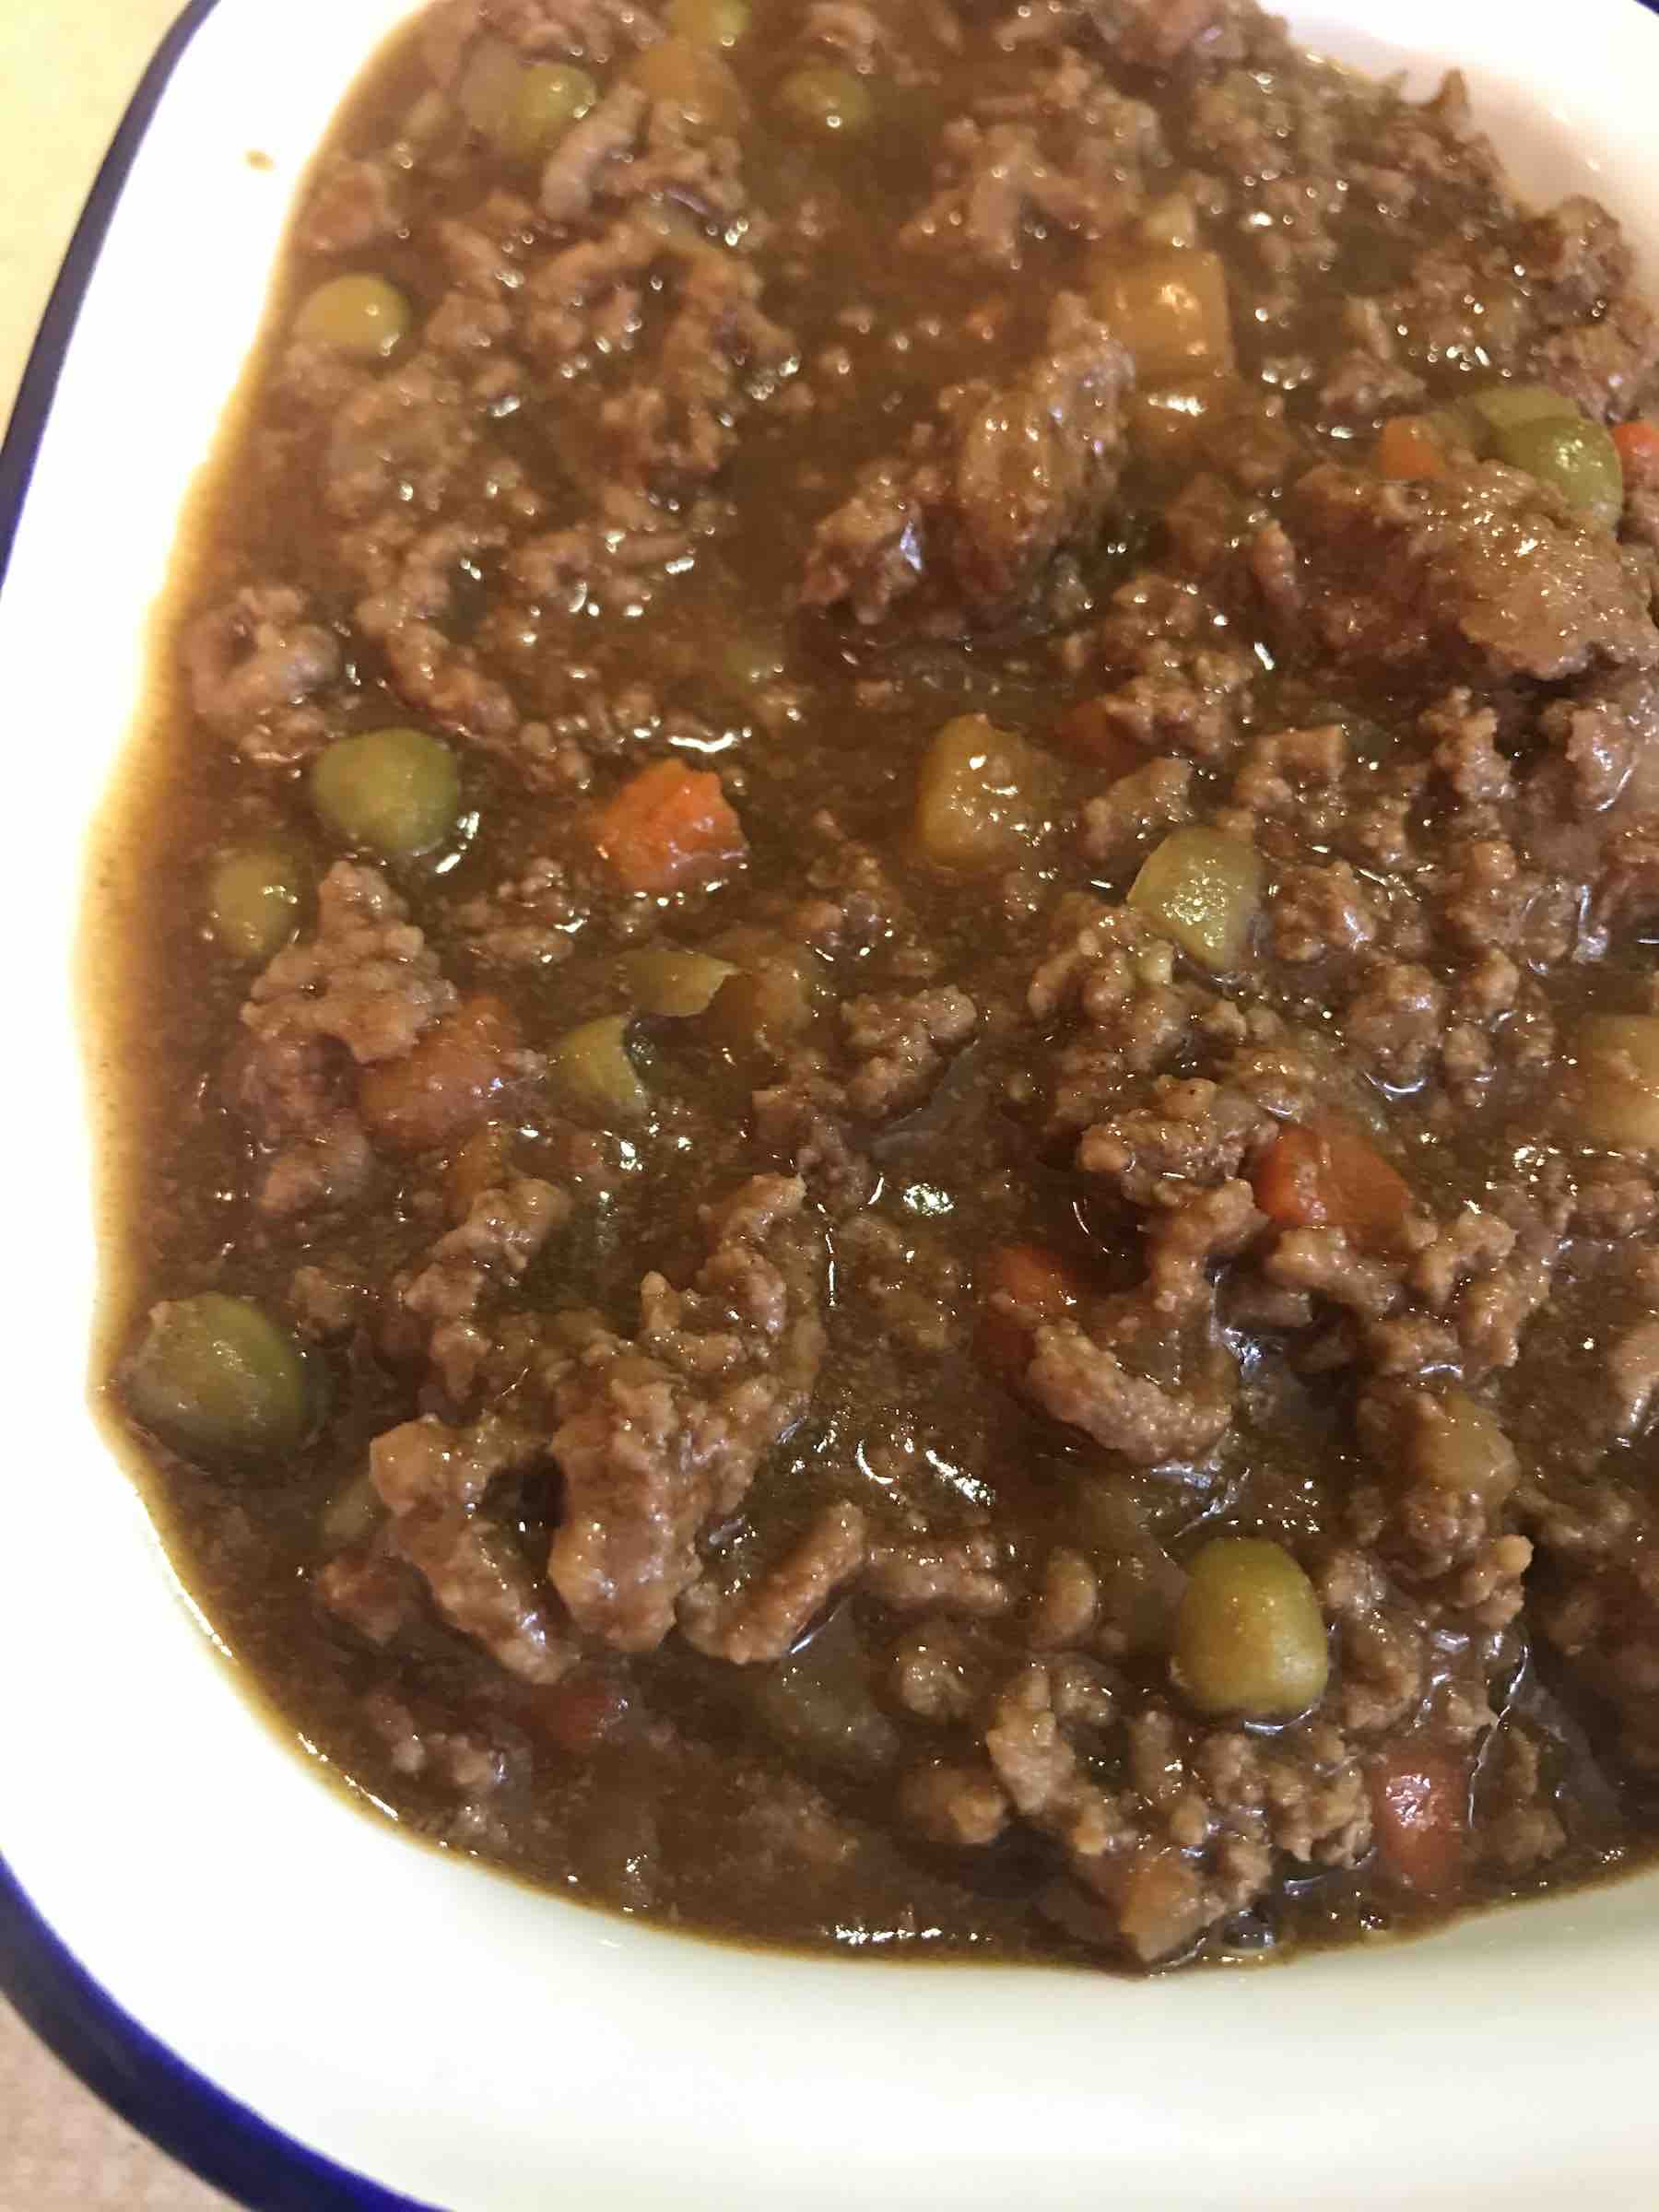
This is the fun part! Literally anything goes… Two of the most traditional ways to eat vetkoek is with curried mince (recipe below), sliced onions, tomatoes and lettuce and then with apricot jam and cheddar cheese. Some of my most favourite combinations include:
- Tomato jam
- Fig jam
- Honey and goats cheese
- Smashed avocado, sliced tomato and sliced onion
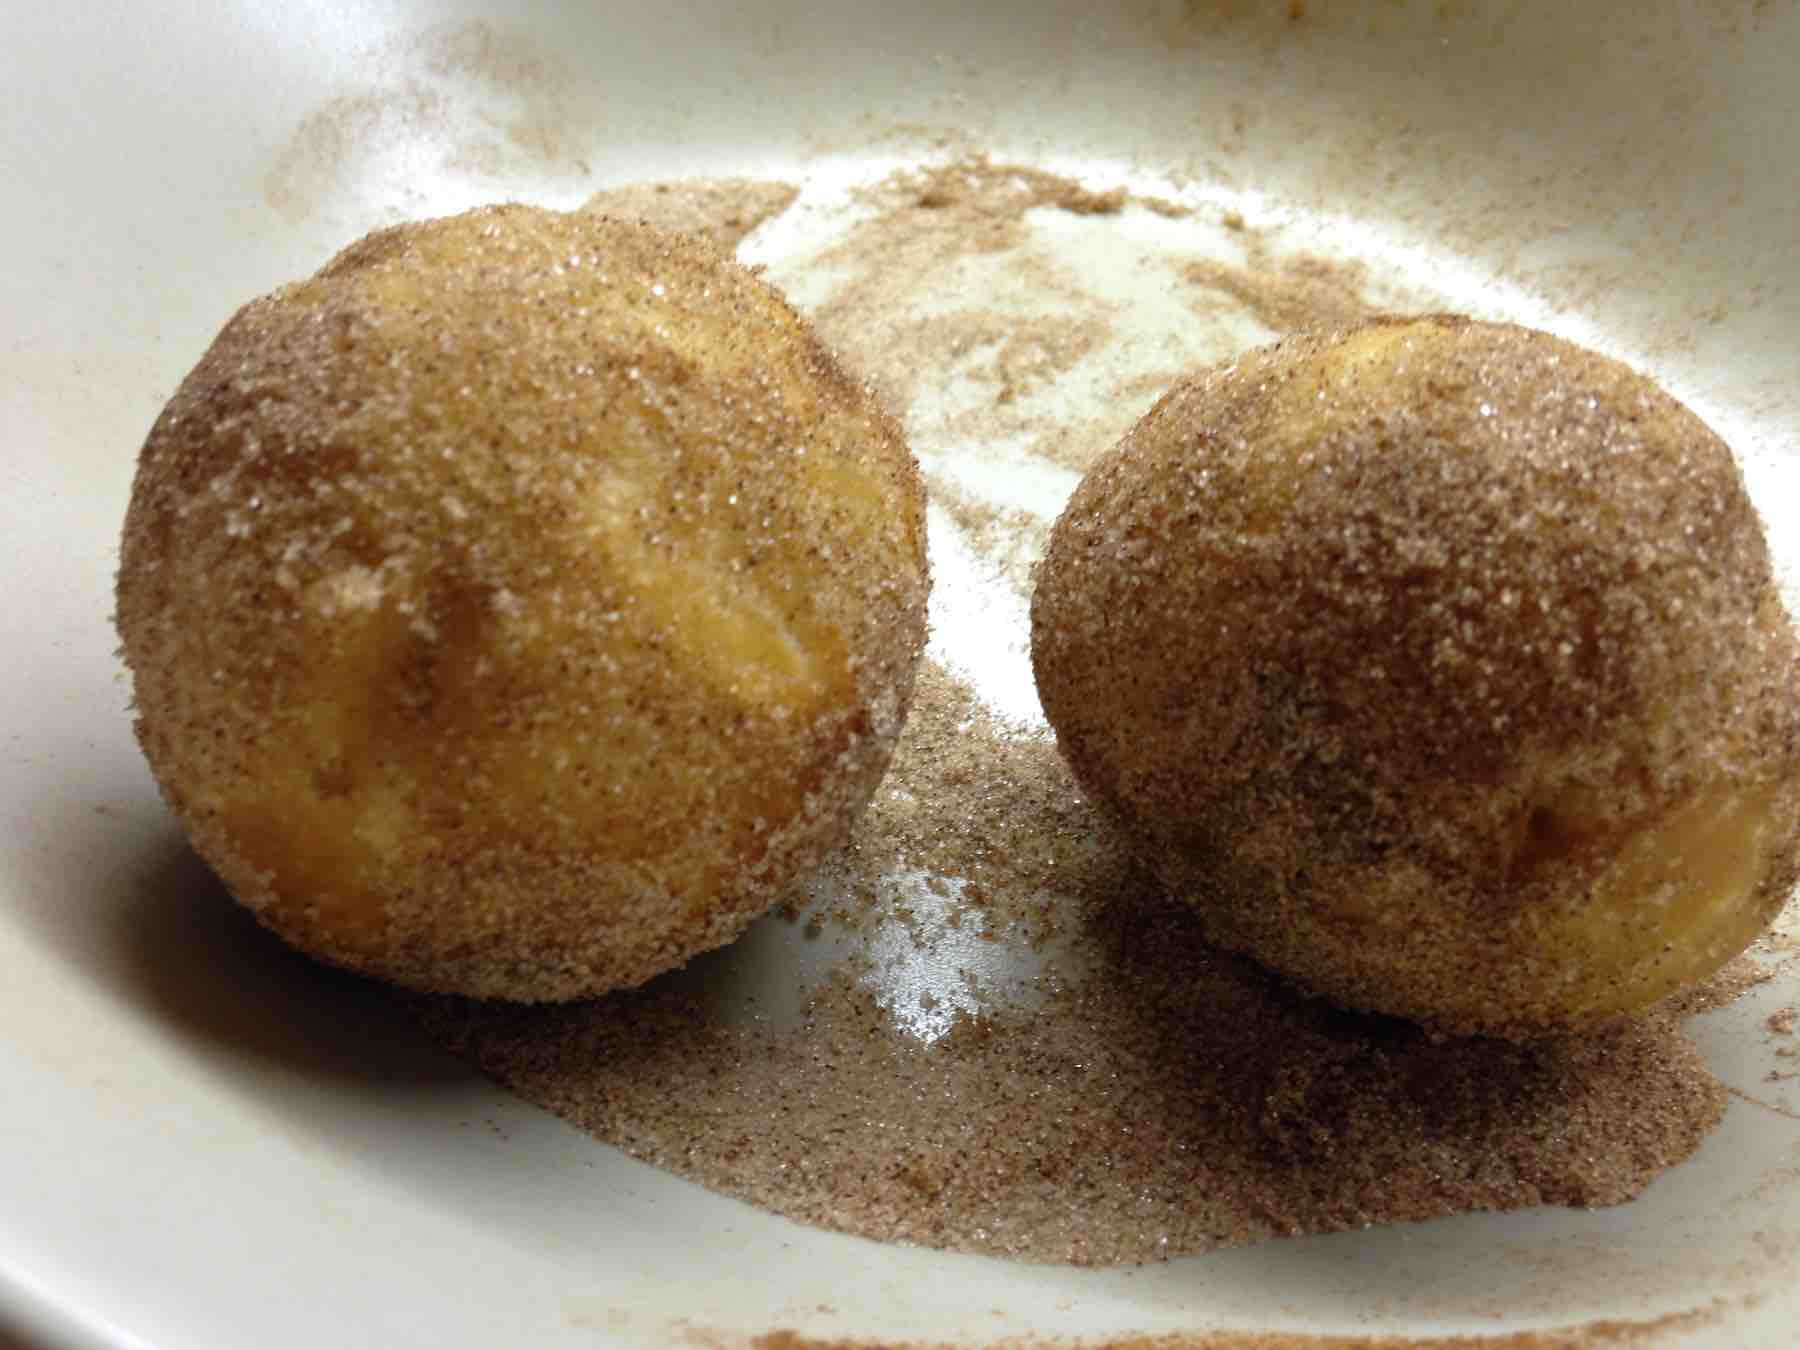
- Make them very small and roll in cinnamon sugar once fried
- Before the second rise, mix chopped ham/polony into the dough, fry golfball sized pieces as a snack
- Smashed avocado with sliced fatty biltong with sweet chilli sauce
- Smashed avocado with crispy bacon and goat’s cheese
- Mrs Ball’s chutney with cheddar cheese
- Chicken mayonnaise
- Boerewors, fried onions with ketchup and mustard


How do I store Vetkoek?
Vetkoek is DELICIOUS the next morning as a filling breakfast served with honey or jam. It is ok to leave the vetkoek on the counter overnight, covered with a lid. If you would like to store it longer, then it is best frozen as soon as it is cold. Put in a freezer bag and freeze for up to a month. Defrost thoroughly overnight on the counter before eating and warm it up by placing in a hot oven for a 5-10 minutes.
Traditional South African Vetkoek

Ingredients
- Vetkoek
- 1 kg strong bread flour
- 1 sachet yeast
- 2 teaspoons fine salt
- 2 teaspoons sugar
- 600-700 ml lukewarm water
- 2 tablespoons oil
- vegetable oil for deep frying
- 1 kg beef mince
- 1 onion, peeled and finally chopped
- 2 tablespoons tomato paste
- 2 tablespoons curry powder
- 1 sachet cottage pie powder mix
- 1 tin mixed vegetables
Mince
Directions
- Mix dry ingredients on a low speed in a stand mixer with dough hook.
- Whilst the mixer is still on, slowly pour the water into the mixer until the dough comes together.
- Add in the oil.
- Turn the speed to medium and knead the dough until it comes away from the sides and it is no longer sticky.
- Cover and let it proof until it has doubled in size. The Instant Pot’s LOW yogurt setting works perfect for this.
- Once doubled in size, knock the dough back gently and form your vetkoek. Place on a well-oiled surface to allow a second rise.
- After 20 minutes heat oil in a saucepan to ensure the vetkoek will deep fry.
- Slowly and gently drop the vetkoek into the oil and fry until golden and cooked through.
- Brown the mince in a pan with a tight-fitting lid.
- Add the onions and cook until translucent.
- Add 2 cups of water along with the tomato paste, curry powder, mixed vegetables and cottage pie mix powder and mix well.
- Turn the heat to low and let it blip away until the vetkoek is ready to serve.
Vetkoek
Mince
Fancy some more South African recipes:

You can also follow me on the following platforms:
- Facebook: Life, with Clotted Cream
- Pinterest: Life, with Clotted Cream
- Twitter: Annelize – Life, with Clotted Cream
- Instagram: Life, with Clotted Cream


As a South African, cream in a vetkoek? Or vetkoek covered in cinnamon sugar? What butchery of a South African dish is this? It is tradiotional os you are serving it as above, traditional vetkoek is served with curried mince. Vetkoek served at formal events but it is also a street food – over selling the humble vetkoek, neh?
LikeLike
With all due respect, but have you actually read the post? There has been no mention of ‘cream in a vetkoek’ and yes, if I have leftover dough I like to make smaller vetkoek and roll them in cinnamon sugar when they are hot – it makes for a nice dessert, especially with a scoop of ice cream; try it. And no, not overselling. I was merely described its versatility as we have served this as a canapé at our wedding. Thank you for visiting my blog.
LikeLike
Thank you for a decadent recipe, this is by far the best Vetkoek I’ve had, which is incredible, because I live in South Africa :-D! I’ve learnt so much (instant pot curing) and will use this recipe for many years to come. God bless, Mary-Ann
LikeLike
Wow. I have read a lot of recipes but the way you explain the directions is tops. Great work!
LikeLiked by 1 person
Thank you very much :-)
LikeLike
This sounds very good but I need to know how can I get my Vetkoek soft when eating, not like the original SA dough thats a bit sticky
LikeLike
If you make the vetkoek with bread flour, it will be heavy. Make it with cake flour. Do not know where you live, but in US we get All purpose flour that is almost like SA bread flour.
Other important thing is to make sure your yeast is fresh and you allow enough time for it to double. Knead it down and give it another couple of minutes. Lately i have started to roll the dough roughly and cut in squares to fry. Easier to eat. Blessings
LikeLiked by 1 person
Pingback: The Ultimate Guide to South African Mieliepap – Life, with Clotted Cream