
Buttermilk Chicken Katsu Curry
I am sure that there are as many recipes for Chicken Katsu Curry as there are people in this world. After loads of research I’ve finally put together a recipe that the hubby approve of!
An ordinary life with a dusting of luxury.

When I was growing up, my mother had this series of Afrikaans cookbooks called the ‘Cordon Bleu Fyn Kookkuns’ which was basically an Afrikaans version of both French and South African dishes made in a stylish way. It gave the average Joe the ability to cook both familiar and unfamiliar dishes with flair and it allowed their guests to be wowed by their hosts skill. On one of these books’ covers it had a delicious looking chicken cordon bleu with oozing melty cheese. Now of course I know that chicken kyiv and chicken cordon bleu are two very different dishes, but every time I do make these chicken kyiv’s I always feel a sense of nostalgia towards that series of books that I could read for hours on end without getting bored. It is probably one of the reasons why I love food so much!
If I am very honest, I really don’t know. Some say it is from Russia, others say that it has originated in the Ukraine, but there is also one theory that it was invented by a French chef after a visit to St Petersburg. There is also talk of a hotel in the early 20th century that had chicken kyiv as its signature dish on the menu. Of course, this hotel was situated in Kyiv!
All I am absolutely sure of, is that it is a classic. There was a time where the chicken kyiv was the epitome of sophistication in the culinary world and if you were served a chicken kiev (as it was spelled in the 1970’s) at a hotel, then you know it oozed of luxury and fine dining.
When the Ukranian war first started to become known to the world, there were some countries that wanted to show their solidarity with the people of Ukraine. It was not until around 2022 that the supermarkets in the UK started to rebrand Chicken Kiev as Chicken Kyiv. This has brought back the popularity of the dish and even now in 2025 you will still see the dish being labelled as Chicken Kyiv in most UK supermarkets and on online recipe blogs like mine.
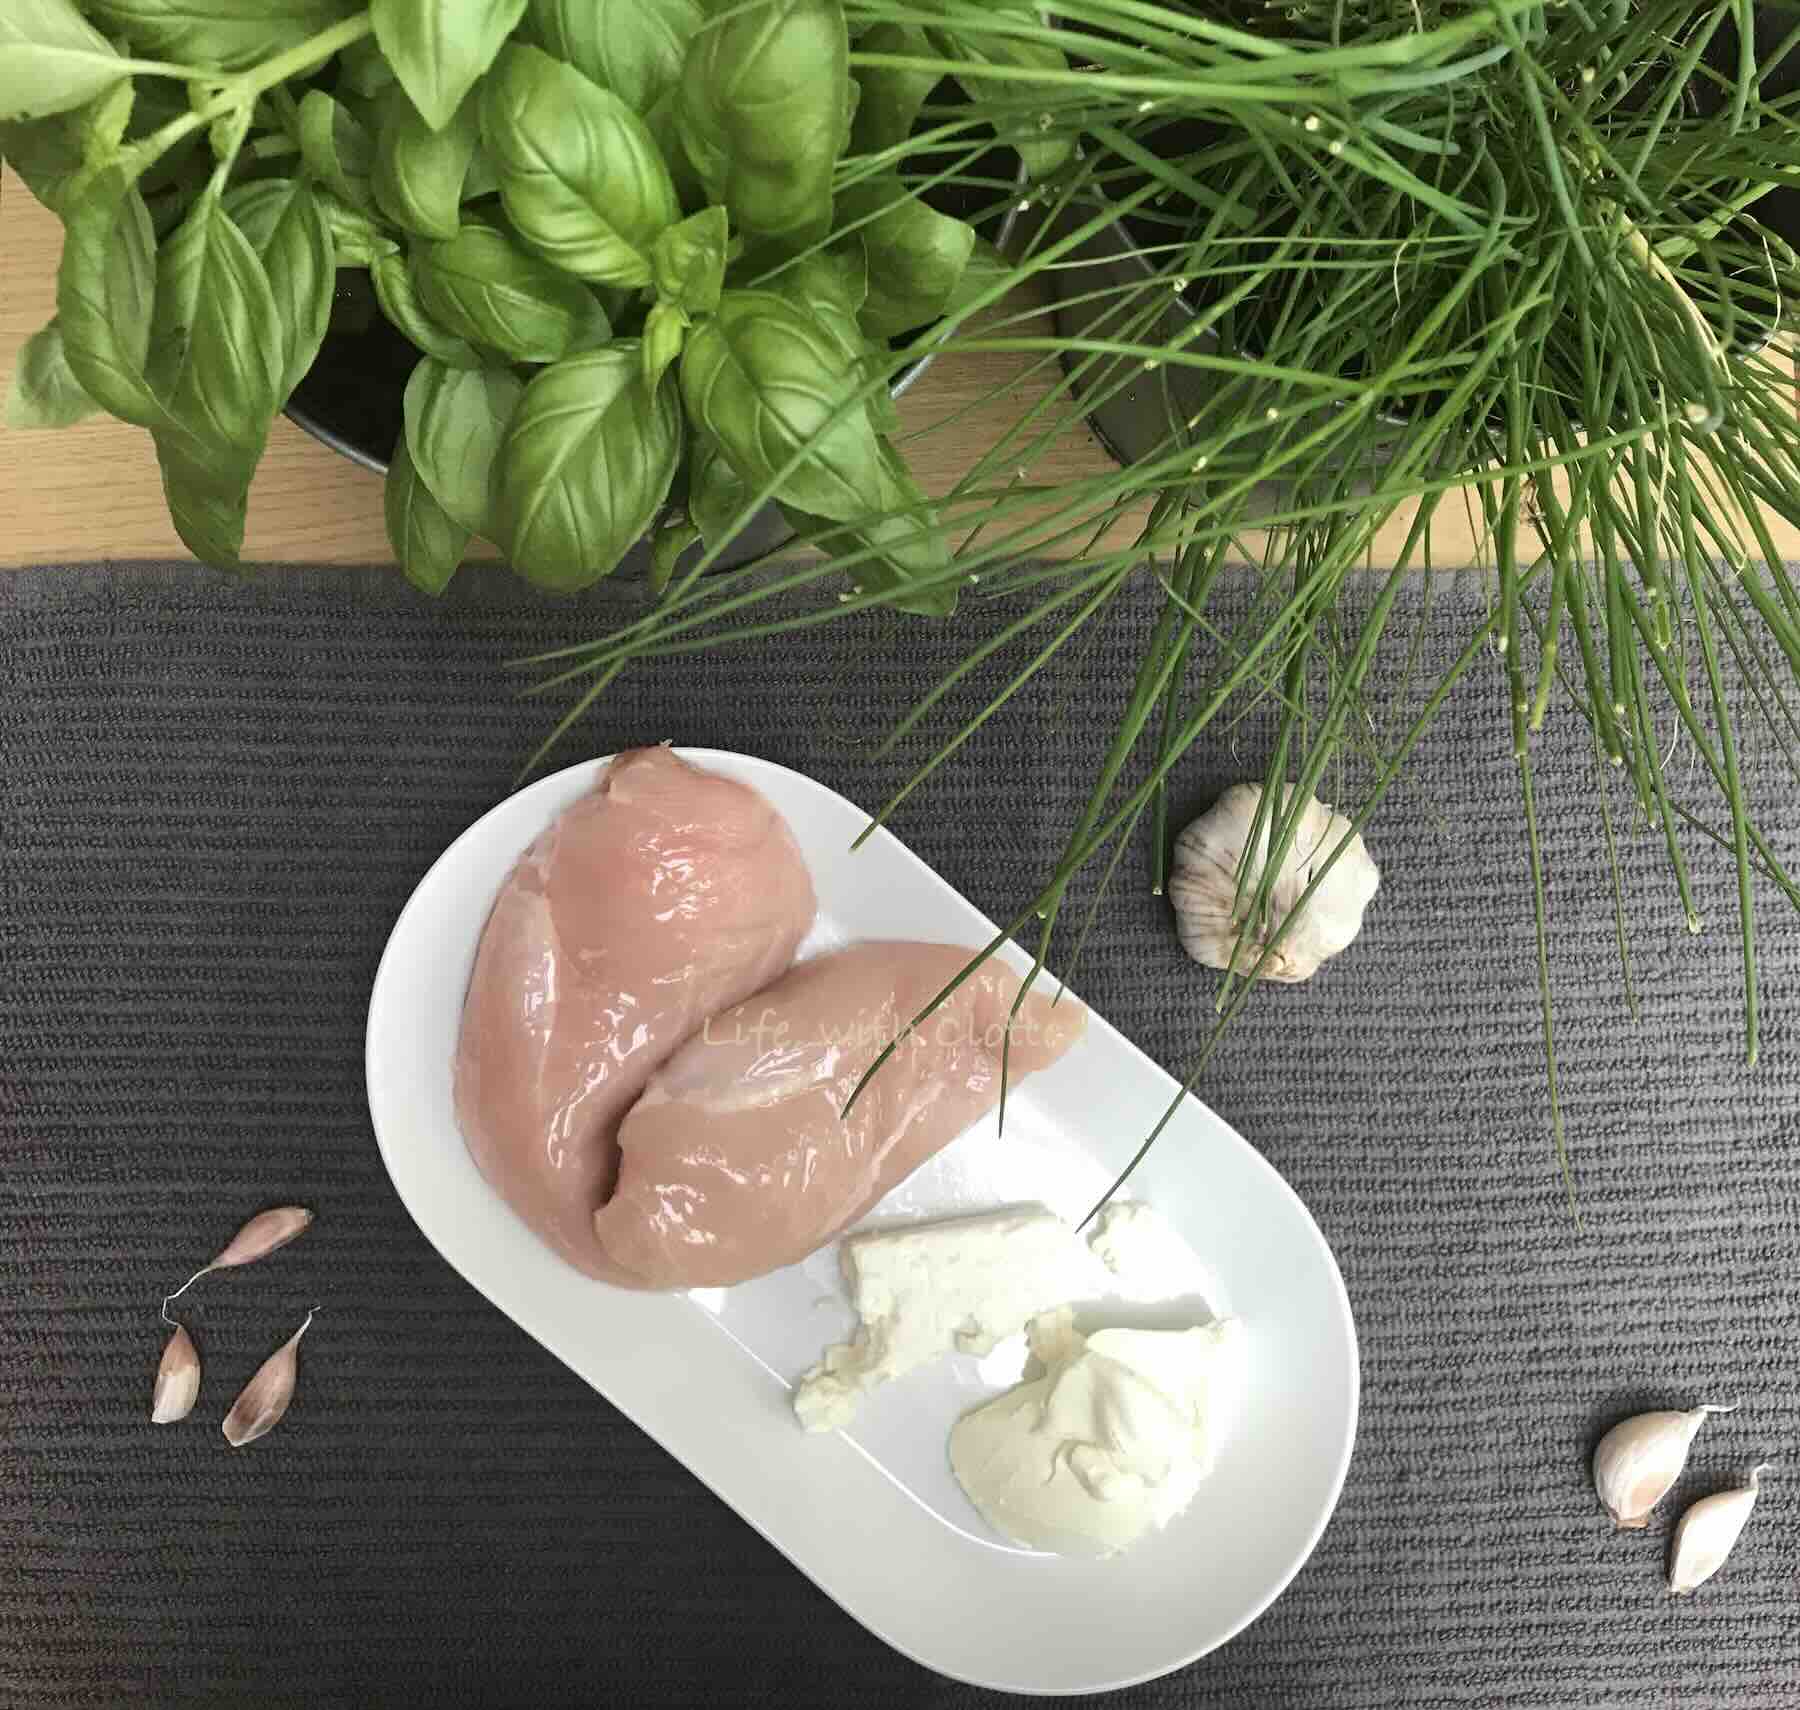
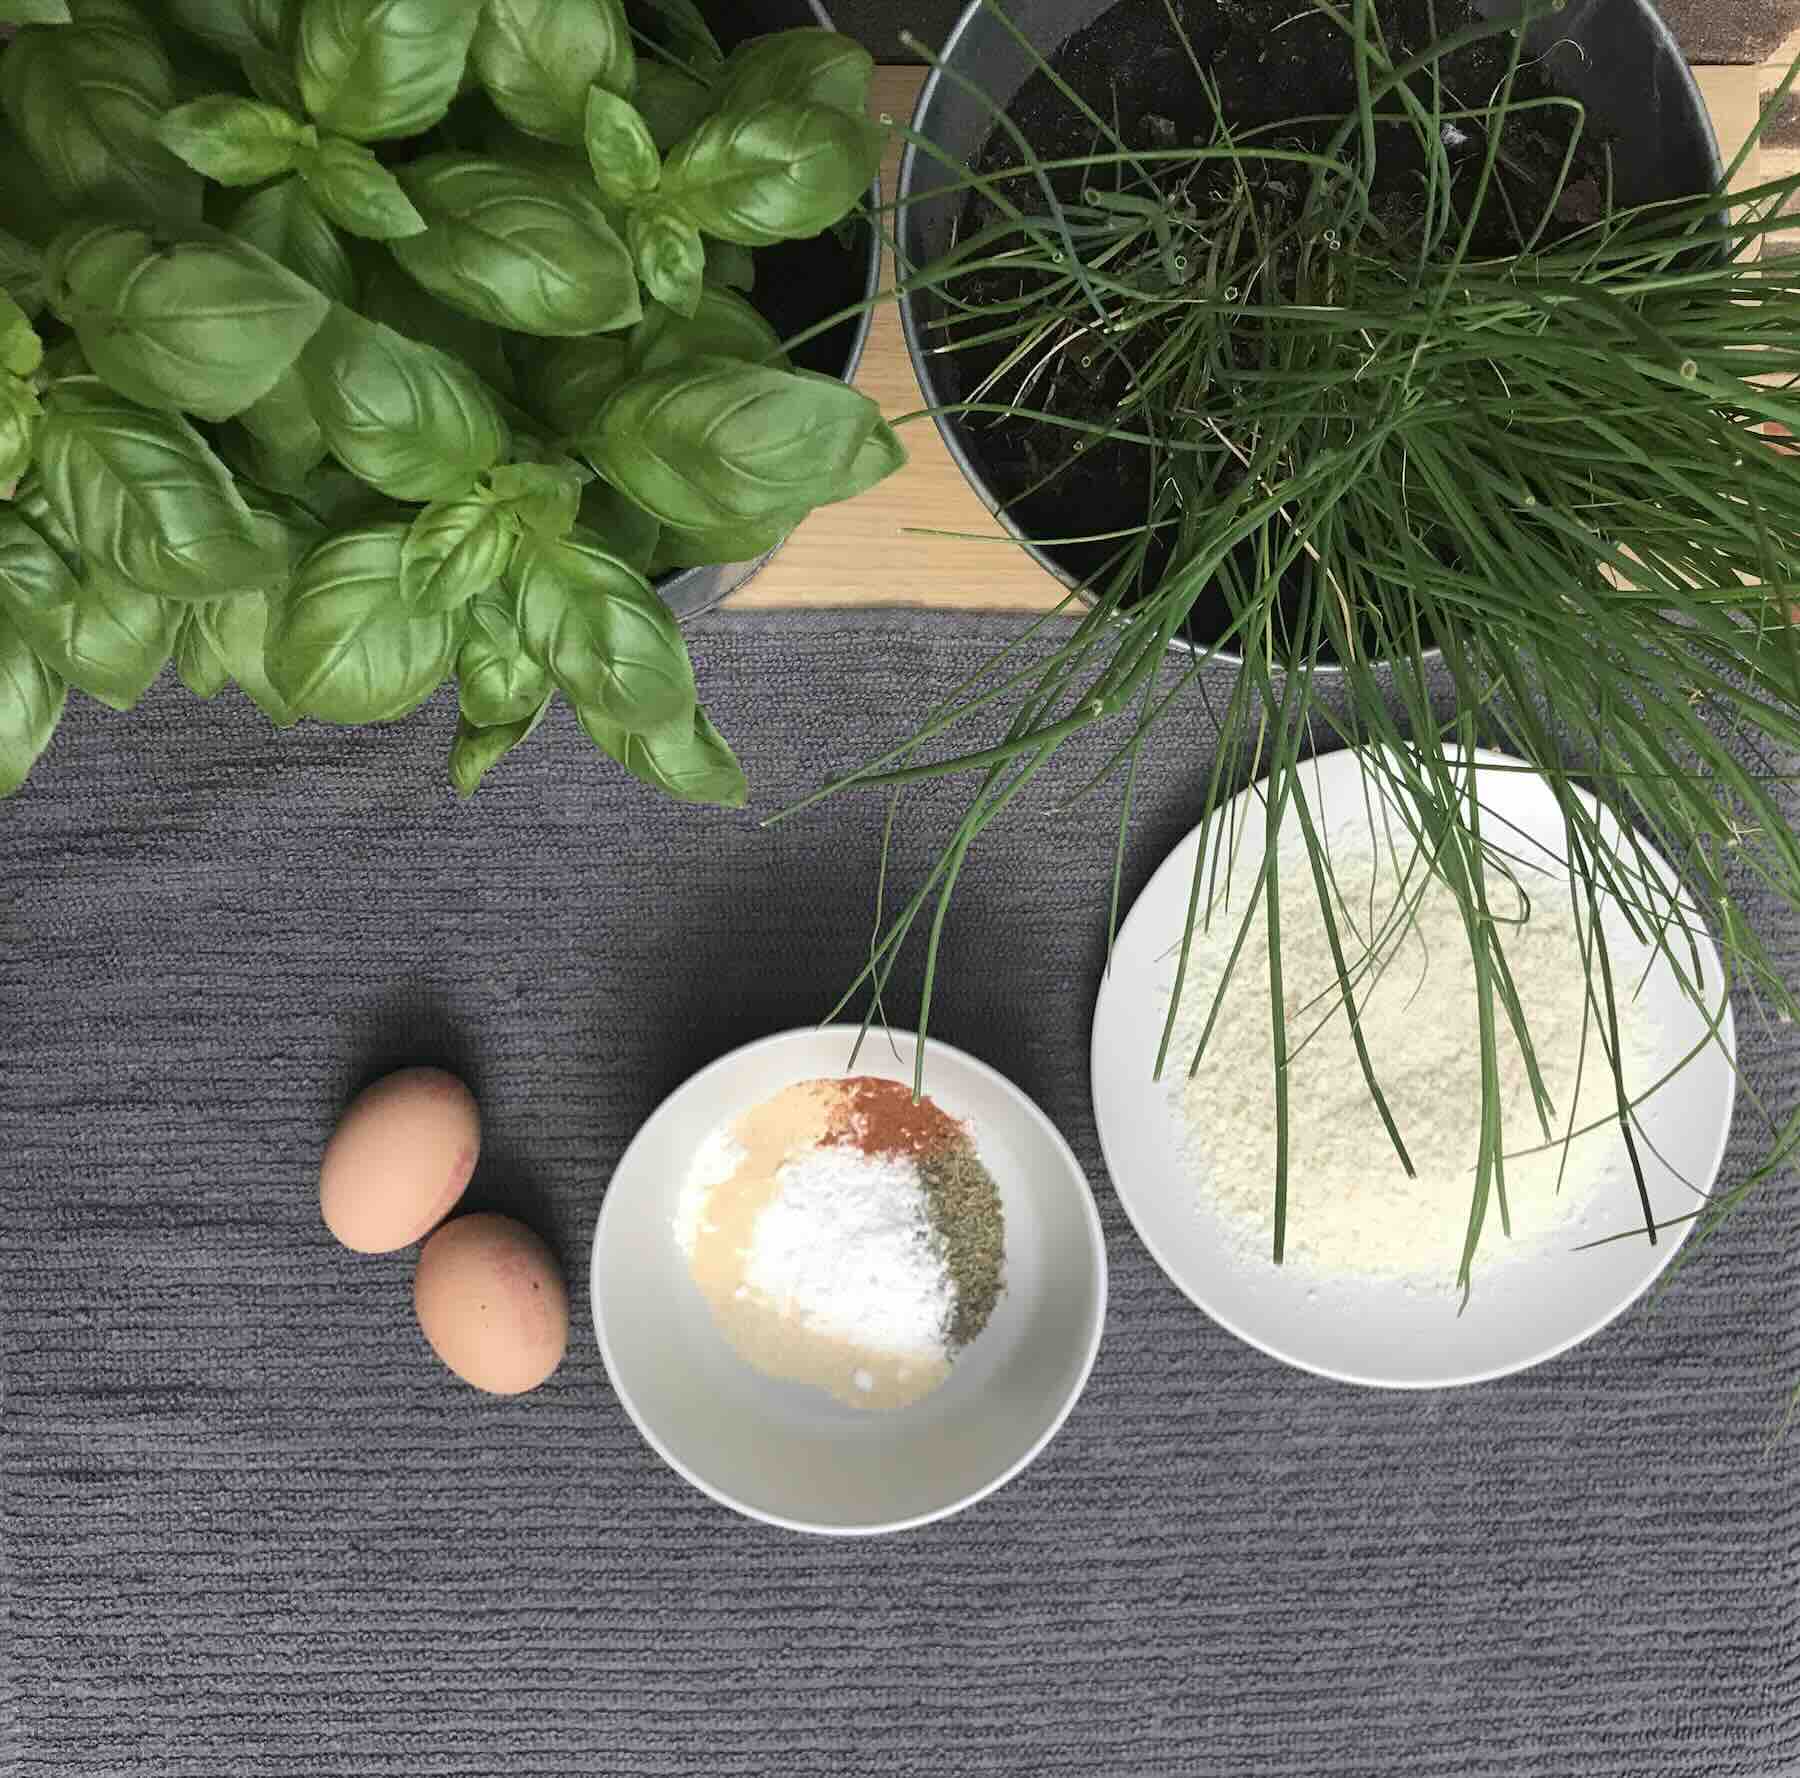
Weigh or measure out your ingredients first. I like to ensure that I have everything ready before I start cooking. Once I have ensured that I have everything to hand to make the dish, I make the filling first as it needs to chill before I can use it.
I take two cloves of garlic and mince it really finely. For this version, I’ve also chopped up some chives and some basil as my herby accompaniments.
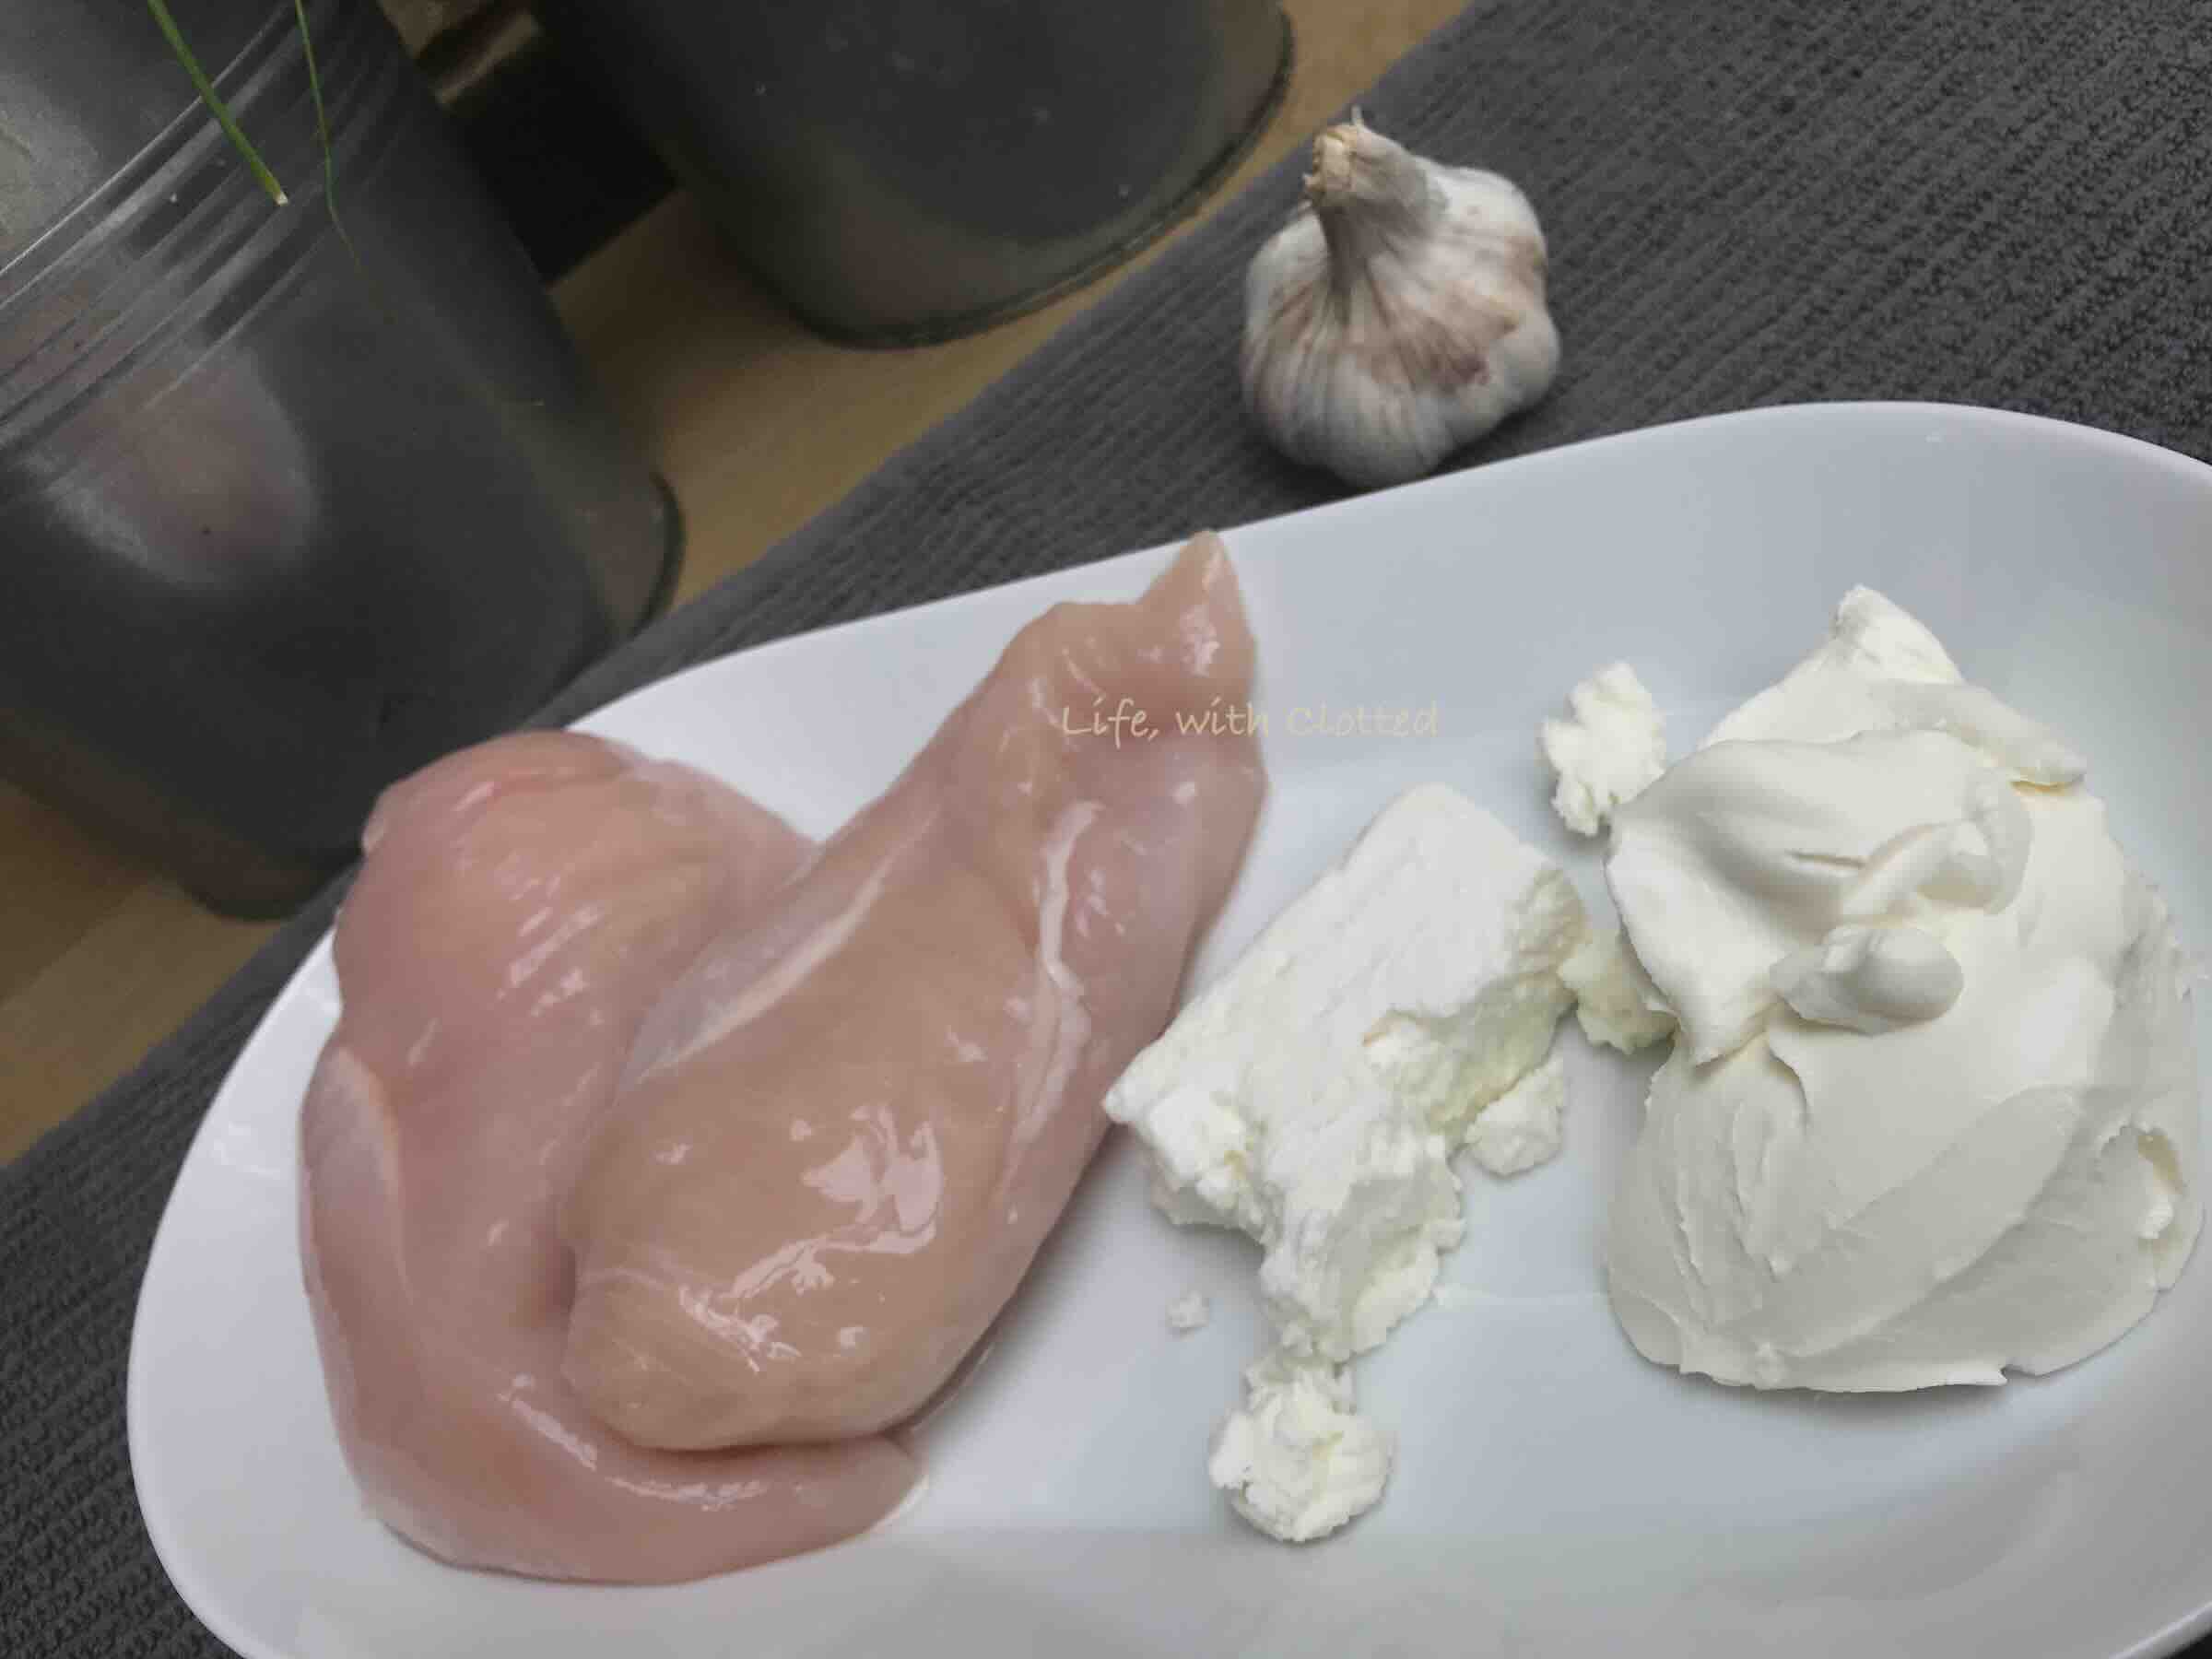
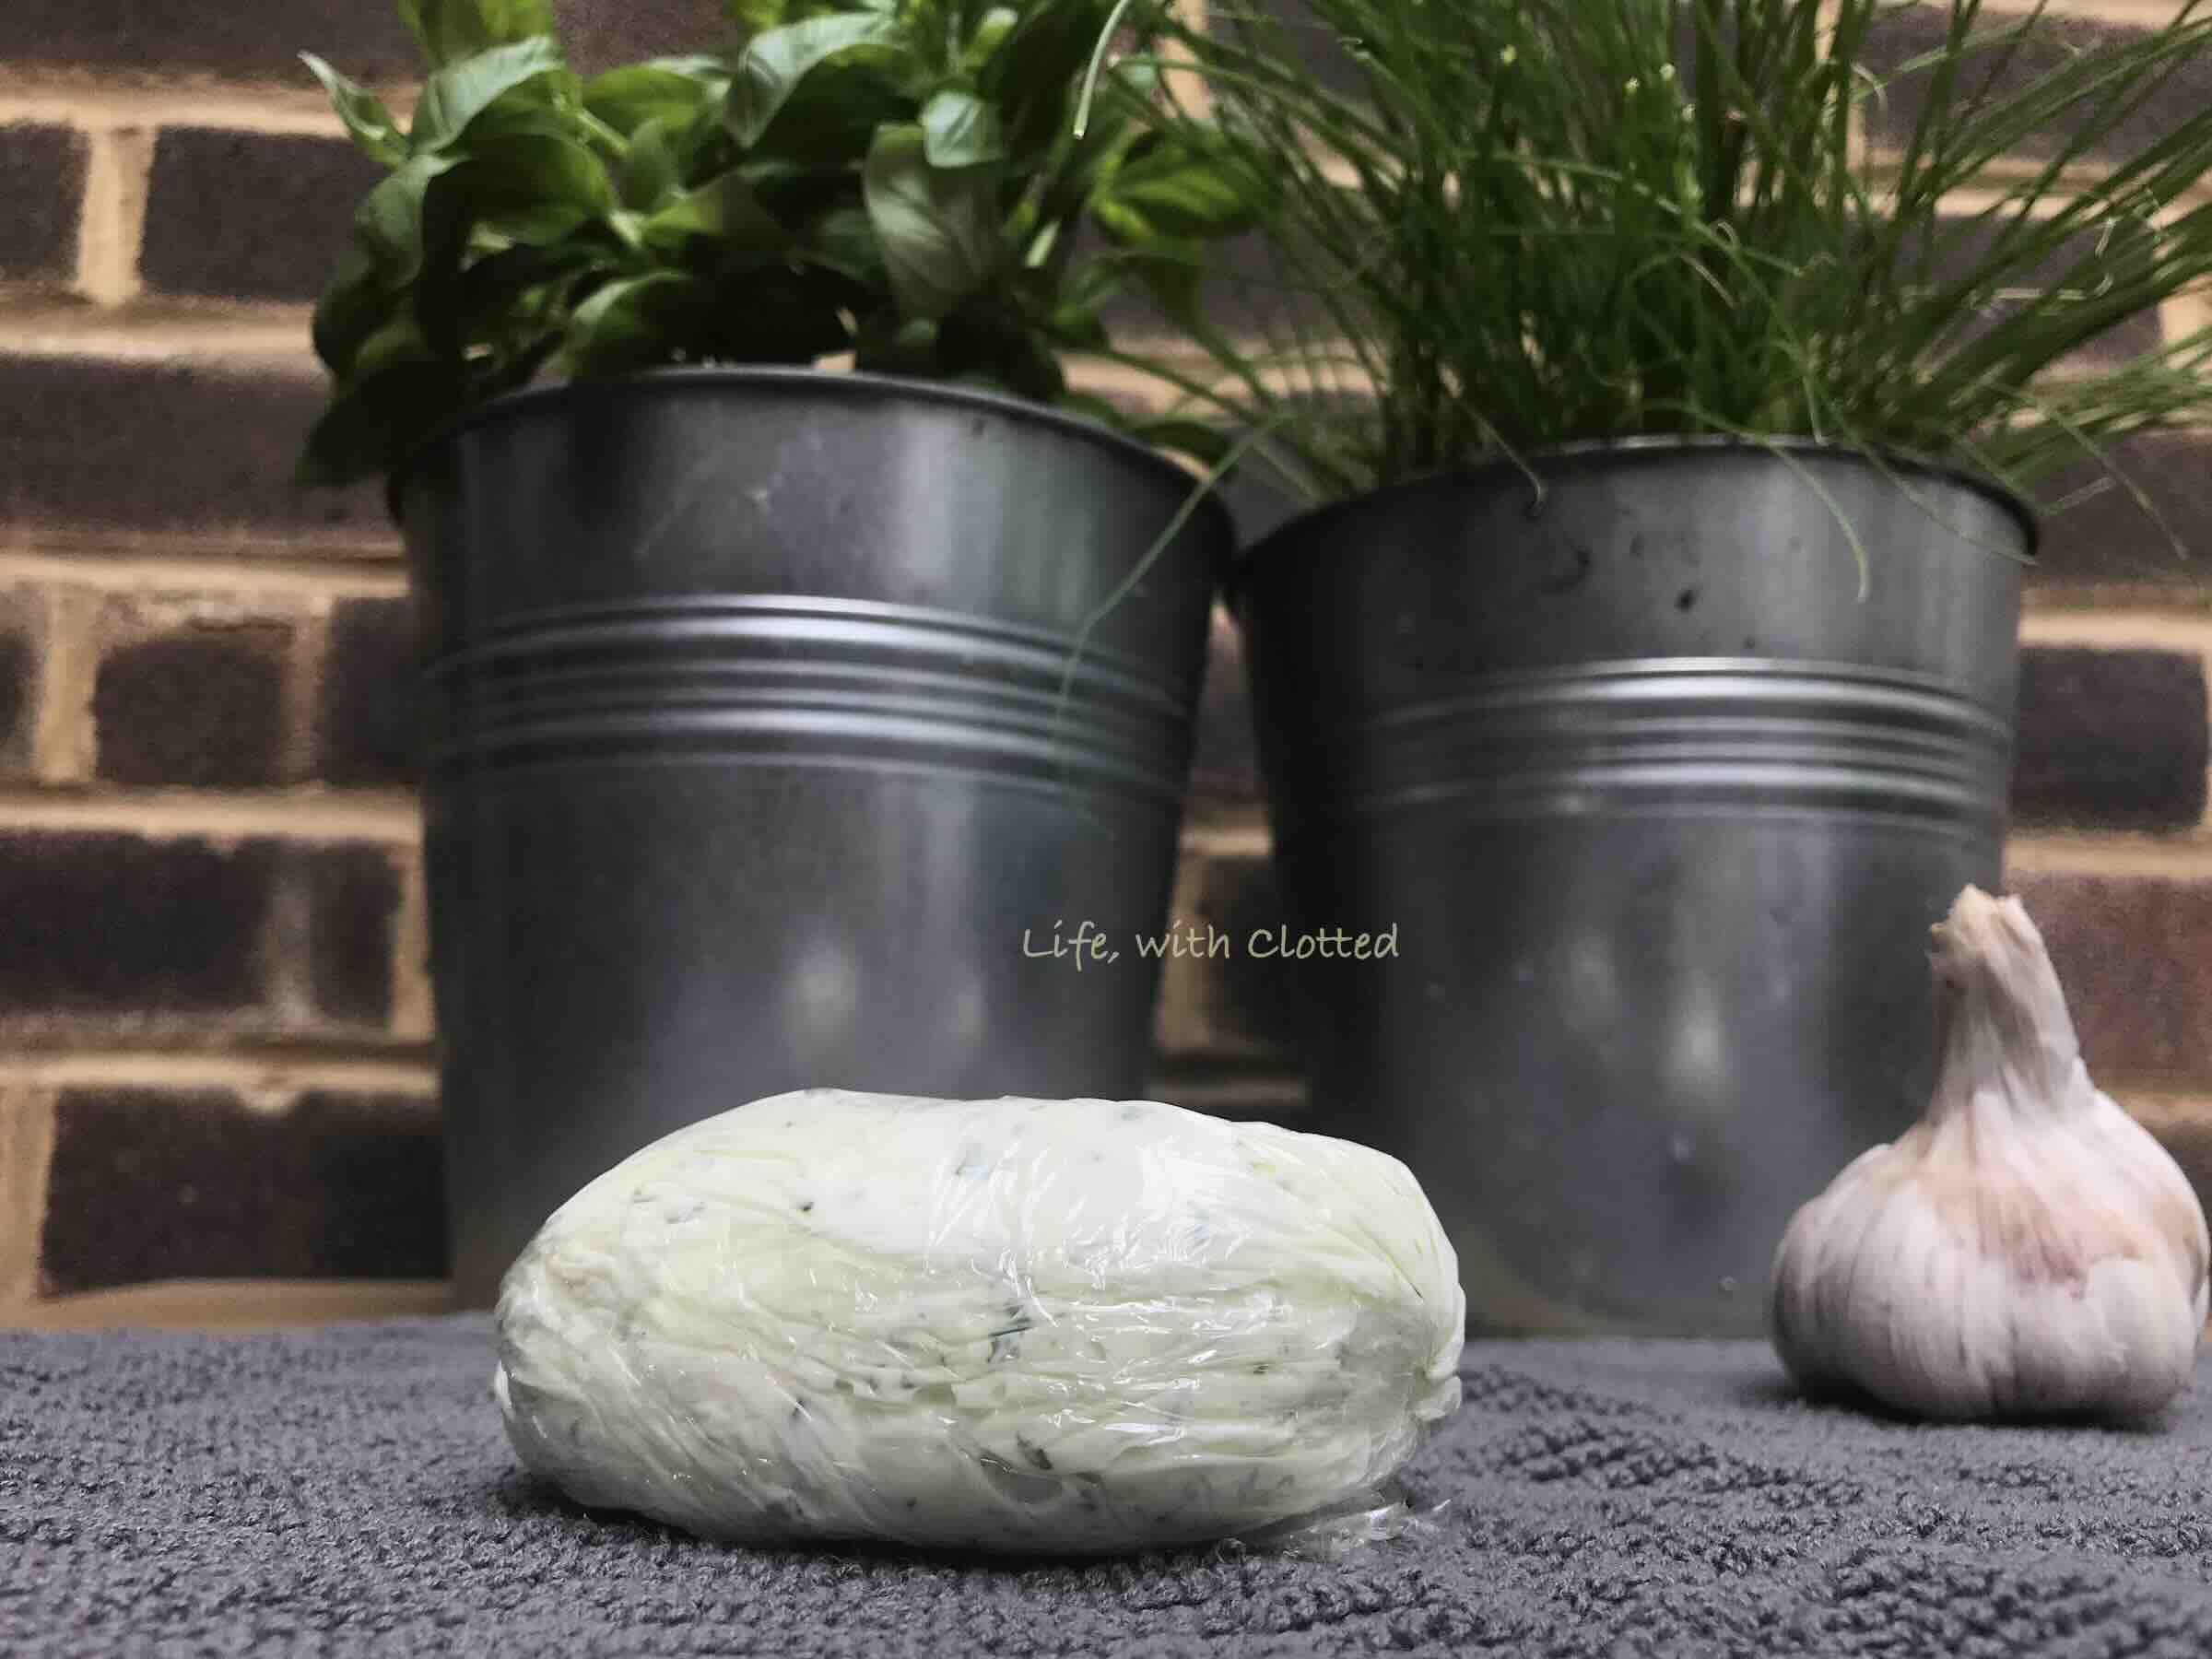
Once the herbs were chopped, I combined this with full fat cream cheese and some feta cheese for added luxury and saltiness. I didn’t add any more salt to the filling as I thought it already packed a punch. I rolled this up into a little log and wrapped it in cling film and then placed it in the fridge for an hour or so to firm up.
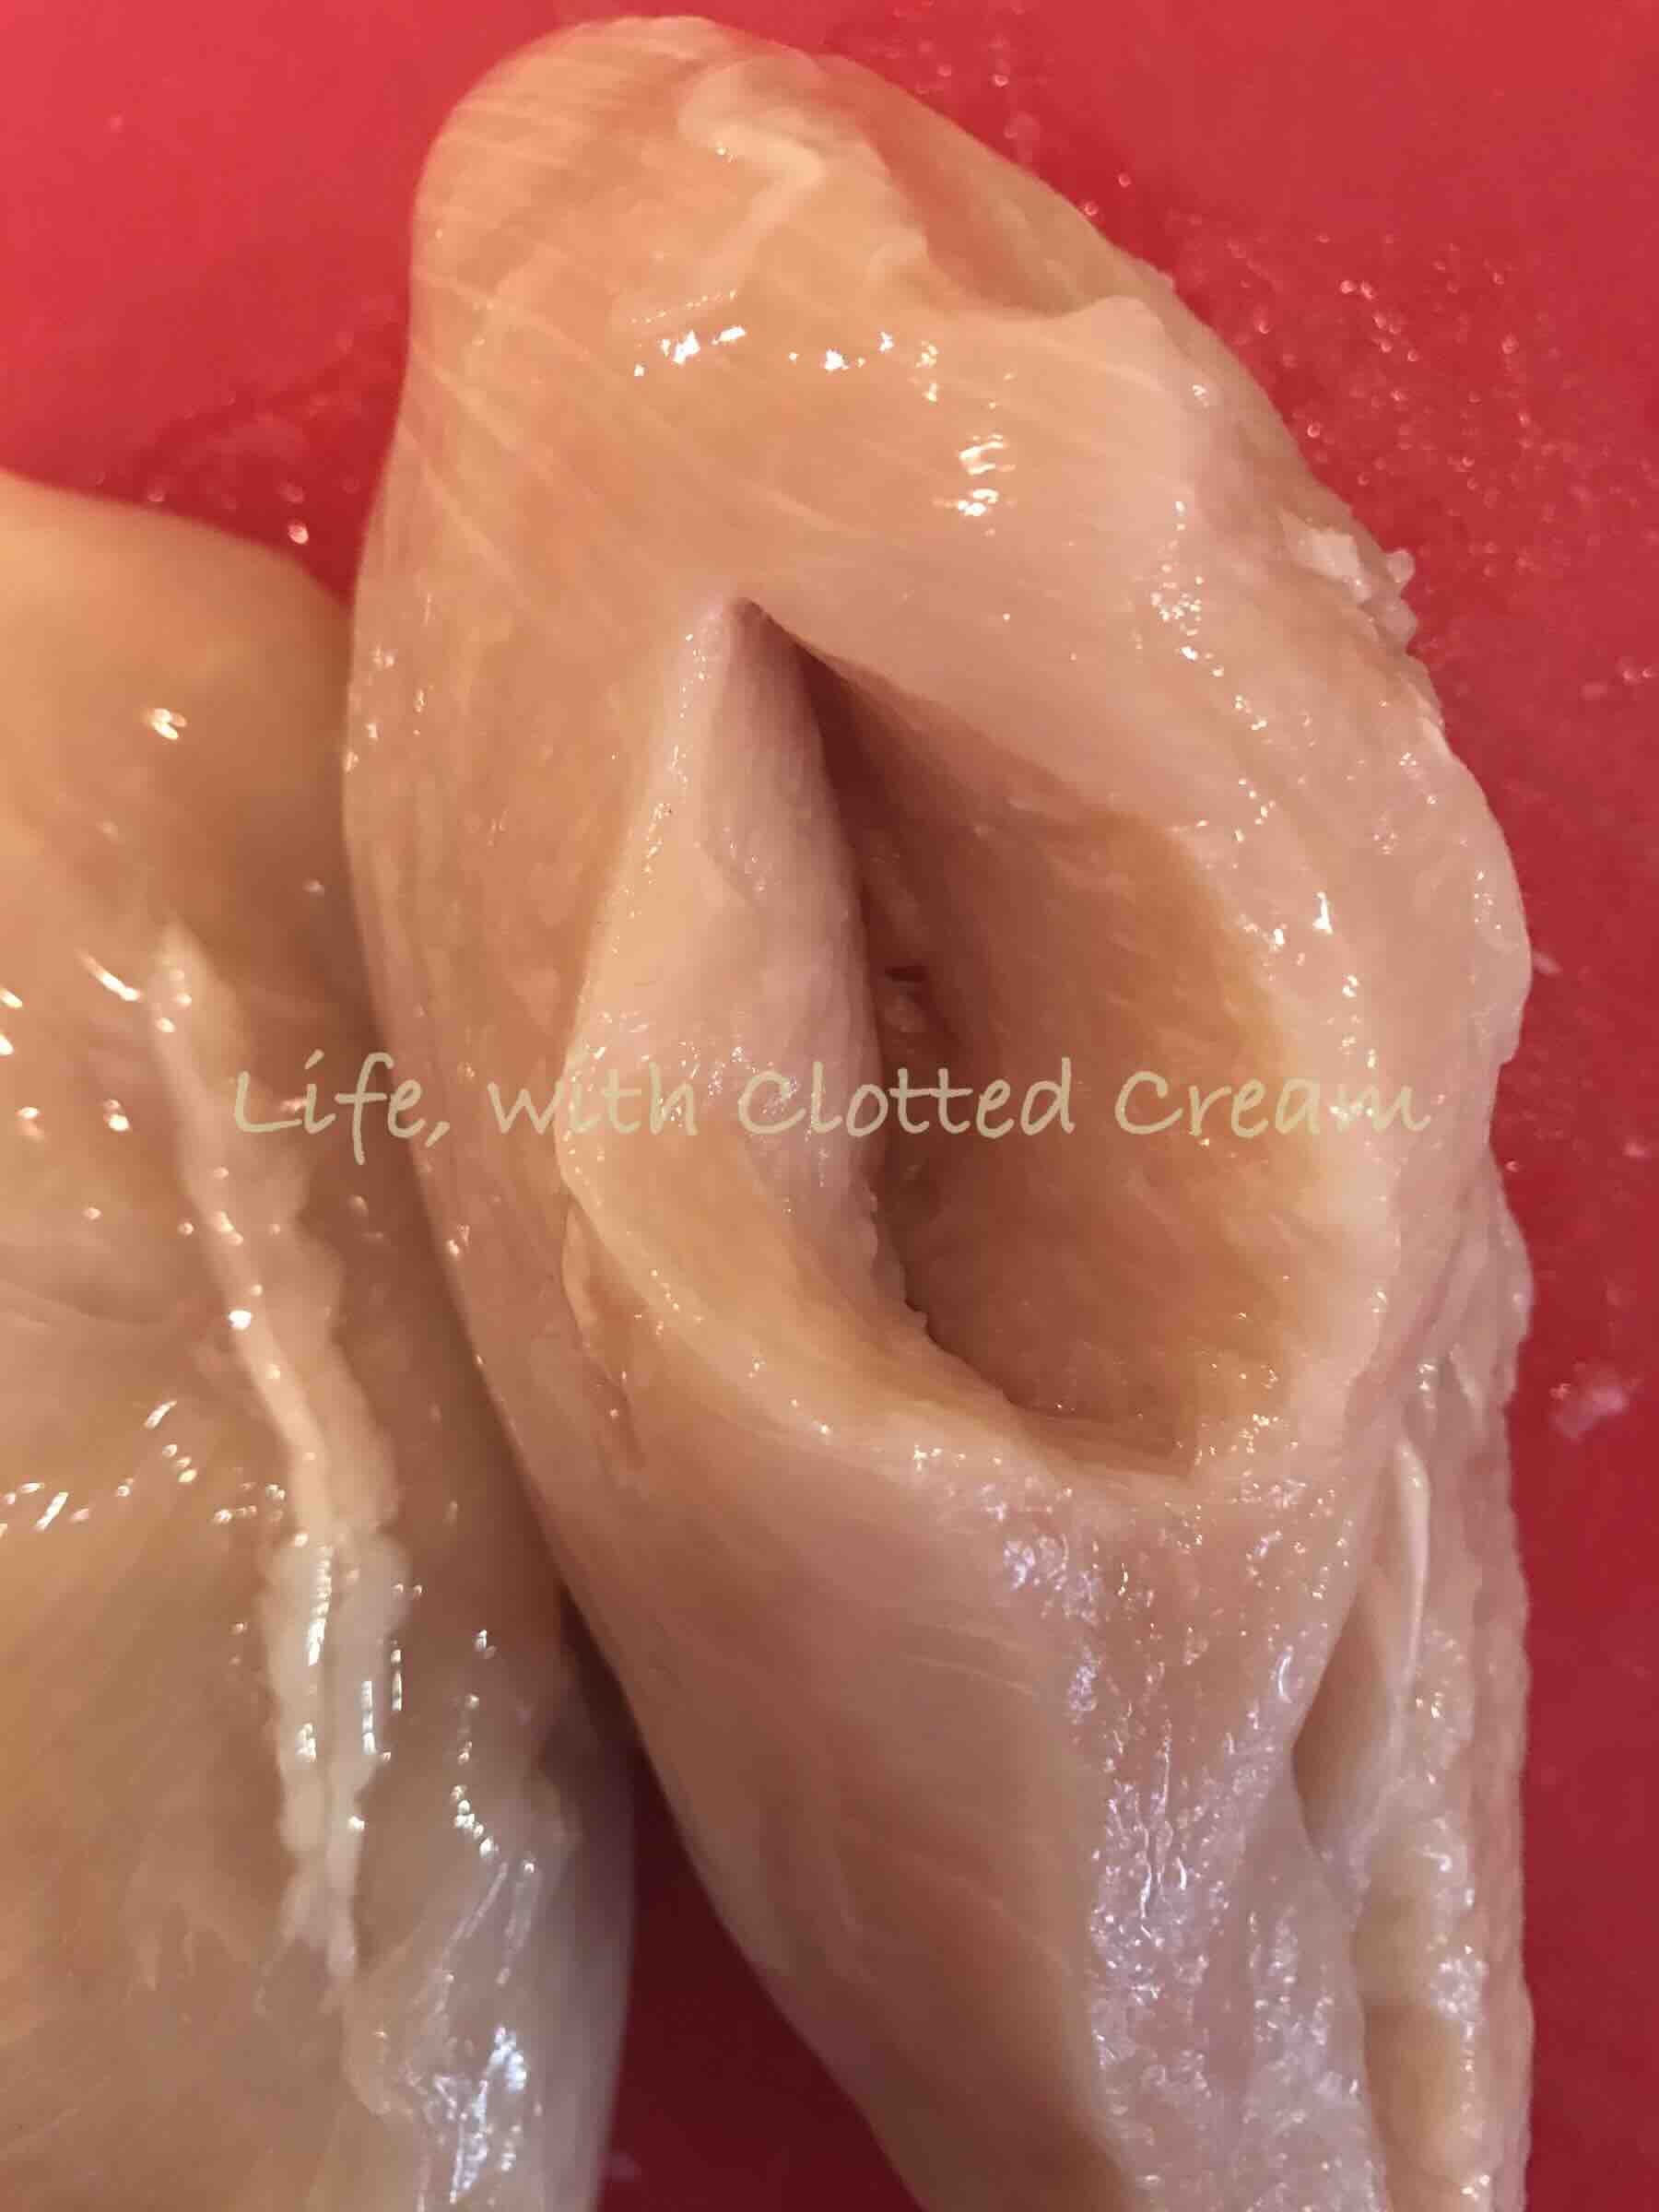
Once the filling was firmed up I took two chicken breasts and found the thickest part. I then cut a pocket into the side, making sure that I didn’t cut through any other part.
I took a teaspoon and filled the pocket with as much filling as I could without it breaking through the meat or overfilling it so I won’t be able to seal it back up. I took two toothpicks and crossed them diagonally over the opening, ensuring that the filling is securely sealed inside. I then placed the chicken back into the fridge uncovered to allow the filling and the chicken to go cold again. I find that the colder the filling, the less chance it has to leak when it is being cooked.
As the chicken chills in the fridge, I make up the crummy coating. To one bowl I add cornflour along with dried herbs and spices. For this recipe I used garlic granules (I adore garlic!), sumac, onion granules and dried basil to keep the flavours similar both inside and out. I also season this flour with fine salt and fresh pepper.
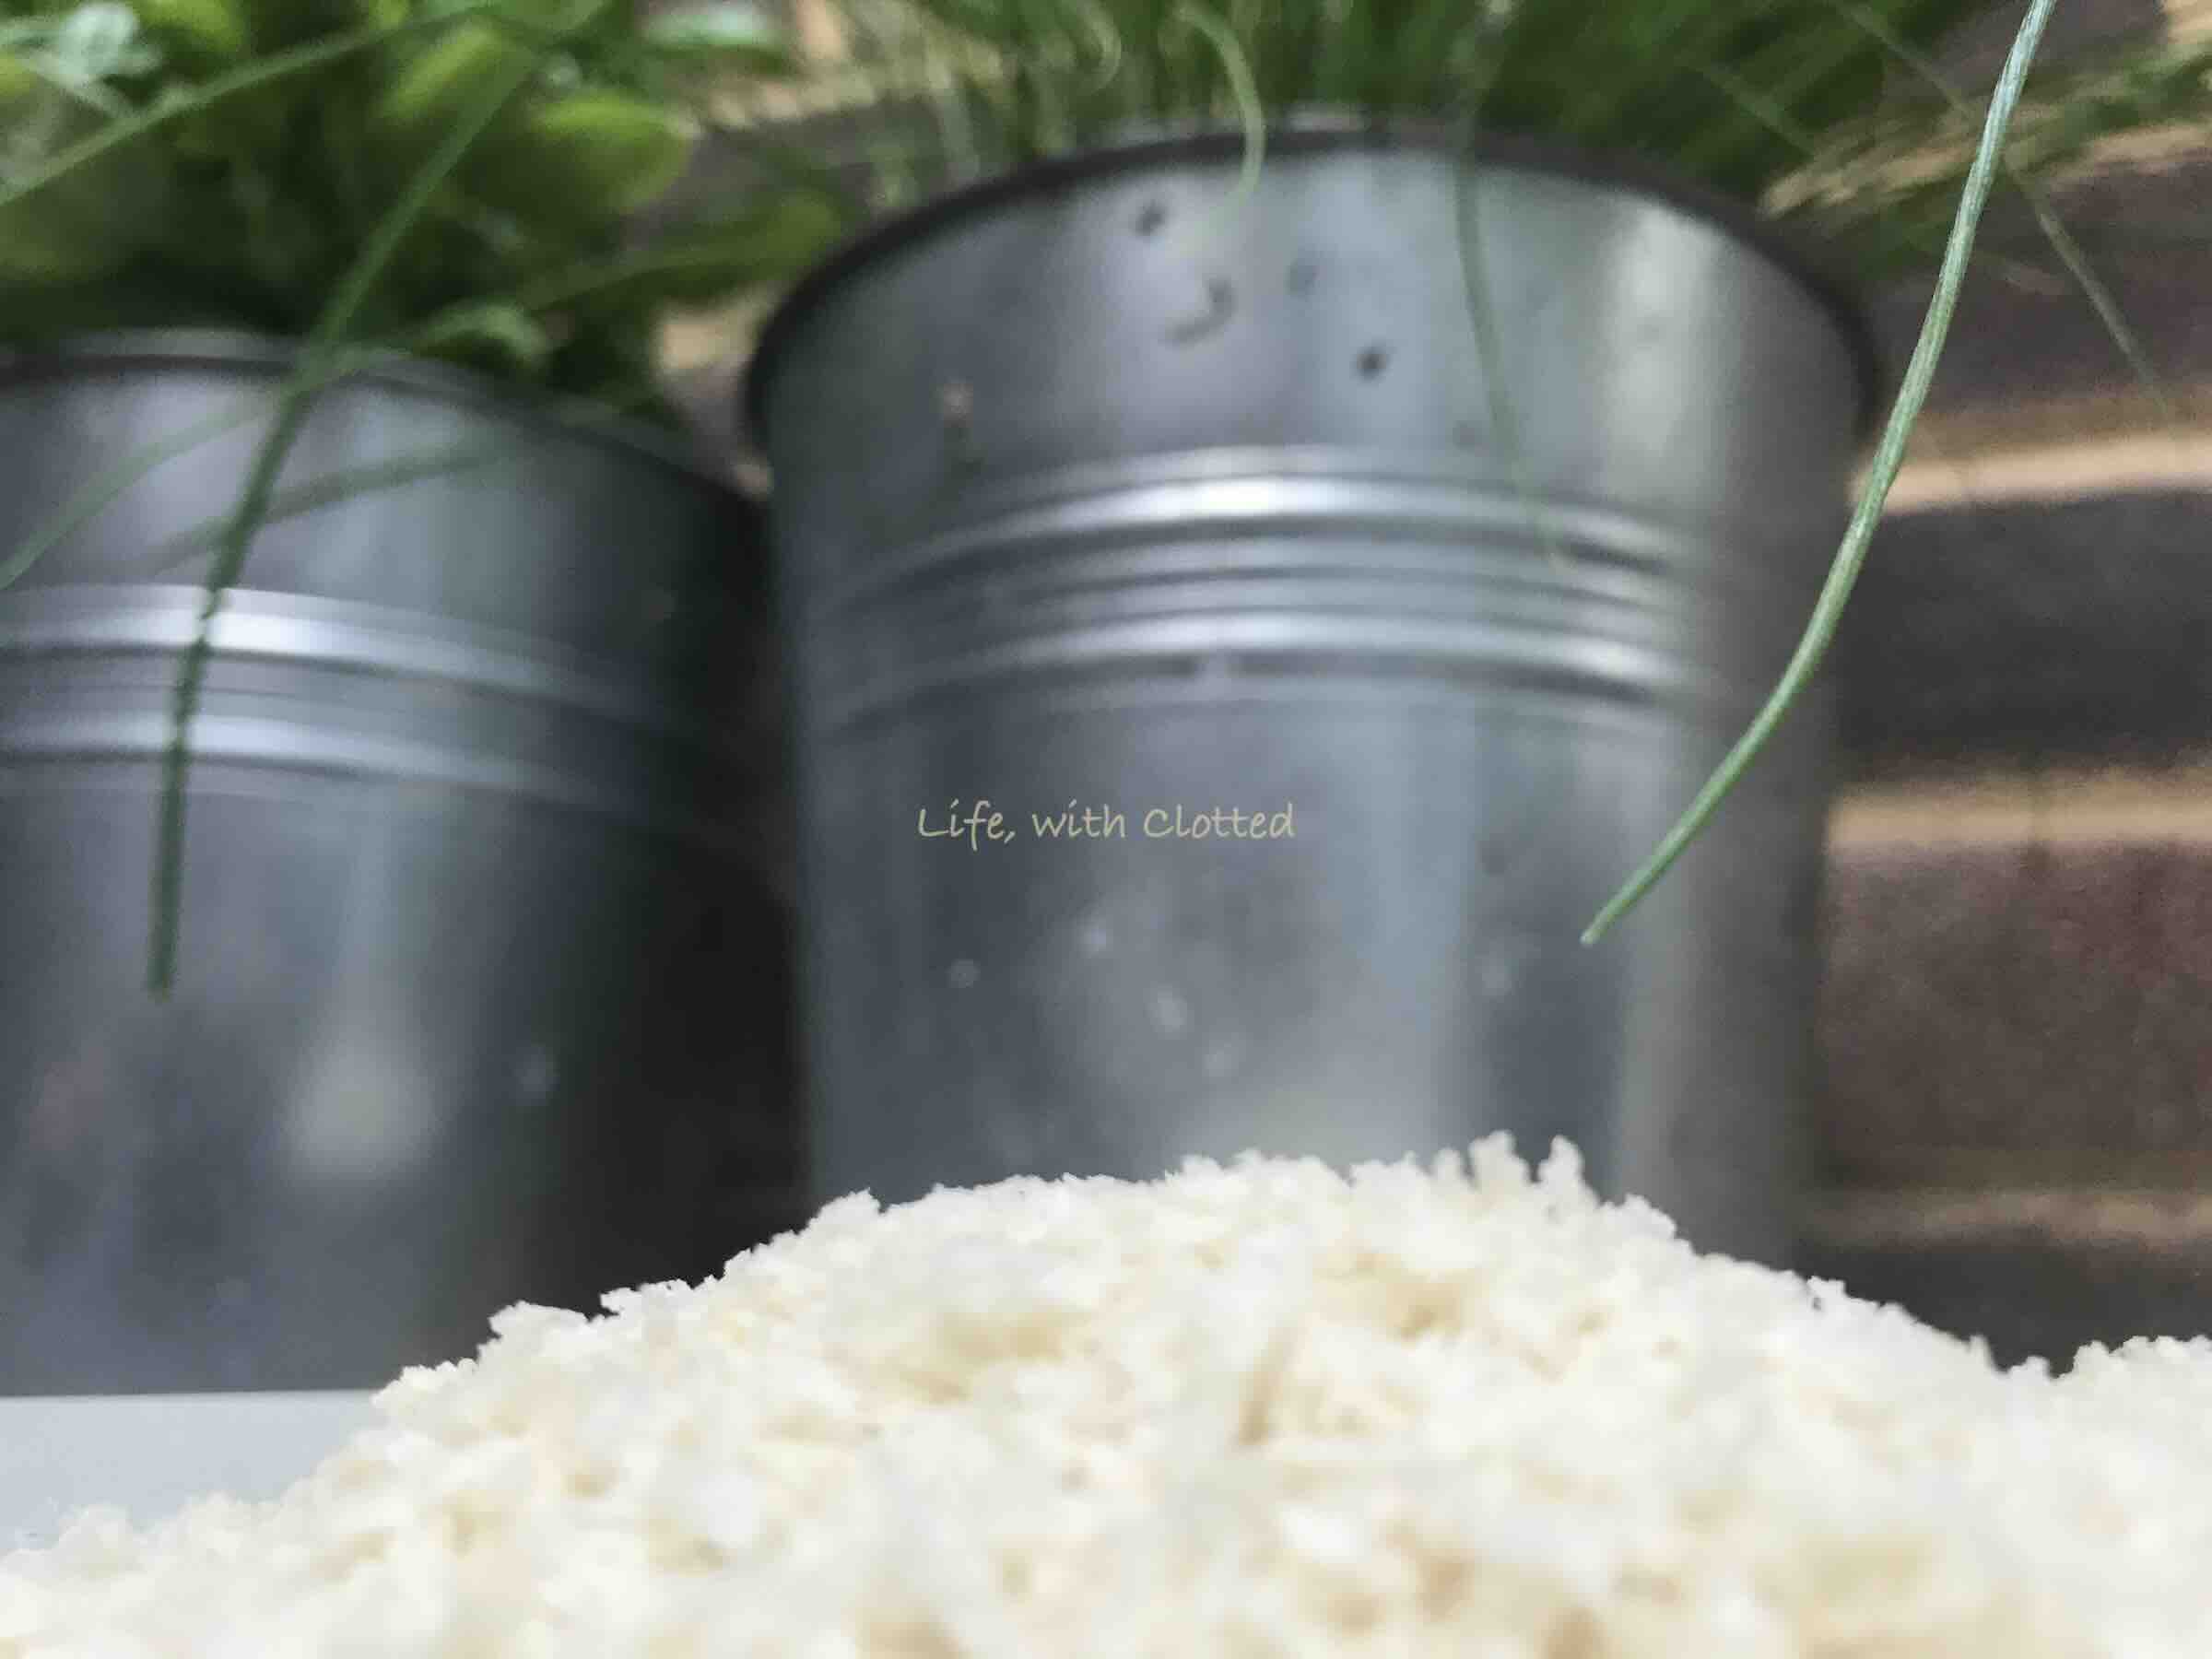
I beaten two eggs since I’m double-coating my chicken to prevent the filling leaking and I also fill a bowl with panko breadcrumbs. When I bread raw meat such as chicken I always ensure that there is more breading ingredients than what I may need. One of the reasons for this is that I don’t want to cross-contaminate any of my ingredients with the meat and secondly, once I’m dipping into the chicken I have to wash my hands again before refilling any of the bowls and that to me is counter-productive. I am not a big fan of waste, but I can assure you that I’m even less of a fan of salmonella! I would rather have too much breading ingredients left-over that must go into the bin than contaminating the ingredients that must go back into the cupboard.
I line up my station starting with the seasoned flour, then the beaten egg and lastly the panko. Since I am double coating, I will take the chicken from the panko and dip it back into the same production line in the same order.


This is the easy bit. I start off by frying the chicken in a frying pan with a little oil. This gives the chicken colour, but it isn’t enough to cook it through. Once the chicken is browned on all sides, I transfer both the kyiv’s to the oven on a wire rack. I choose to place it on a wire rack in the event of a leakage the panko coating won’t go soggy.
Since I’ve acquired an airfryer it is even easier! I spritz the chicken with some oil, then place in the airfryer until fully cooked through.
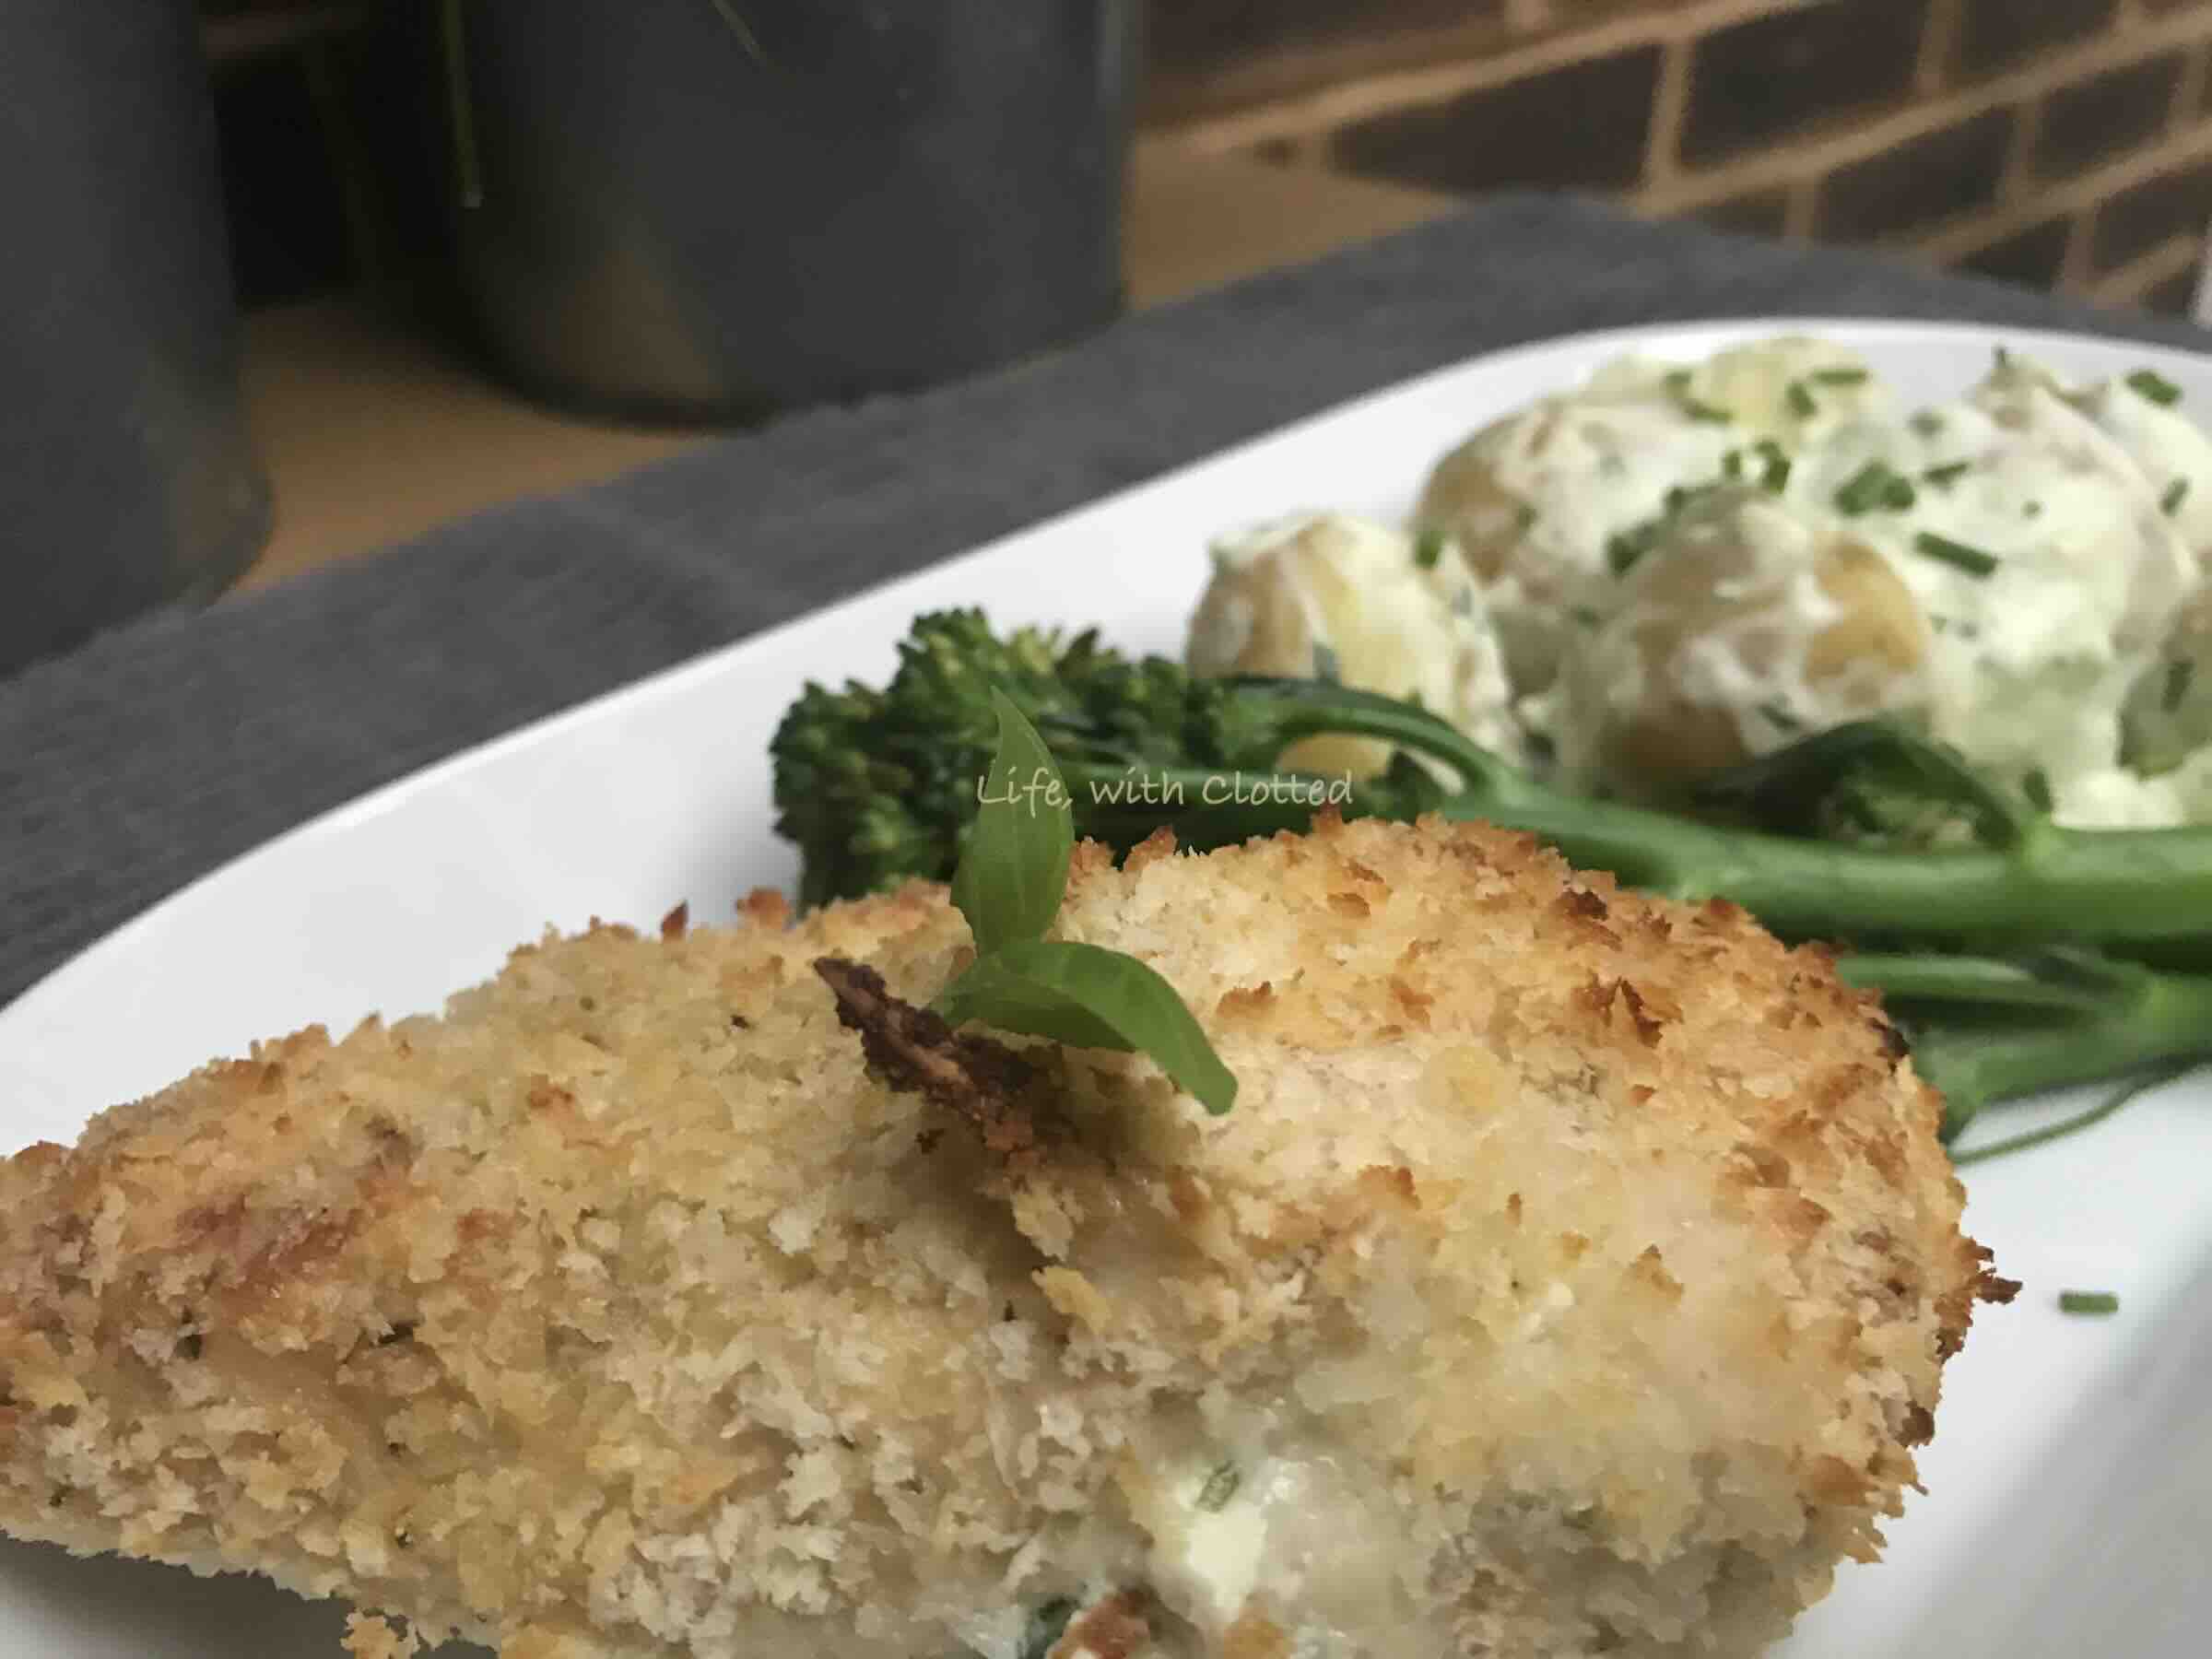
Step 4: Serve and enjoy
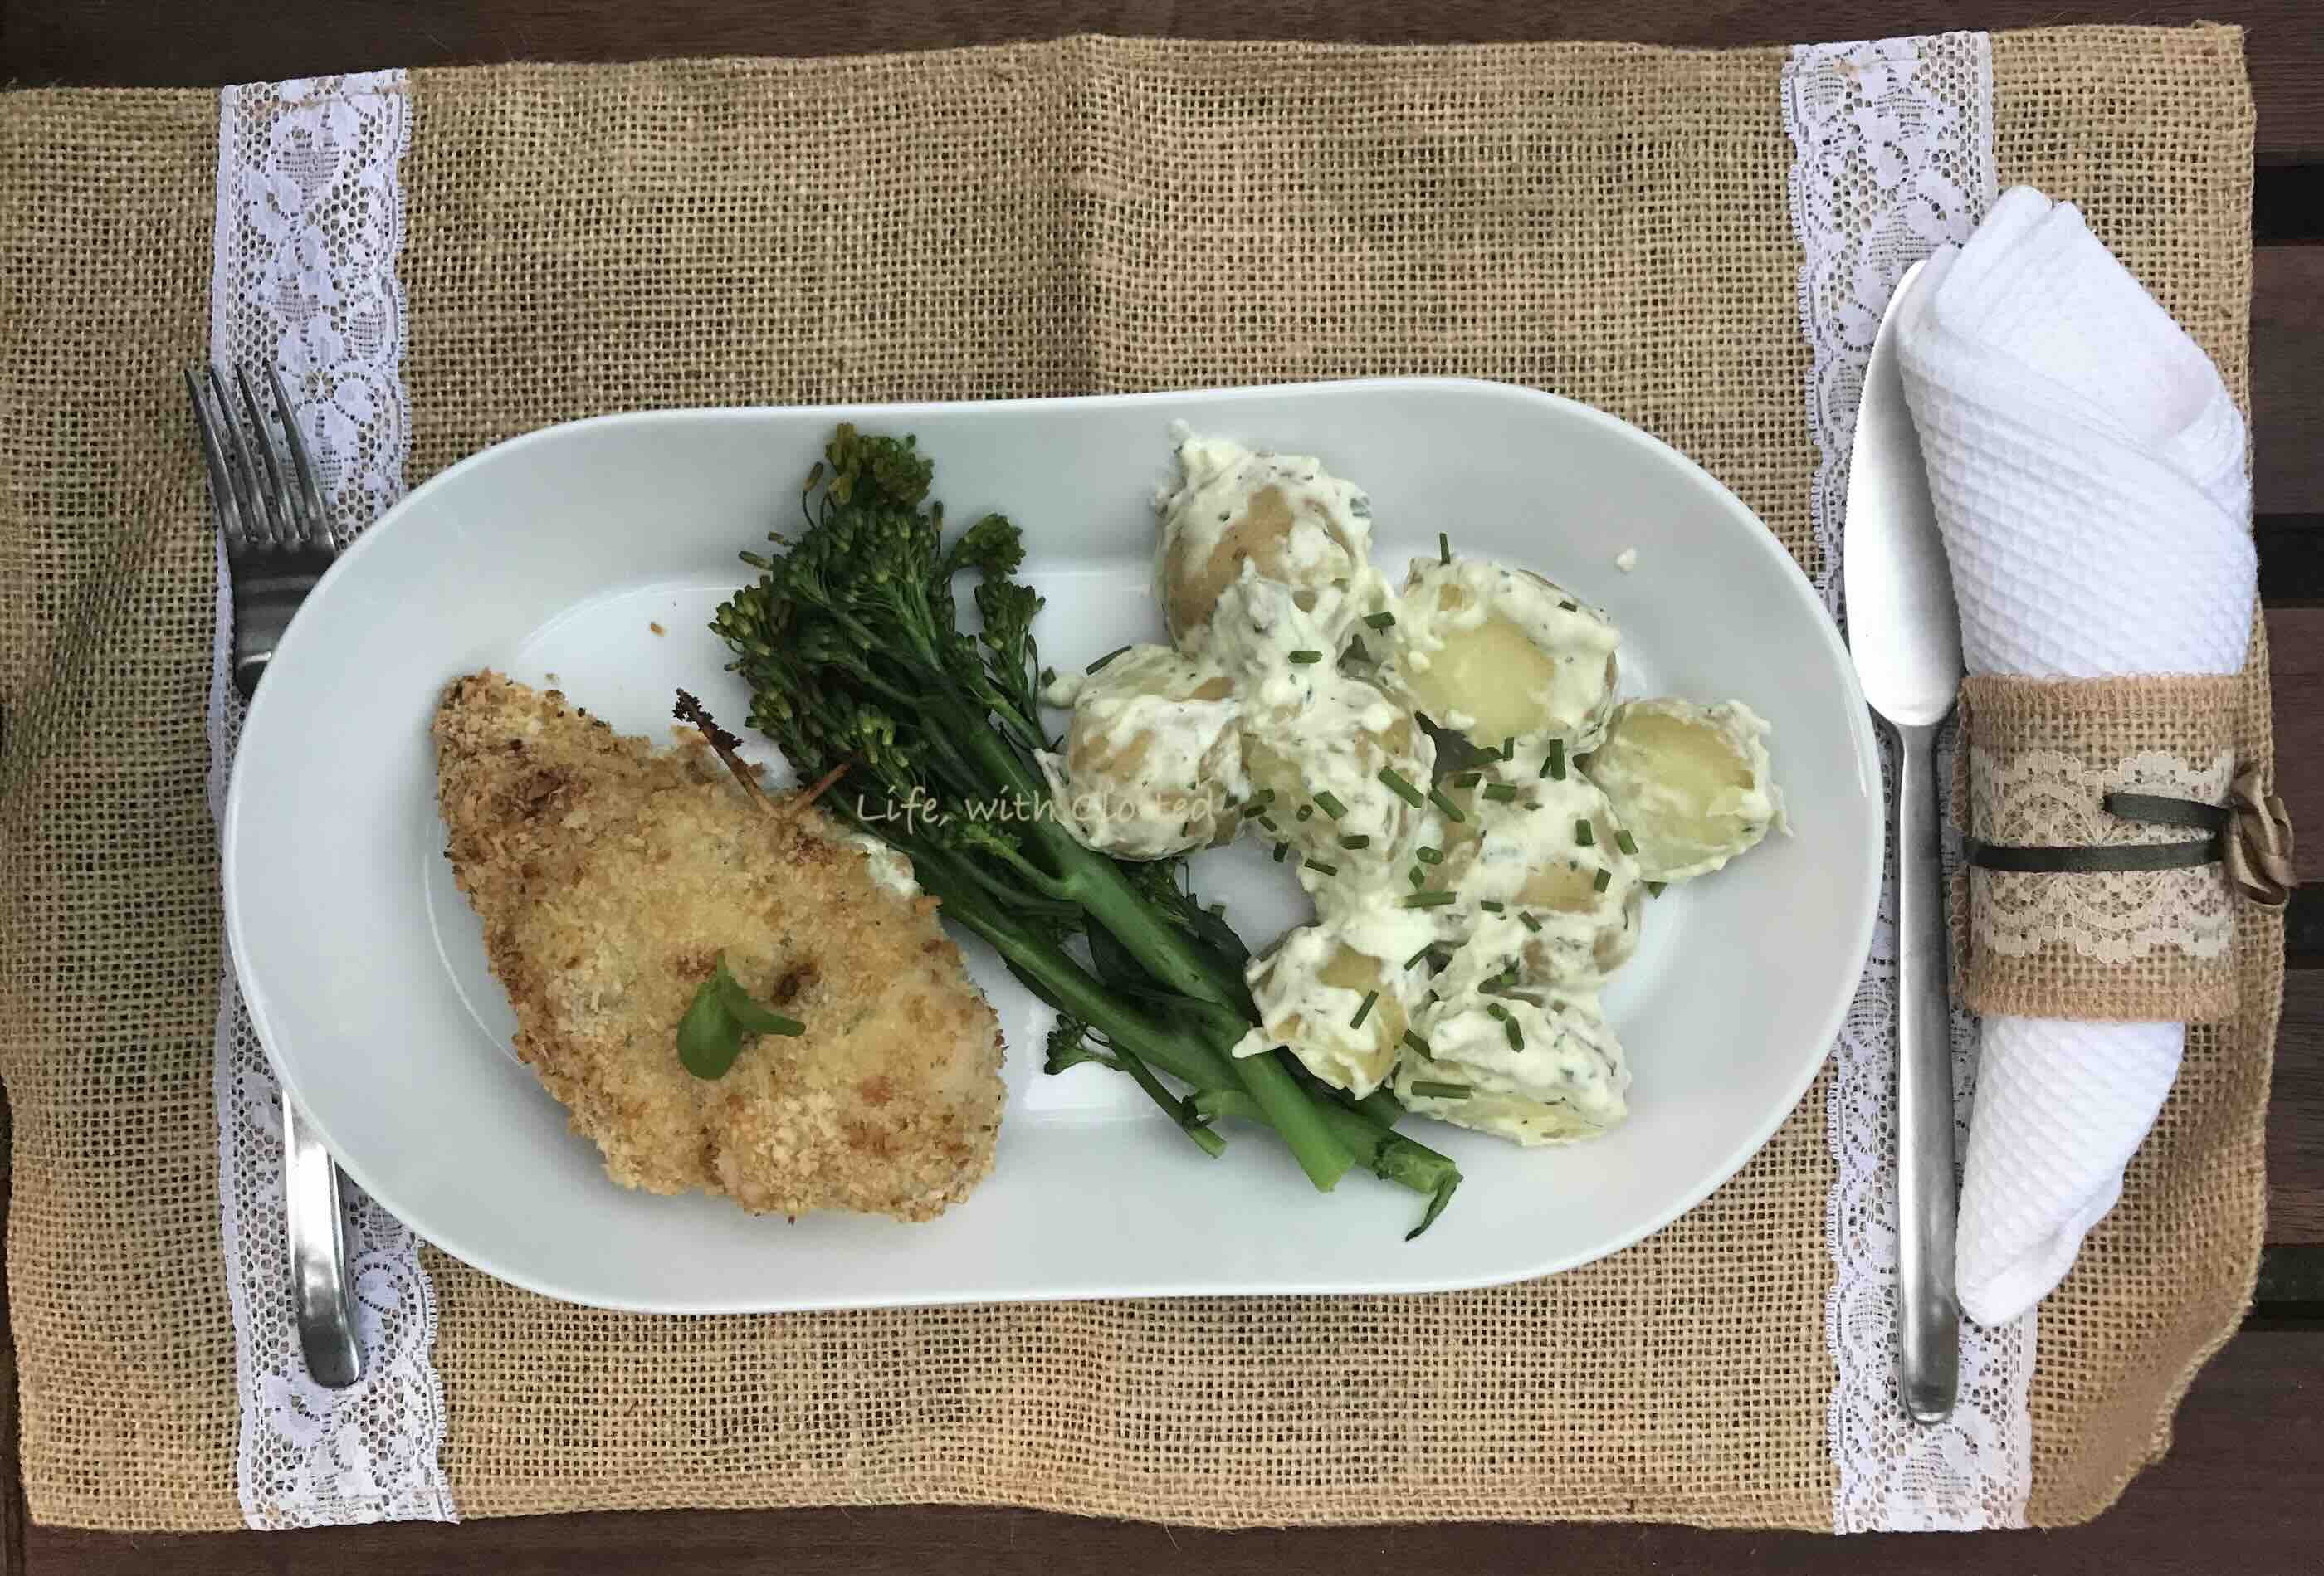
Now for the tasty bit. I like serving my chicken kyiv simply since it is already packing both a garlic and a cheesy punch. I serve it with some homemade potato salad and steamed tenderstem broccoli.

Yes, I have very successfully frozen both raw and fully cooked chicken kyiv’s. I find that both are best cooked from frozen in a moderate oven. I normally add 10 or so minutes extra when I cook chicken this size from frozen. The only thing I find is that if I freeze it raw, I have to spritz the chicken with a bit of oil otherwise it doesn’t go golden, but stays a pasty white panko colour. Whichever way you prefer to cook it, just ensure that it is fully cooked through and not pink in the middle as this would still be raw. I like to use my infrared thermometer and measure the thickest meaty part when it reaches 74°C (165°F).
Chicken
Chicken
I am sure that there are as many recipes for Chicken Katsu Curry as there are people in this world. After loads of research I’ve finally put together a recipe that the hubby approve of!
Word of warning: This creamy deliciousness is not for the dieters amongst us!
Pasta provides a kind of comfort that very few foods do. Not only is this dish healthy, it is also comforting on every level.
![]()


