
A Viennese Adventure
We were merrily walking along the Volksgarten Park on the left. As tourists do, we wanted to explore the park a bit more.
Keep readingAn ordinary life with a dusting of luxury.

My husband absolutely adores a fried chicken take away. Frankly, who doesn’t?! The massive plus side for me is that there is no washing up.
The downside of getting a take away for me is that the kitchen isn’t filled with the lovely homely smells of the freshly made food. The type of smells that instantly can transport you to a cherished memory or gives you a feeling like you are right where you belong.
This is exactly the reason why I bake these lovely dinner rolls: as part of our chicken fake away nights. They are perfect for making scrummy chicken burgers and at the same time it looks like you’ve spent hours in the kitchen when in reality they took the same time as that of a normal loaf of bread.
Kaiser rolls are a type of bread roll. It is also known as a dinner roll in some countries. Kaiser rolls are made from white flour and has a knotted appearance on the top. Once the Kaiser roll has rested it will be soft to the touch.
Although the traditional roll is normally left plain, there are some varieties that has the rolls topped with poppy seeds, sesame seeds or pumpkin seeds. During to a visit to Vienna, we learnt that the rolls were first developed in 18th century Austria in honour of Emperor Franz Joseph 1 of Austria. The Austrian word for Emperor is indeed Kaiser.
Although I can imagine that a stamp would’ve made these rolls so much easier to make, it is just as easy to do it without. Most of the recipes that I researched advised the use of a stamp. Unfortunately I don’t own a stamp and, at the time of making these rolls, I was unable to find a stamp. I therefore relied on my knowledge of folding pretzels to help me fold the rolls in such a way that the top will resemble a crown. They are royal after all! I must say that they turned out very similar-looking than the ones we had for breakfast in Vienna.
Weigh out all your ingredients first. My kitchen is very small and I don’t like being messy or having too much chaos around me. Therefore the first thing I do is to line up all the ingredients in front of me. As I weigh each ingredient out, I place the container immediately back into the cupboard. This way I can keep track of what has already been done and what do I still need to complete the recipe. It also keeps the kitchen organised and somewhat clean.
From my recipe below, you will see that I weigh my wet ingredients also; I find this to be the most accurate measurement for consistency in baking.
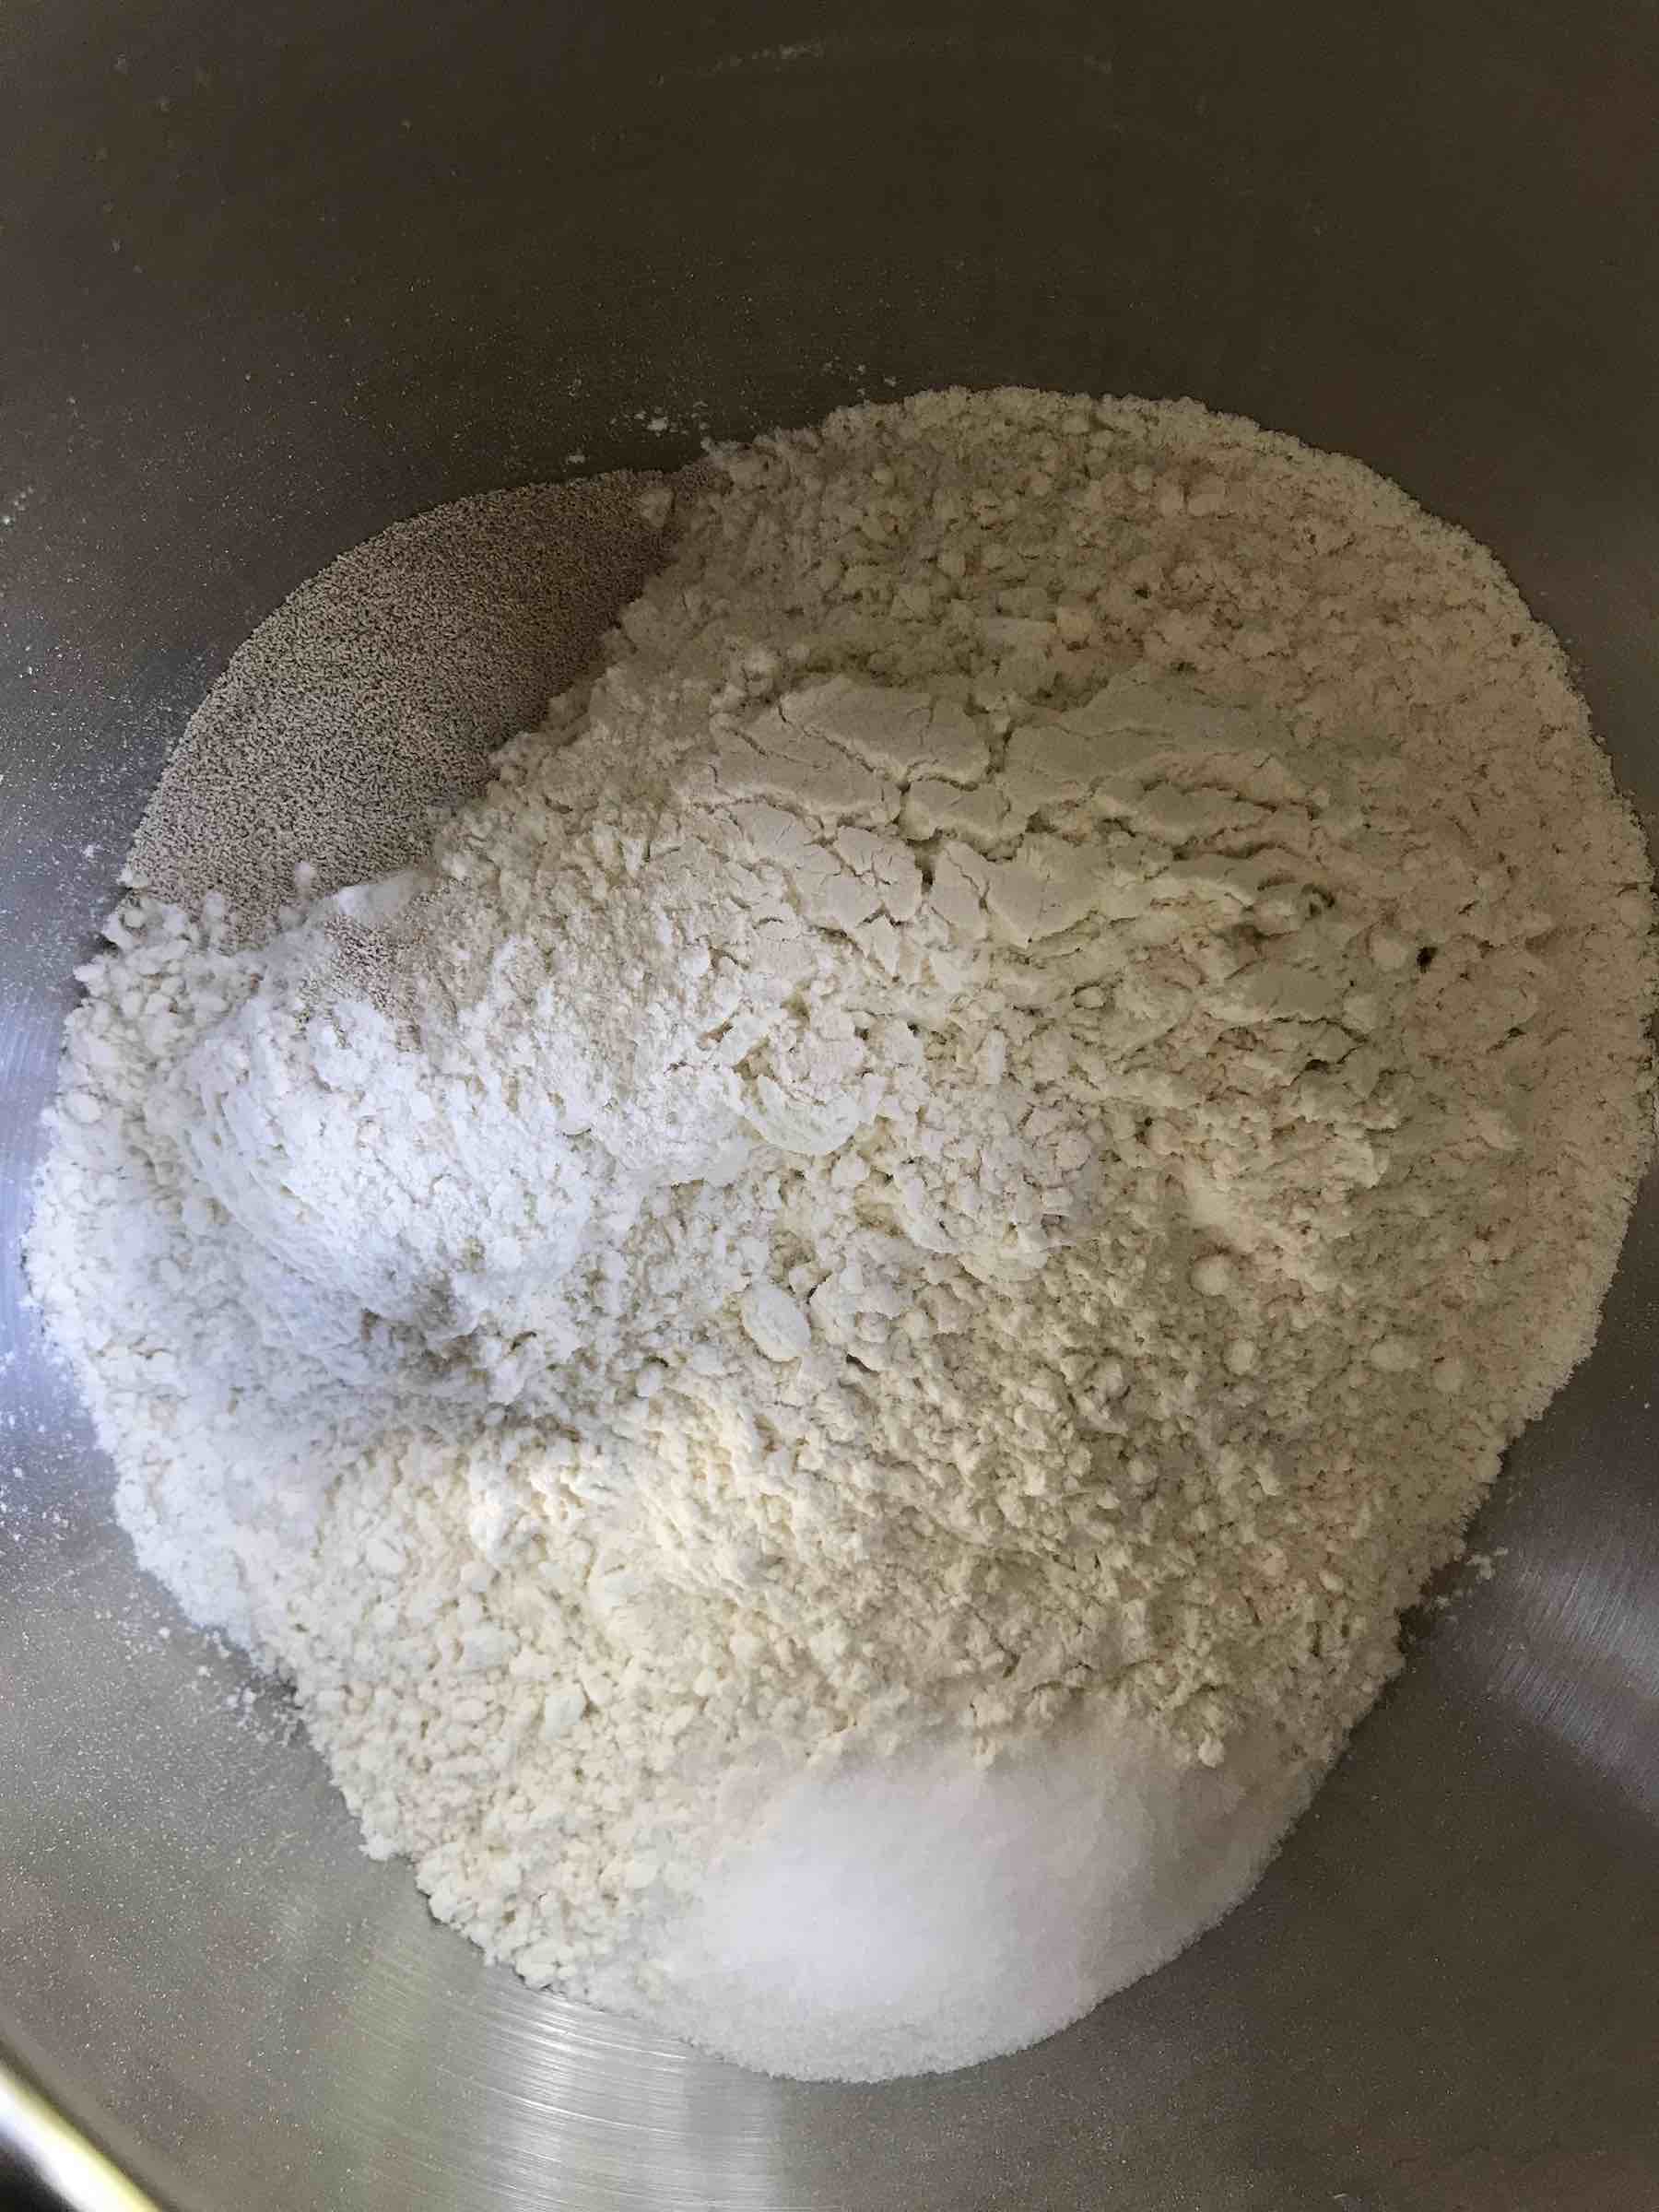
Now that my ingredients are weighed out, I start to assemble the dough. I first put the flour into the standing mixer’s bowl. I put the yeast to the left. The salt and the sugar to the right. I make sure that neither the salt nor the sugar touch the yeast as this can kill it. I put the dough hook in and mix gently on the lowest setting to just combine the ingredients.
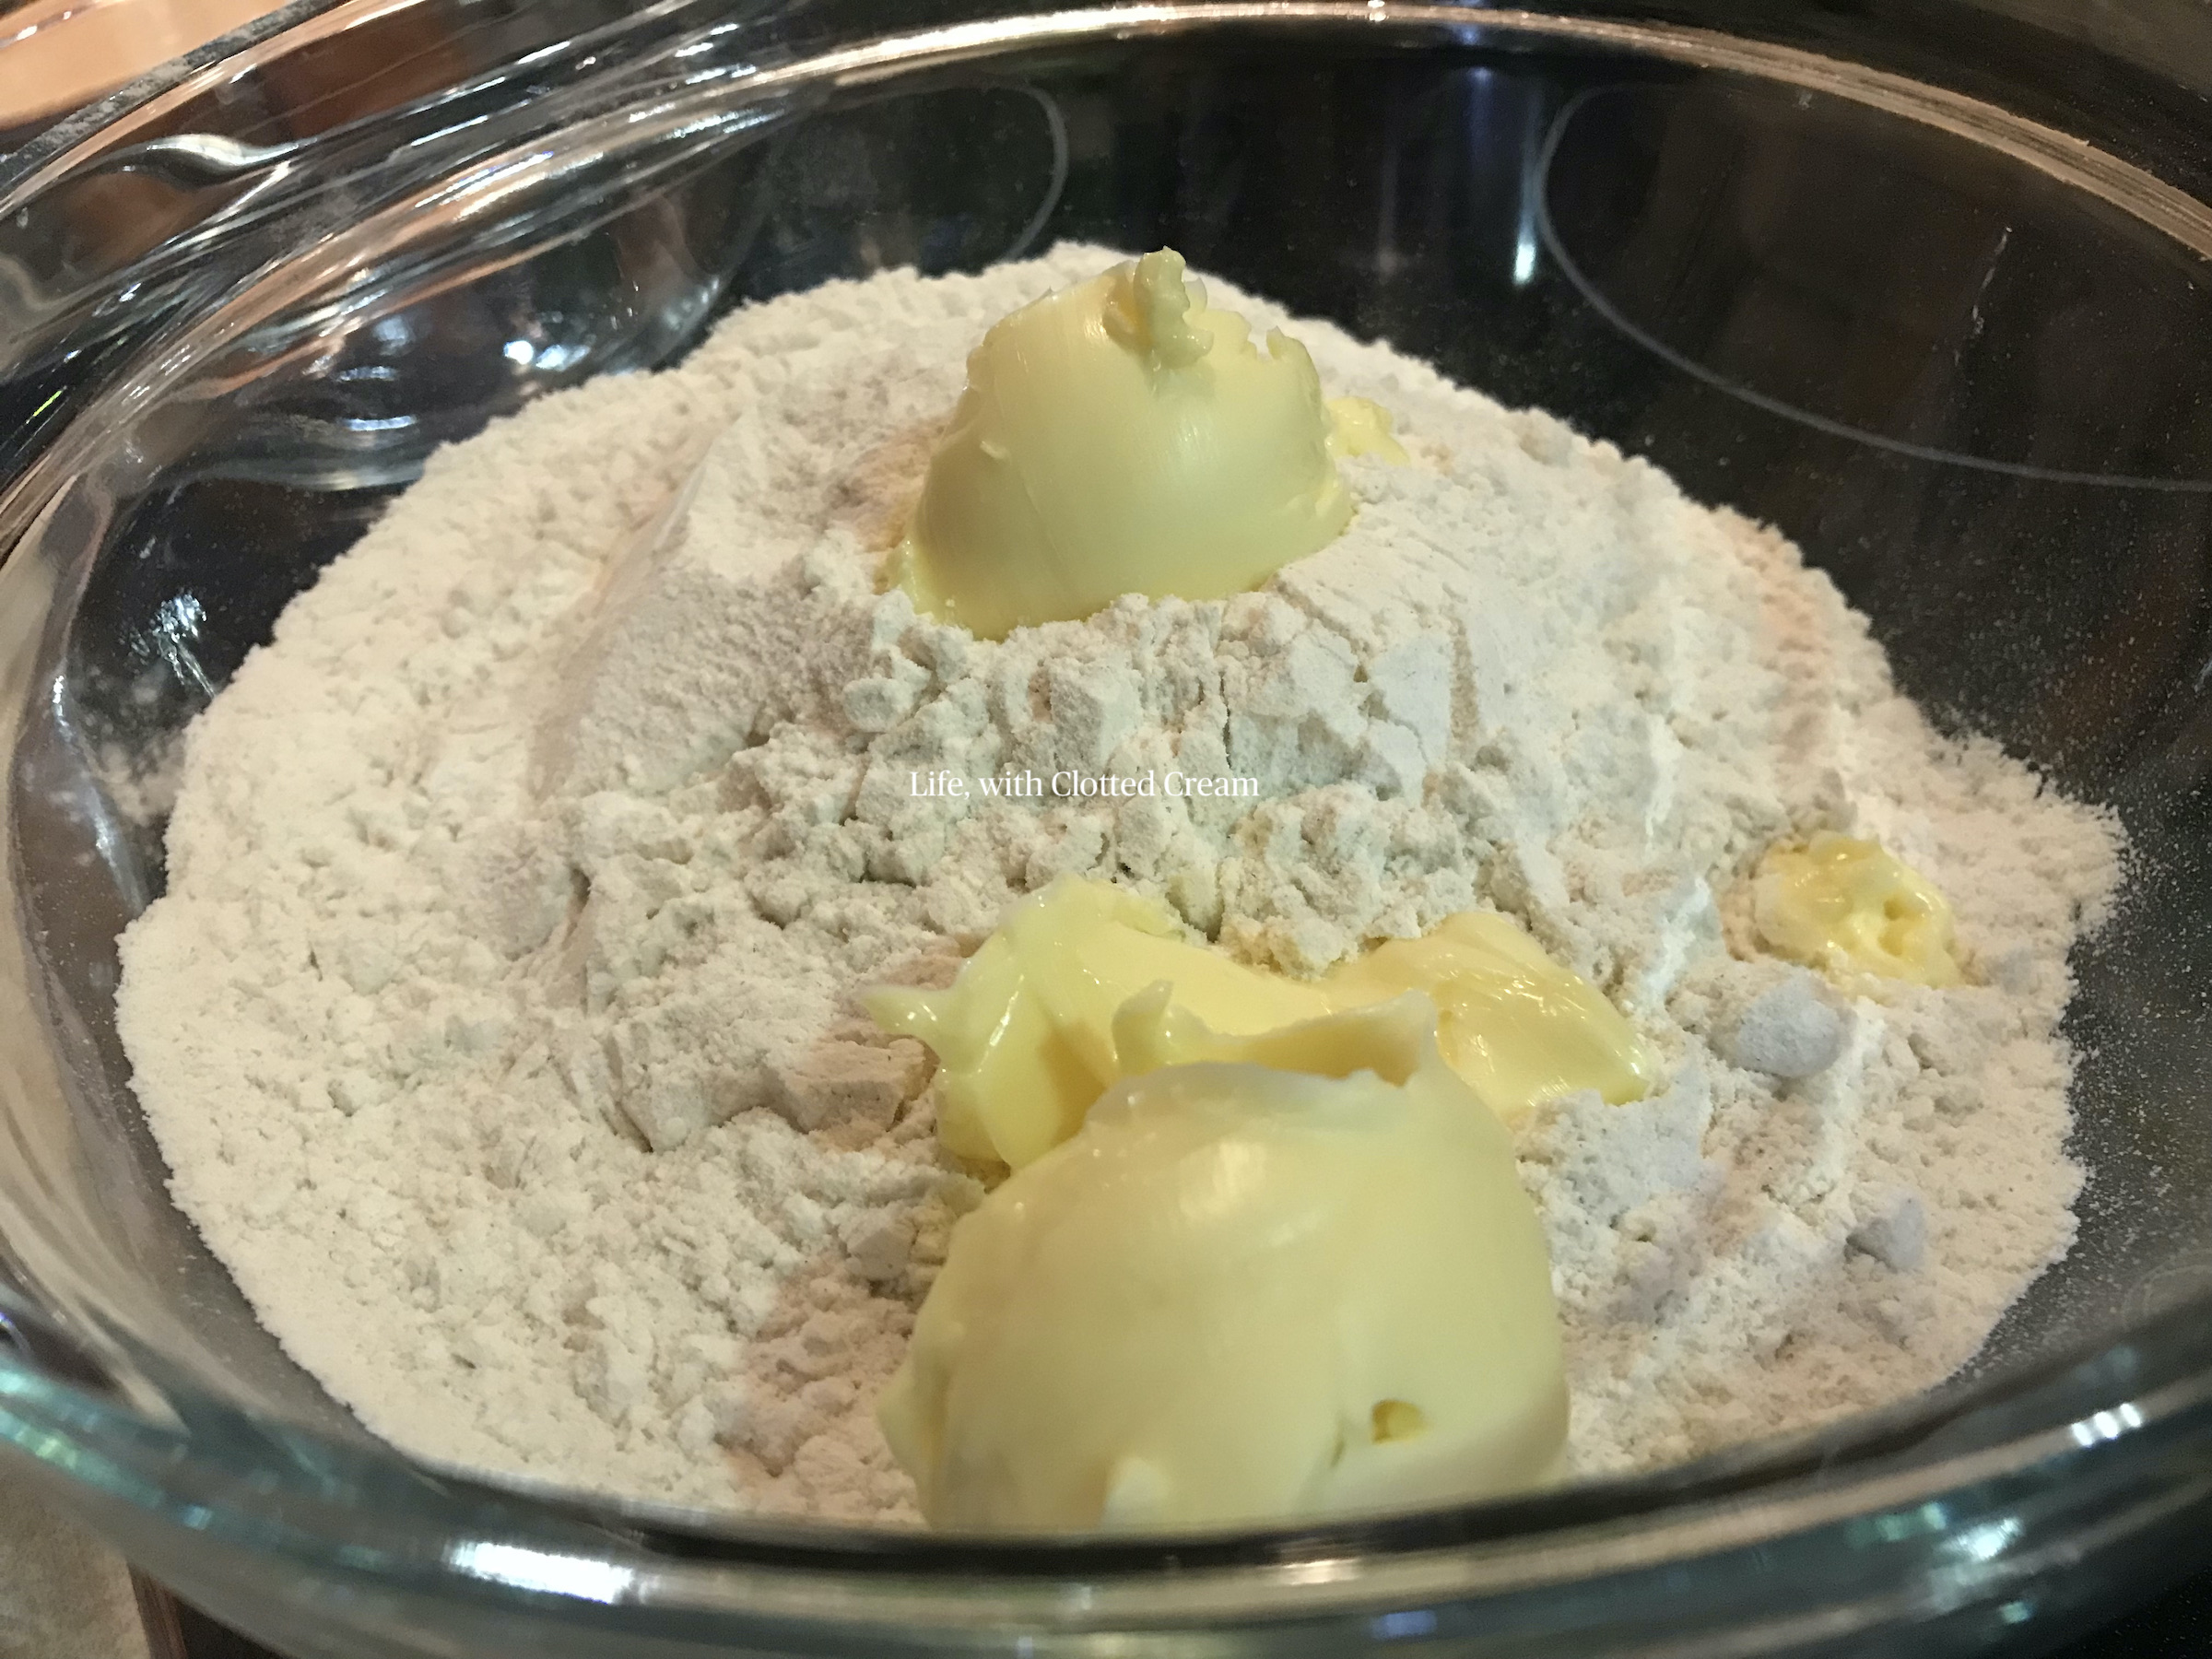
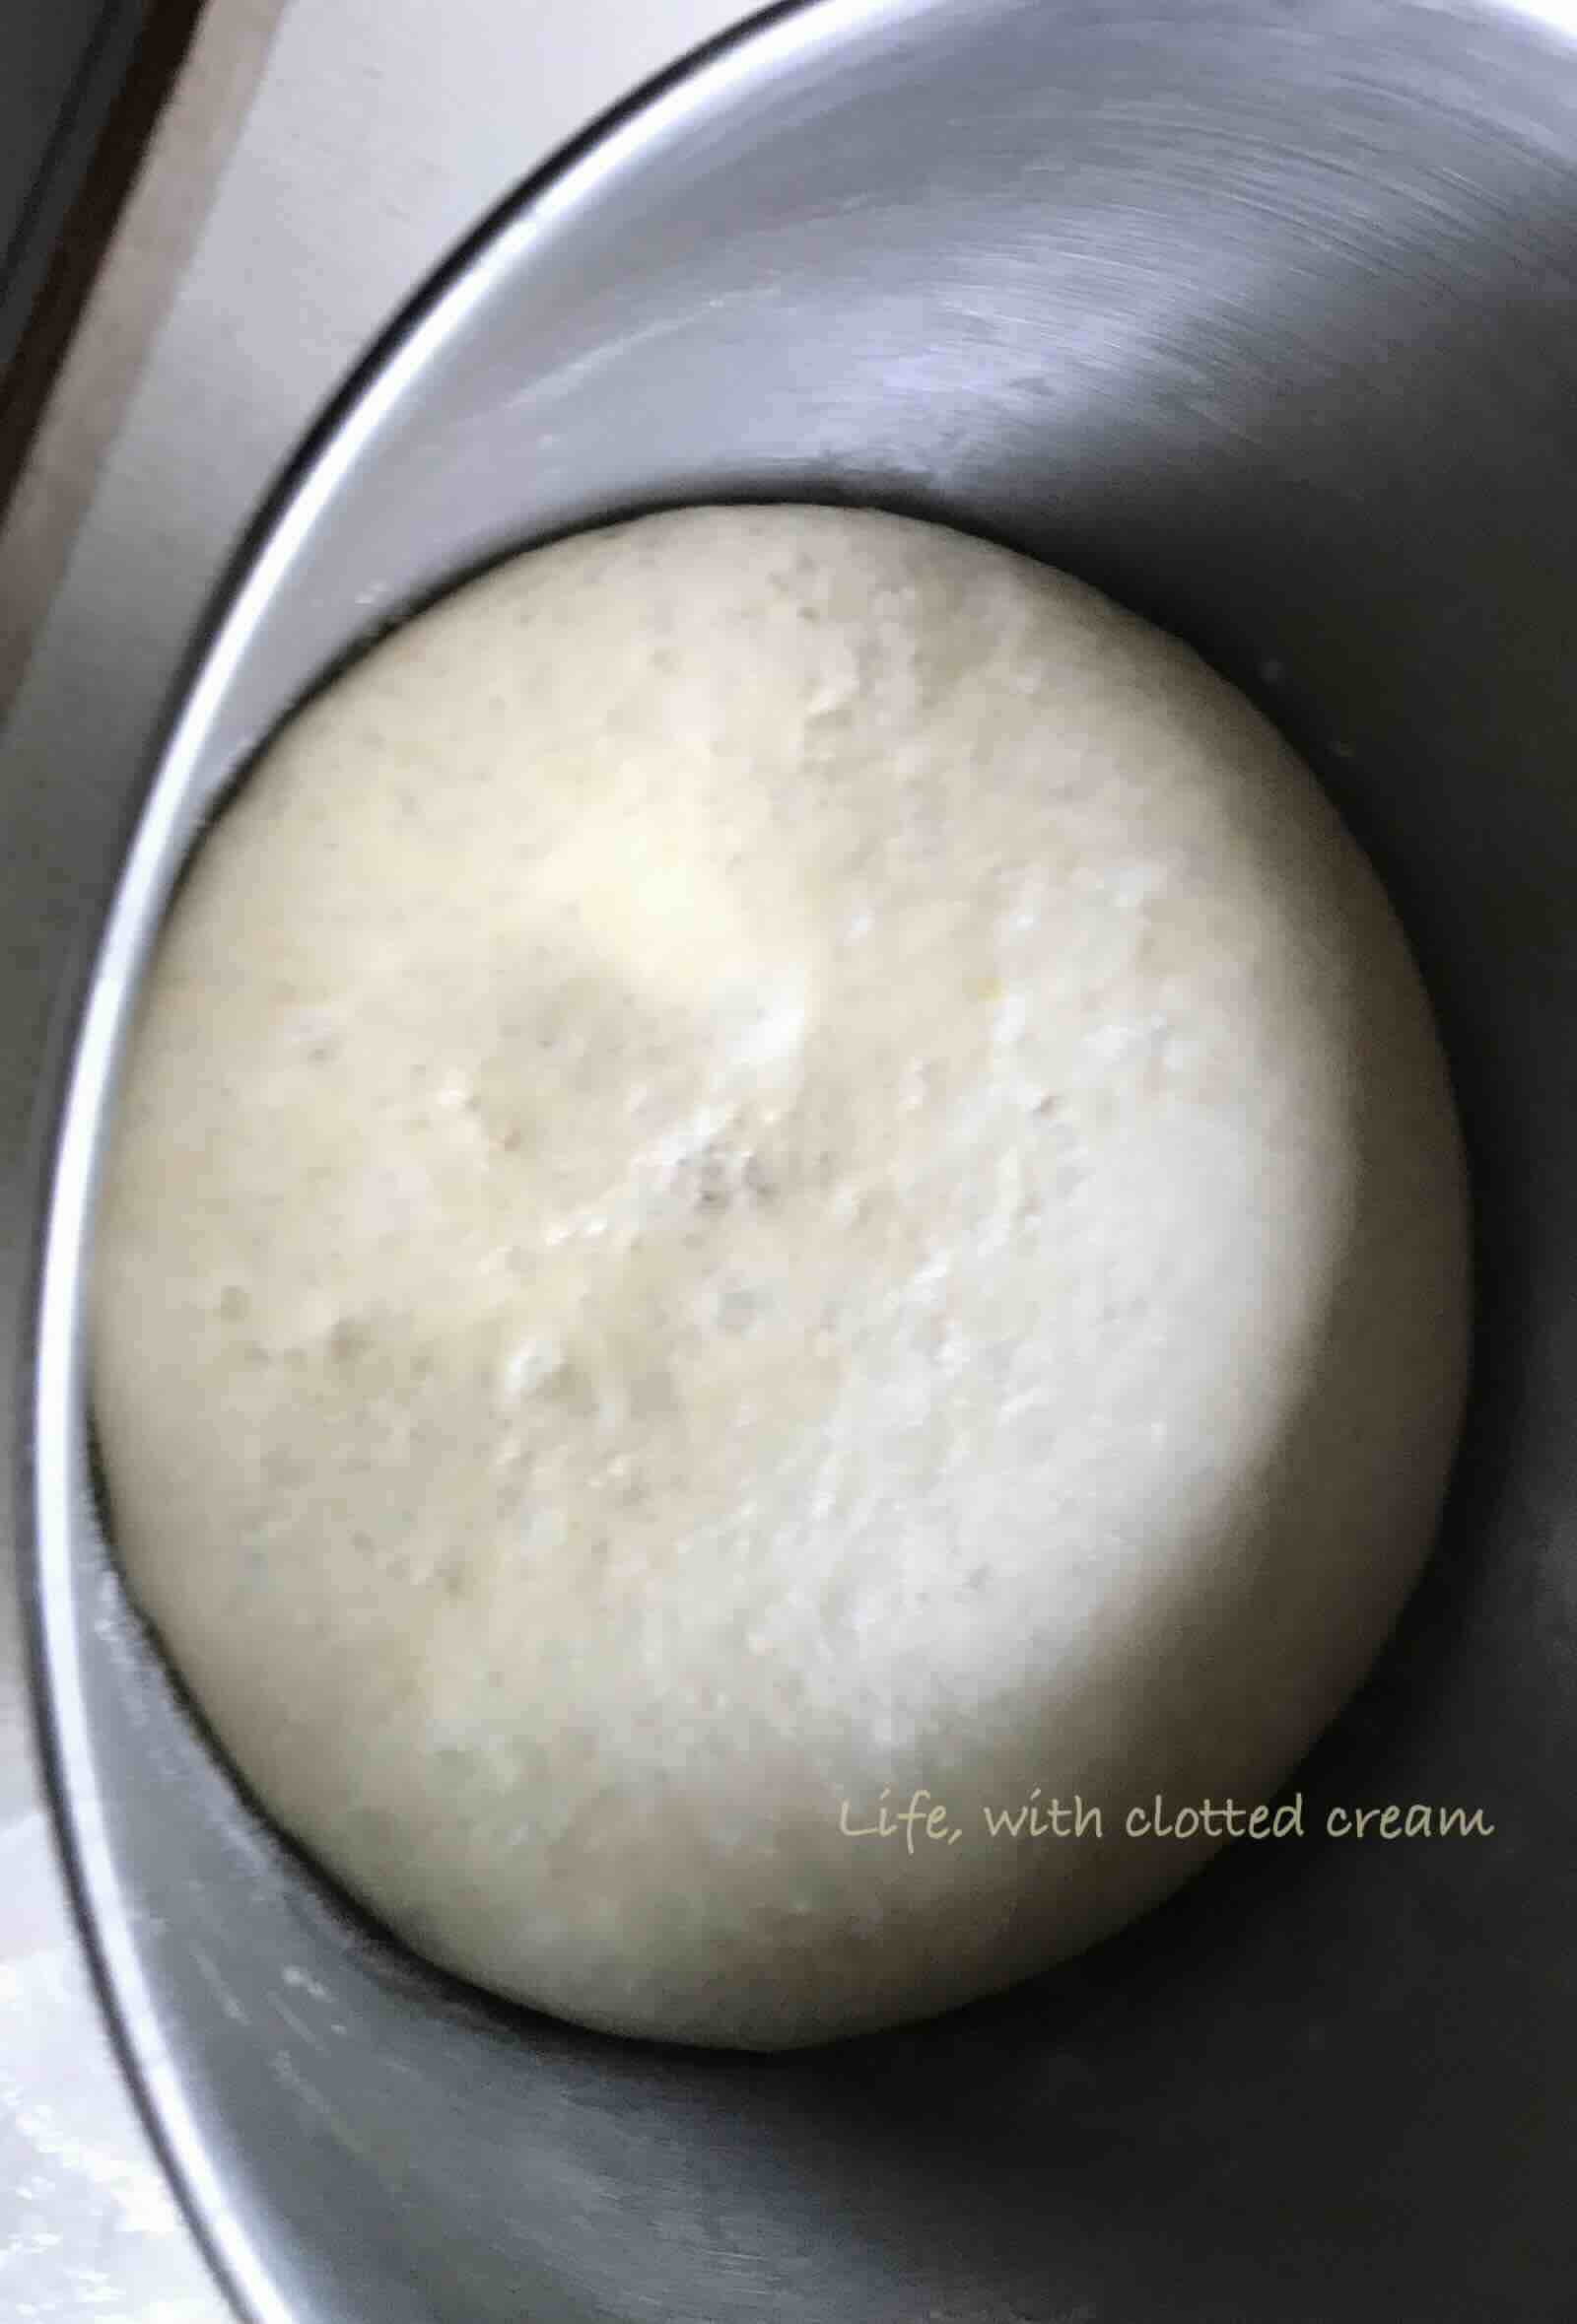
Since this in an enriched dough, I add in all the wet ingredients now. I first mix it all by hand using a spatula until just combined as I really don’t fancy dusting the flour off every surface and out of every crevice in my kitchen! Once the dough just comes together, I replace the dough hook and knead the dough until the sides of the bowl is clean and the dough springs back when I touch it. This takes around 10 minutes on the lowest setting. The dough is proved until double. Here in the UK this can take a while in the winter so I either pick a very sunny spot or I use my Instant Pot’s yogurt setting if I can’t find a suitable spot.
Once the dough has had a good rest and has doubled in volume, knock it back gently. It sound counter-productive to knock out all the air you’ve just spent the last two hours to get into the dough but it is really necessary. If the dough contains too much carbon dioxide, it will kill the yeast. By releasing the carbon dioxide you give the yeast a change to keep on going which is what will make the bread rise in the oven.
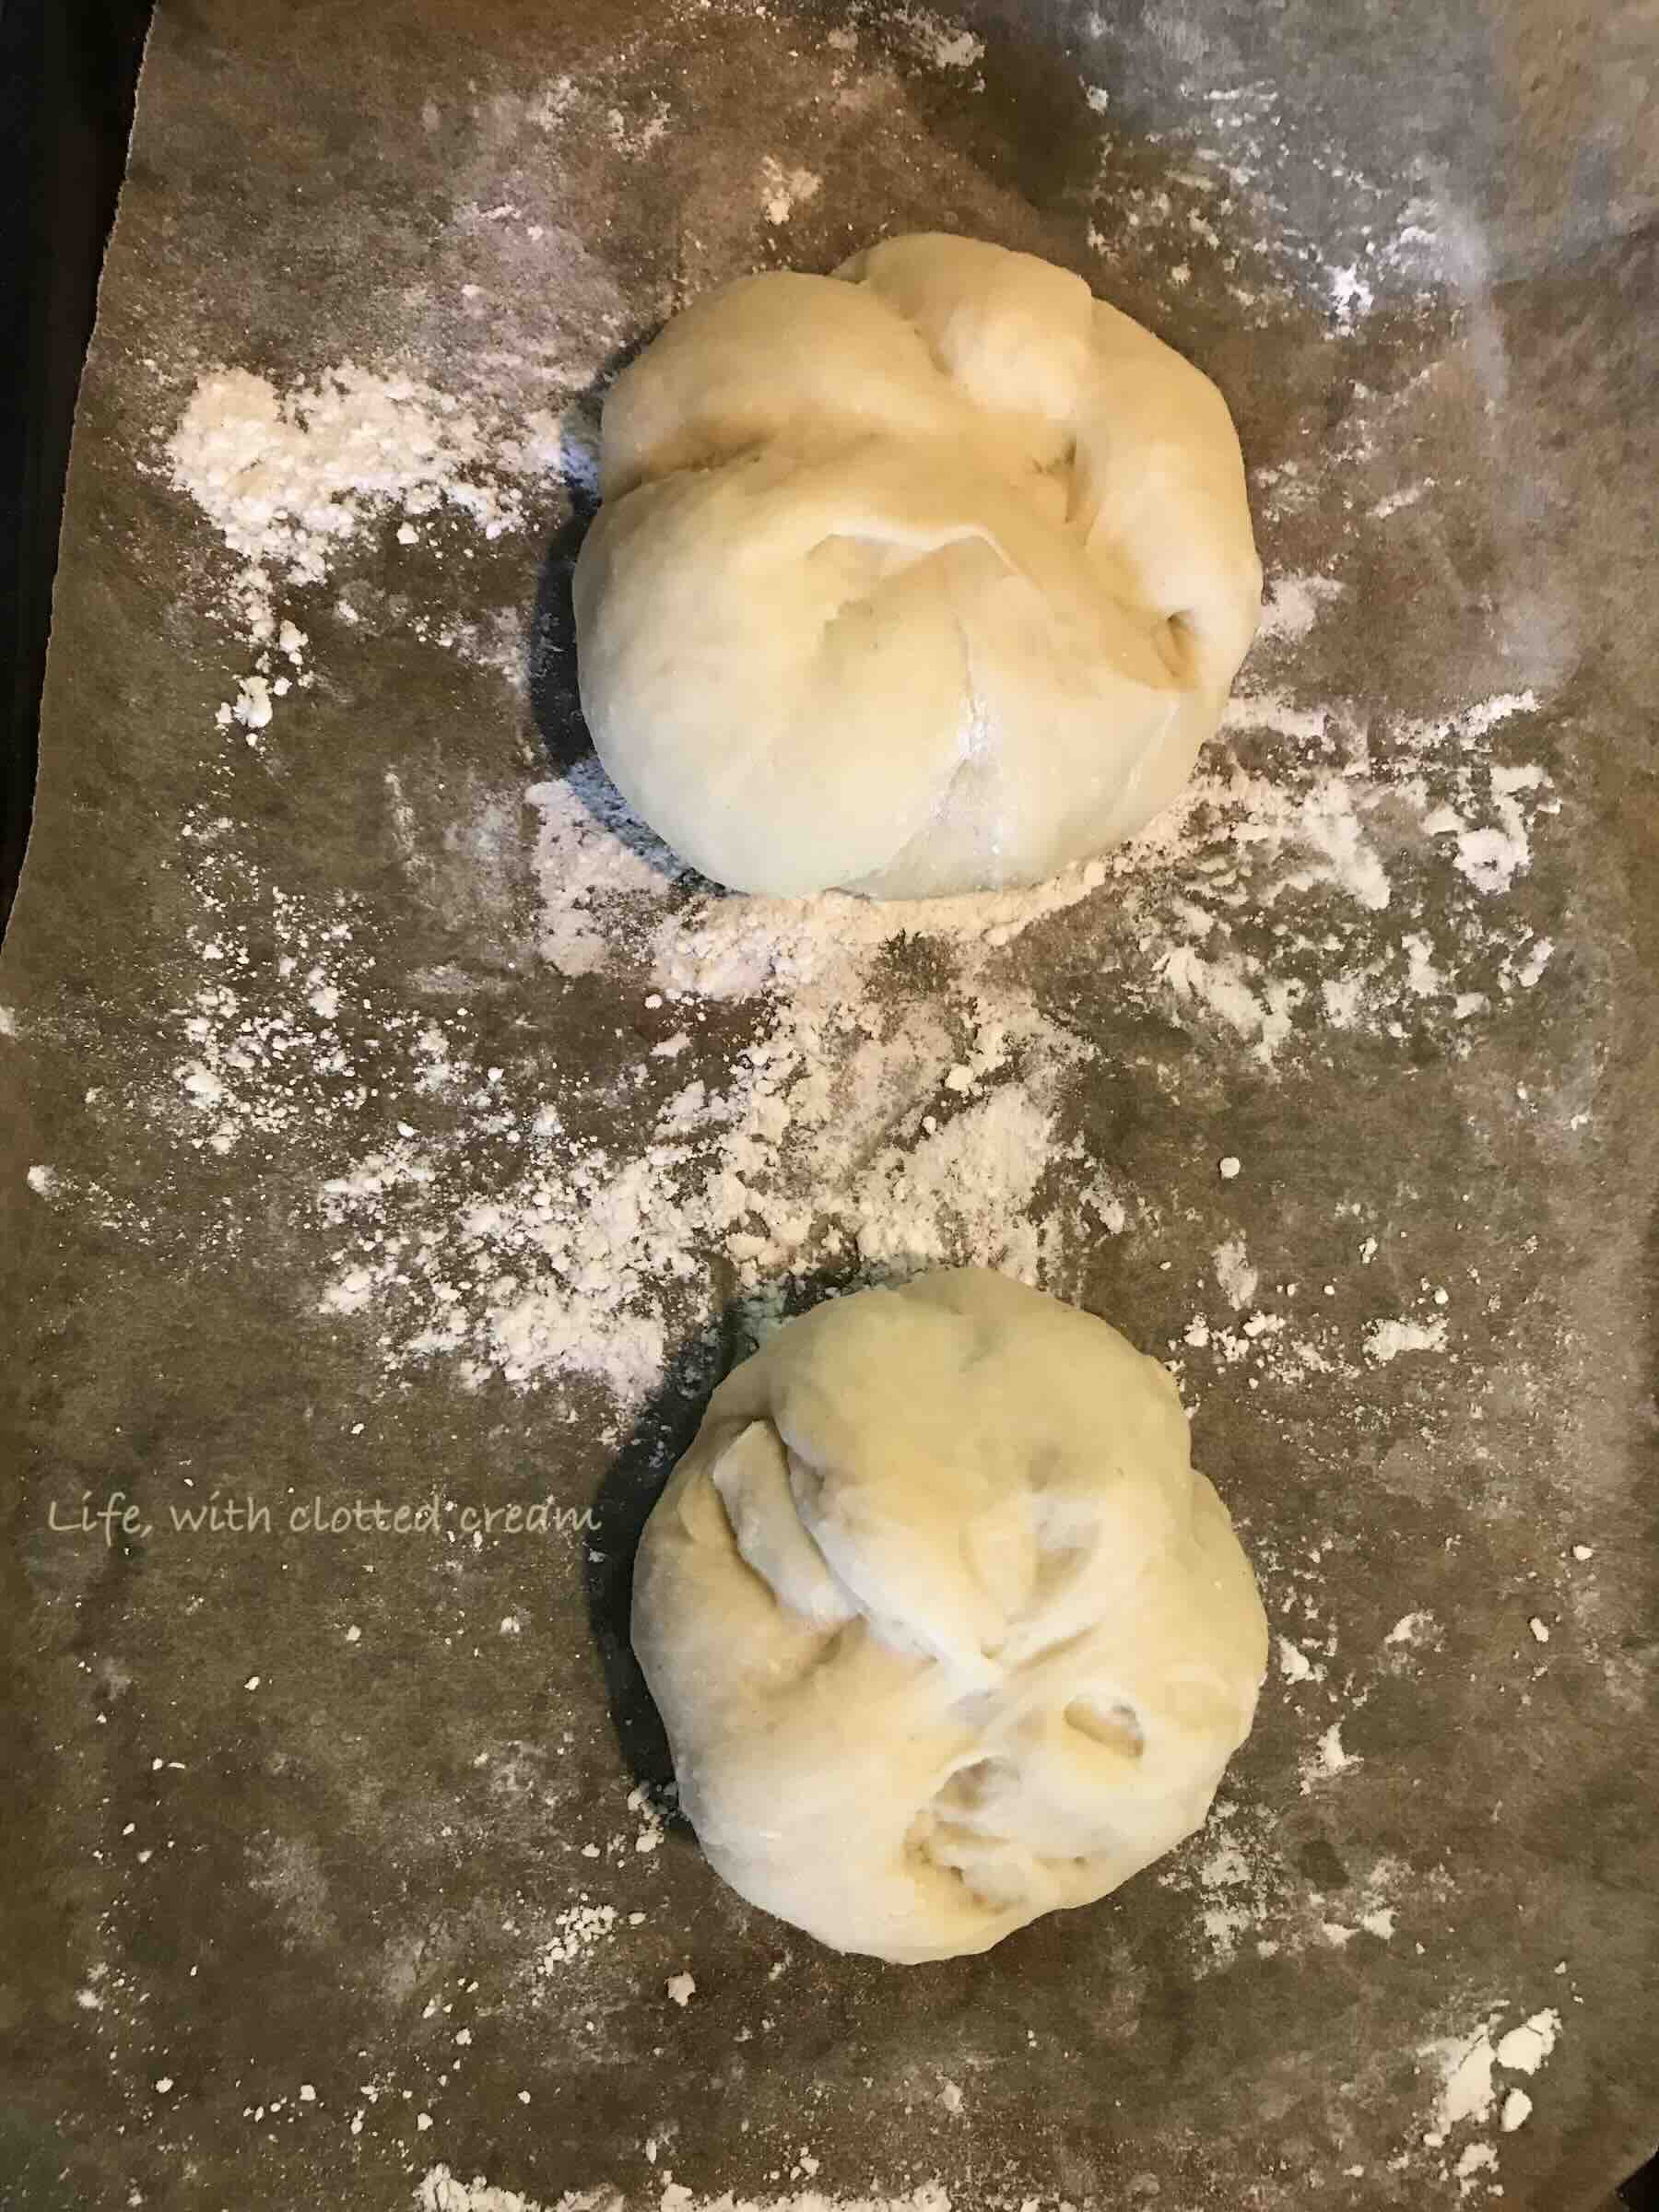
Now that it is knocked back, weigh the entire piece of dough. Once the dough is weighed, divide the weight by 6 to allow you to make six equally sized dinner rolls. Roll each piece into a cylinder that is roughly 30cm in size. A rough guide to 30 cm is the length between your wrist and your elbow or if you spread your pinky and thumb on each hand, put your thumbs together. The dough cylinder should reach from pinky to pinky.
Next, take the rolled cylinder and make a simple knot. Take the bottom left-over flap, bring it over the dough and tuck it through the hole. Take the top left-over flap and tuck it through the gap as well towards the bottom. Now you should have a pretty crown-like plait.


After shaping the dough, leave it to rest for another 30 minutes. Failing this step will not only ensure that your Kaiser bread rolls won’t be fluffy, but it will also fall apart when you slice it open.
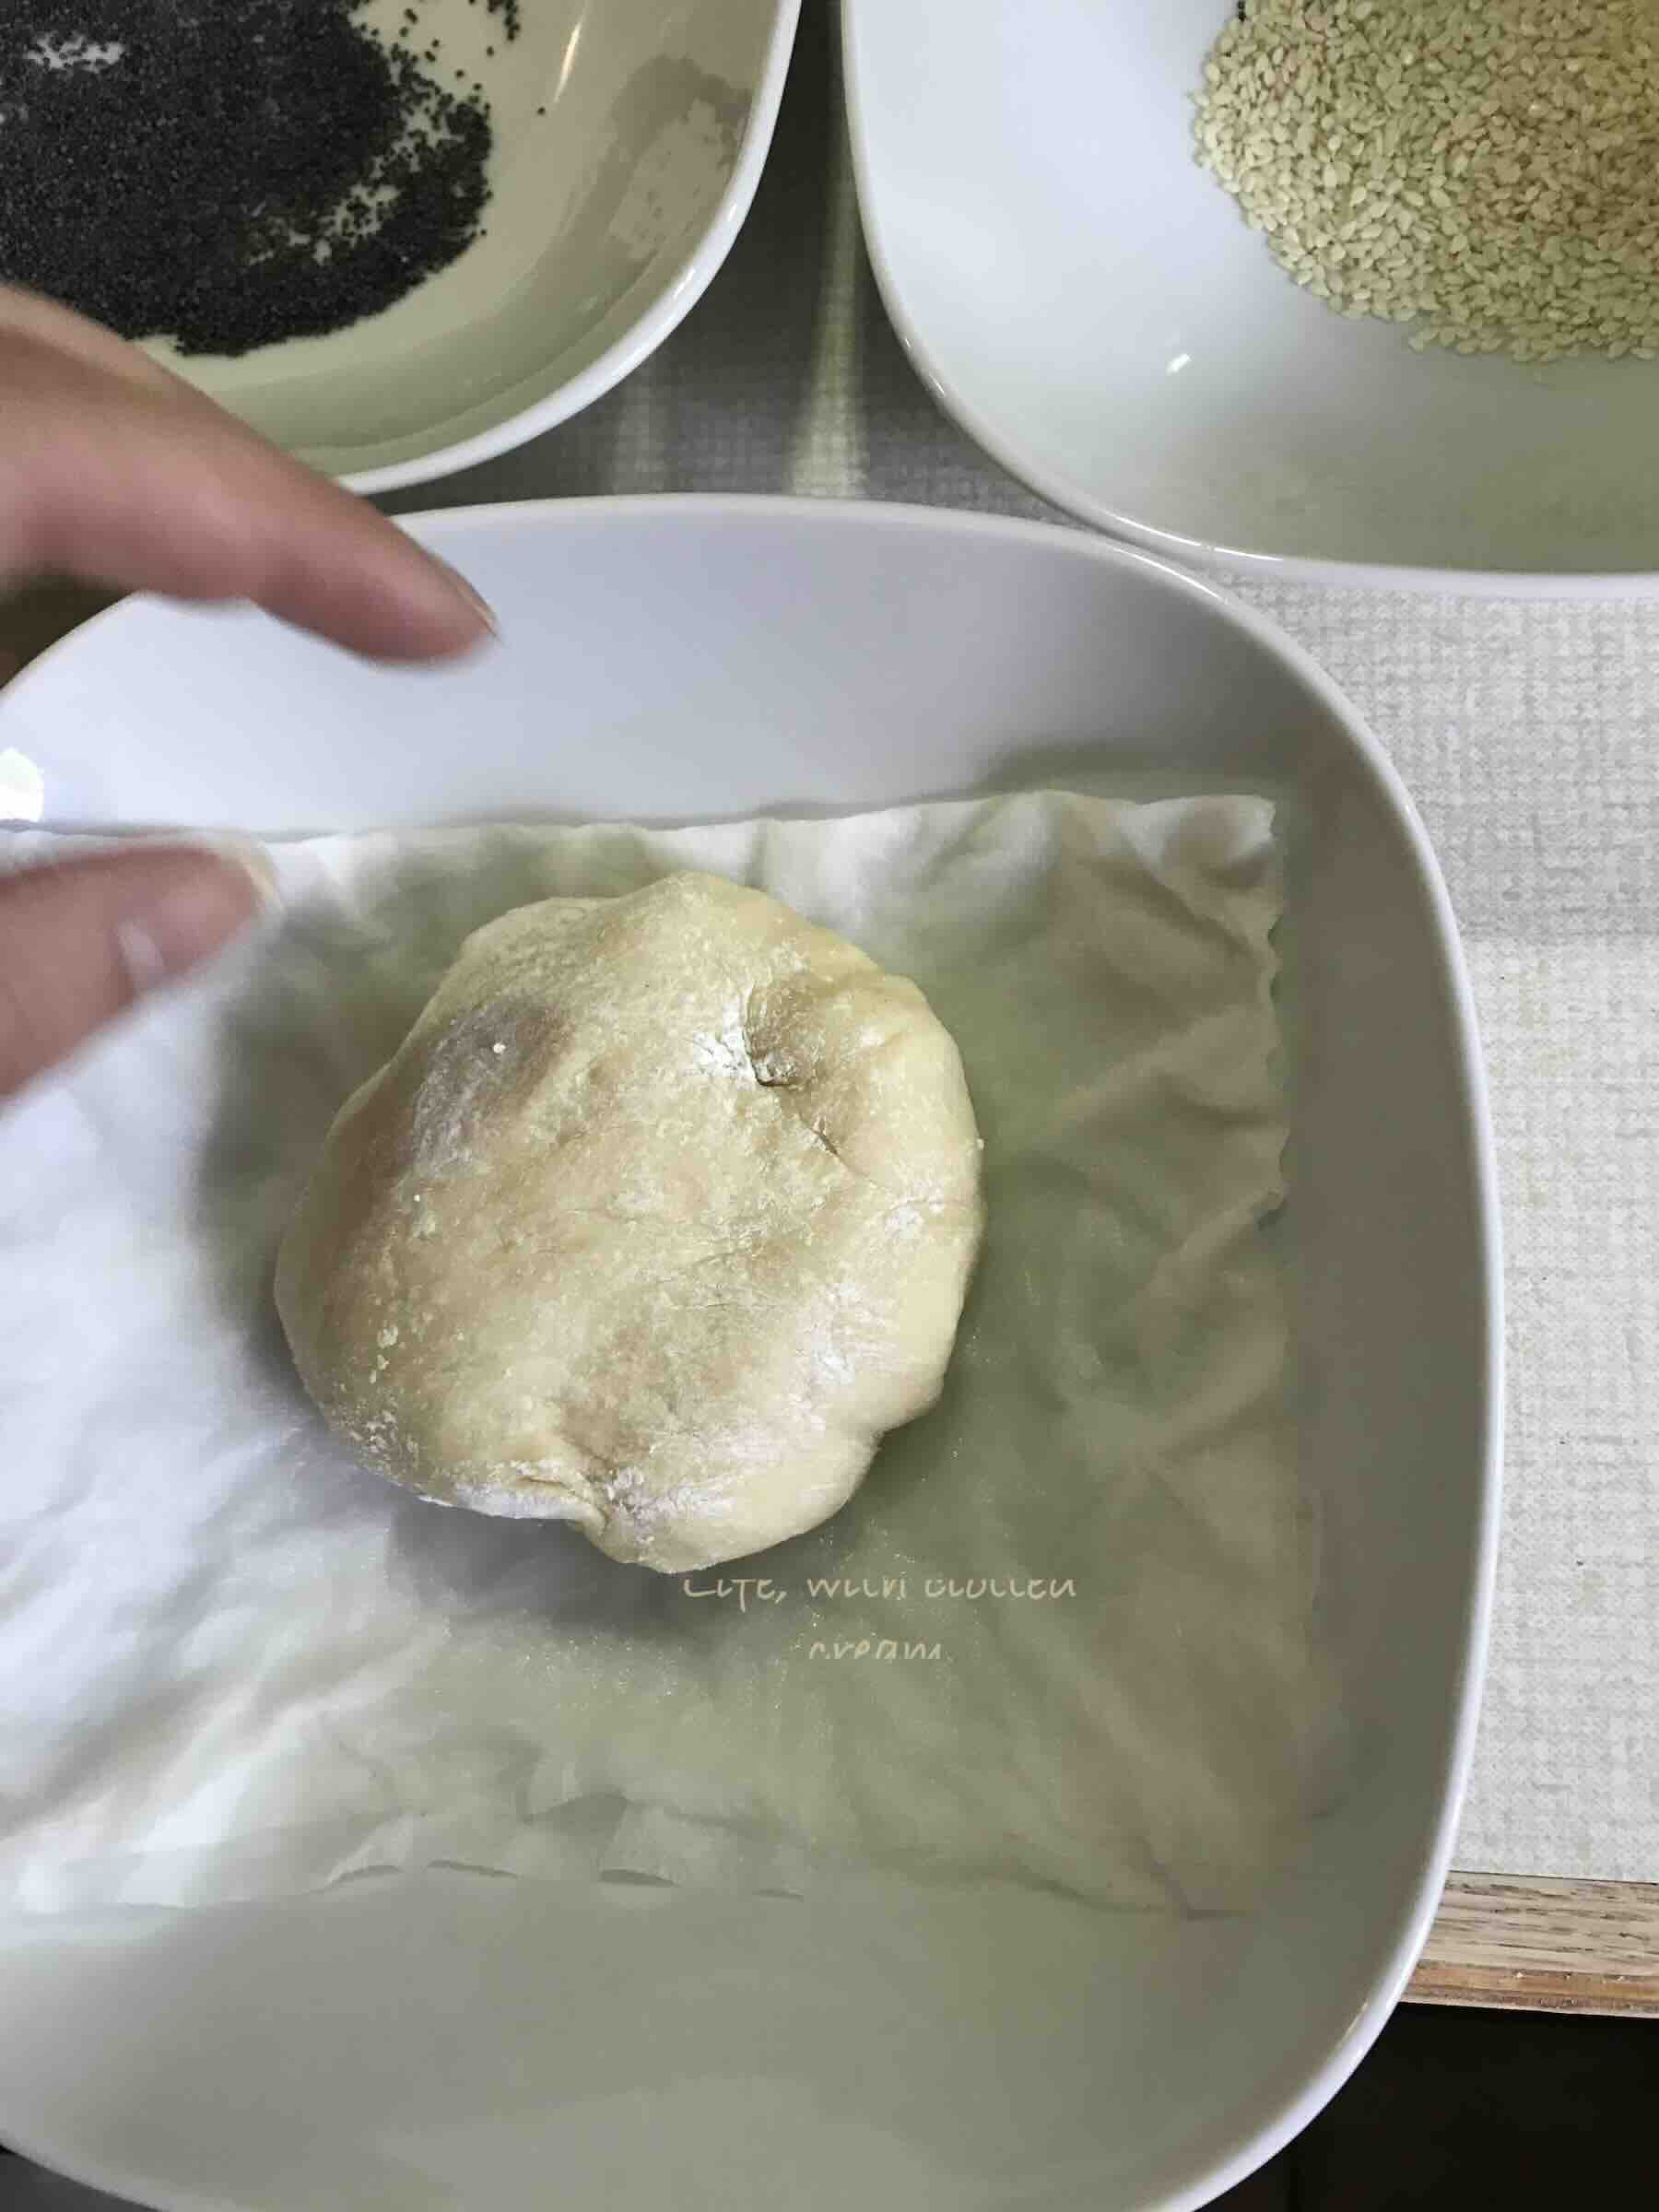
Once rested I take a bowl and pour in a small amount of ice cold water. I laid some kitchen roll on top as I felt this would stop the pattern from smudging if I accidentally dropped the roll into to the bowl.
I carefully wet the top (I didn’t have a pastry brush!) before dipping it in the seeds. Once seeded the rolls are placed on a floured baking tray and straight into the oven at 220°C (or 425°F) for 15 minutes. I only start preheating my oven when I start to seed the buns.

Just as the heading states: bake for 15 or so minutes, then pull out of the oven and let the buns cool on a wire rack for around an hour. They are best enjoyed on the day of baking, but they were still pretty good the next day.


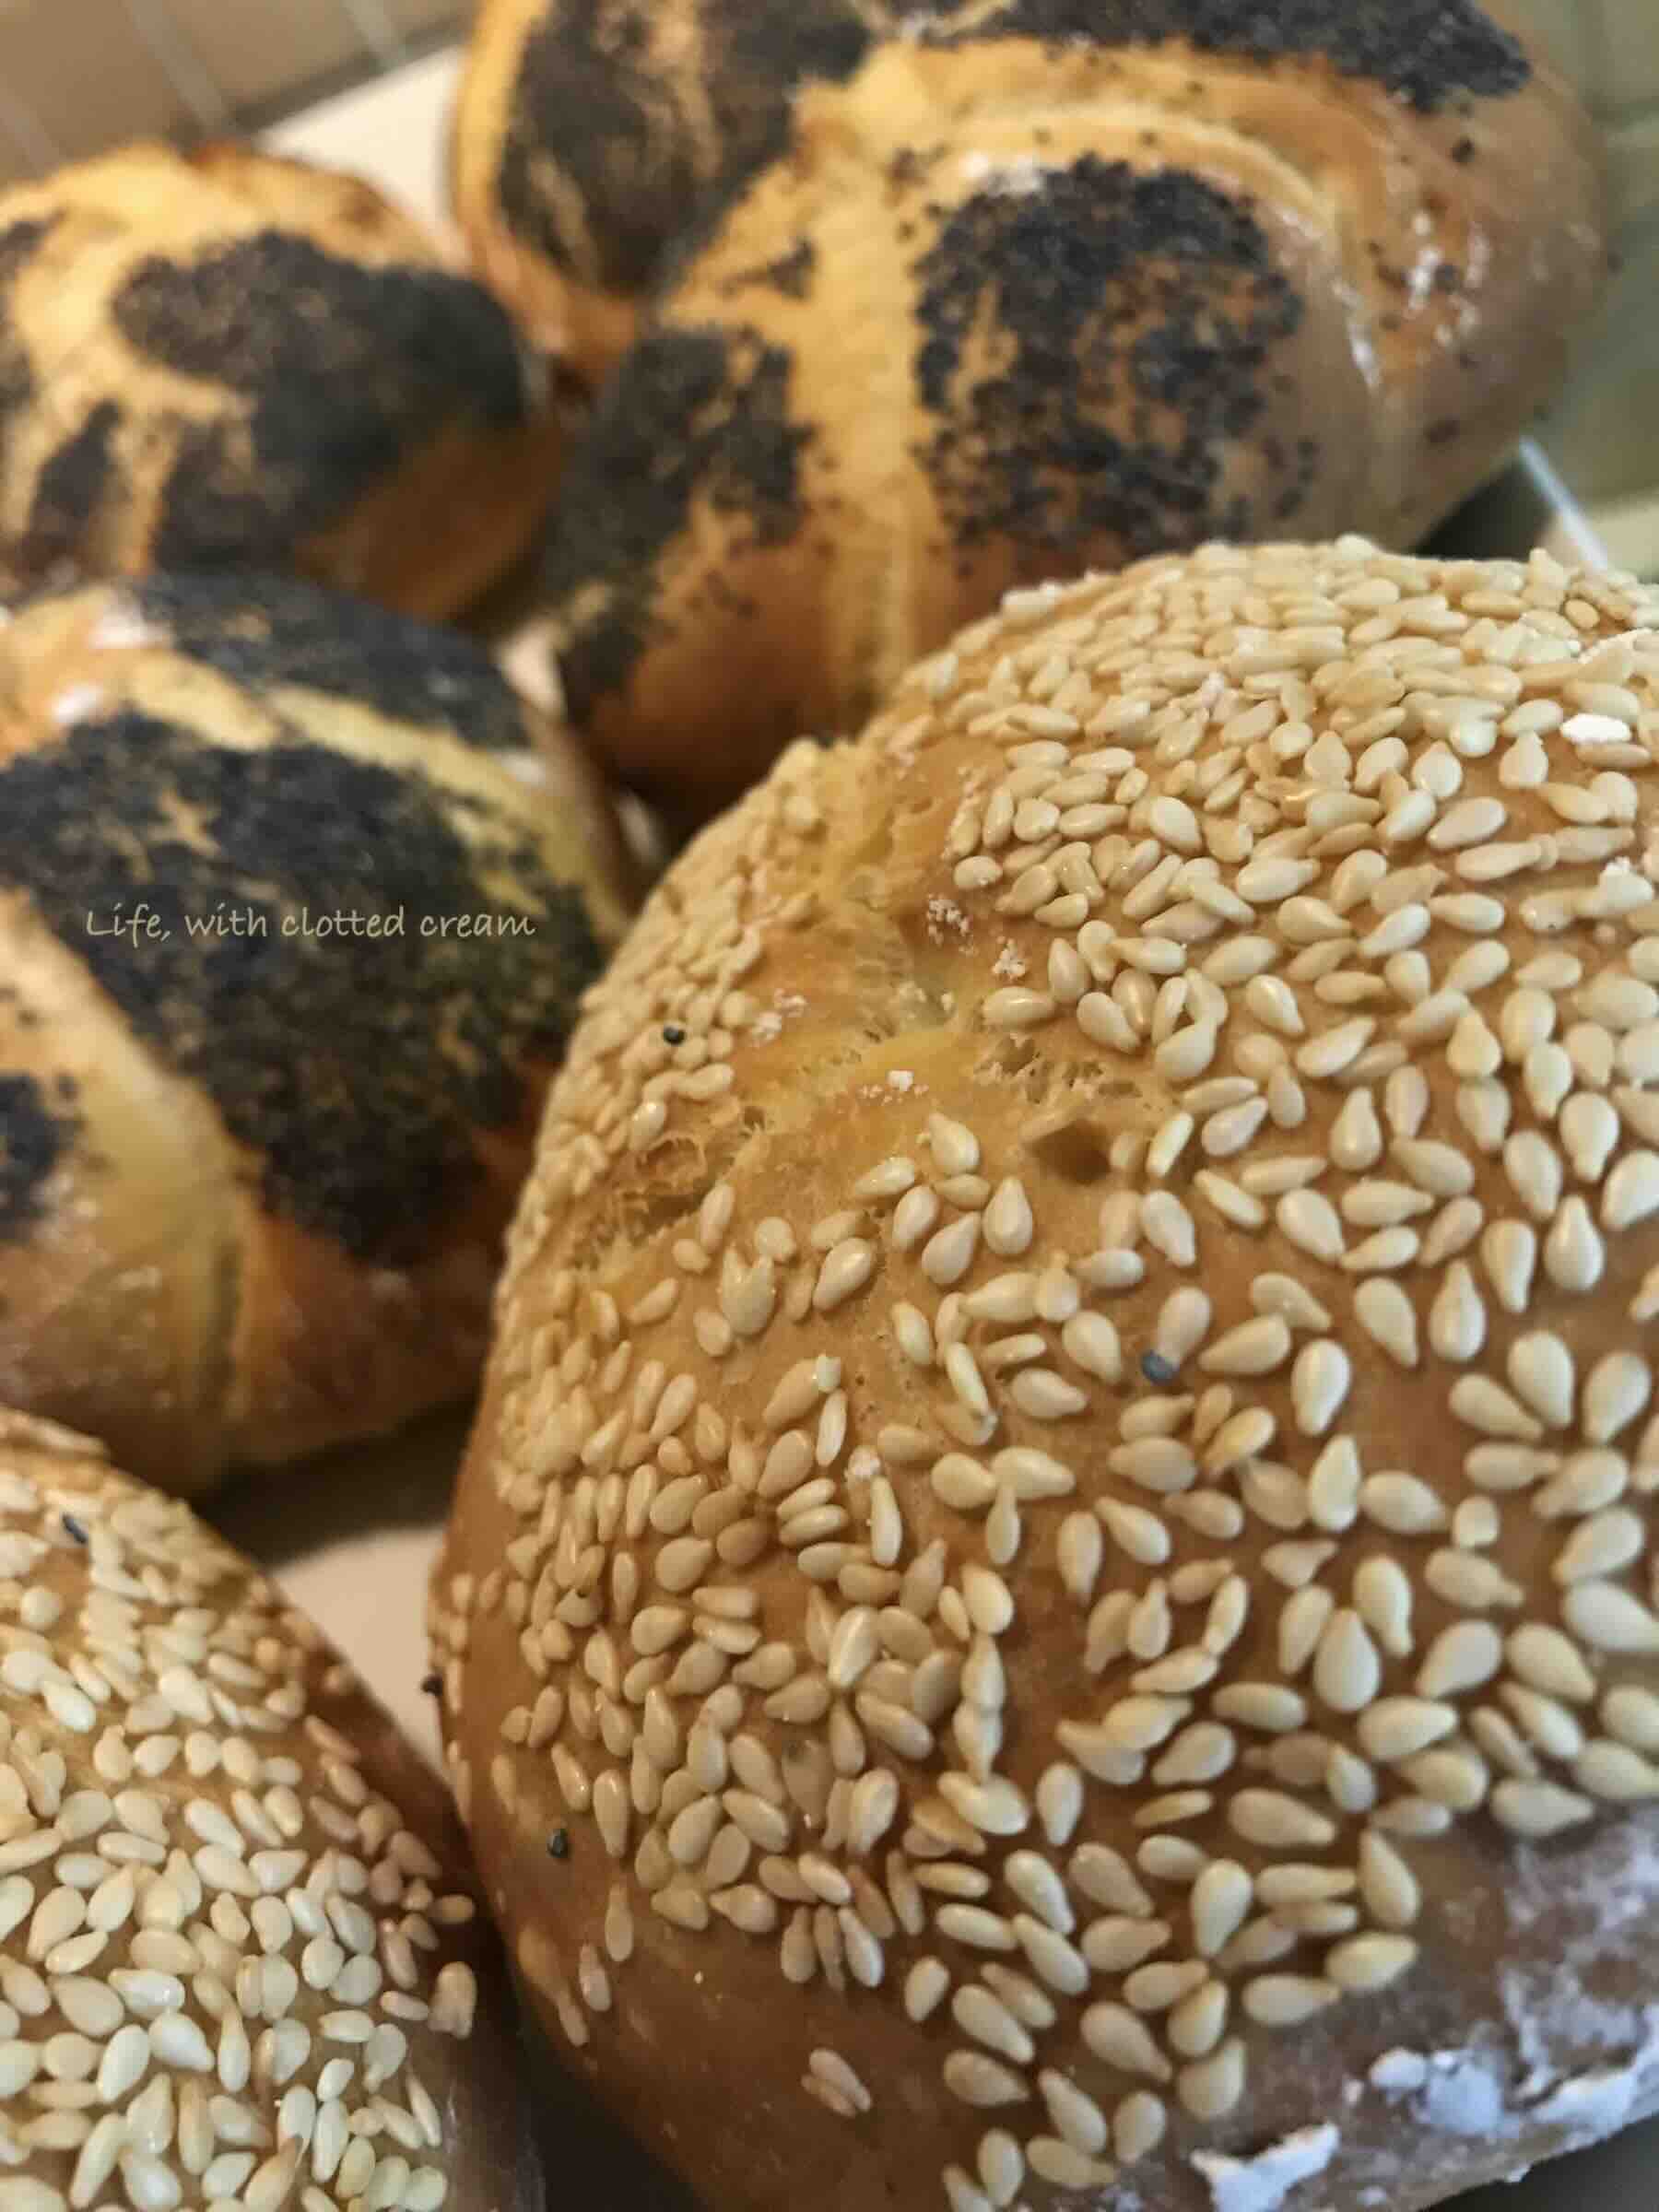
Whilst we were in Vienna, we were offered these rolls for breakfast every morning of our stay. They came in plain, poppy seed, sesame seed, sunflower seed and pumpkin seed.
I can only imagine how good these would be if I were to top it with a garlic butter both before and after baking. I will try it out and let you know! If you have made Kaiser rolls with garlic butter, please let me know. Oooohhh or cheese!
We were merrily walking along the Volksgarten Park on the left. As tourists do, we wanted to explore the park a bit more.
Keep readingI love receiving edible gifts, especially those that are unusual. My friend B gave me a pack of Einkorn Flour a couple of months ago. I’ve been totally intrigued by it and couldn’t wait to try it out.
Keep readingIs there anything more comforting than having the rich smell of freshly baked bread waft through the house?
Keep reading![]()


