Life, with Clotted Cream
An ordinary life with a dusting of luxury.
Steamed bao (buns) in the Instant Pot!

Learn how to use your Instant Pot Duo to prove and steam bao.
When I got my first Instant Pot, I must admit that I only bought it for the Yogurt button (I love making my own yogurt!). It never even crossed my mind that I would use it to prove dough or steam buns or make anything other than a sloppy stew…
In this post I will share with you my secrets to making the fluffiest bao that will brighten up any Saturday evening.
What are bao?
Bao are steamed buns made from white wheat flour and yeast. They are usually soft and pale with a squishy exterior and a pillowy interior. They look very uncooked to the naked eye, but I can assure you that these little buns are lighter than clouds drifting across a blue sky on a sunny day. They are moreish and you can very easily eat more than your fair share if you are not careful!
Bao comes from Northern China and apparently has been around since the third century. Why do I only refer to them as bao and not bao bun? Well, that is because bao already means bun! So if I were to say bao bun, I would simply say bun bun, and that to me sounds a bit silly…


How to make bao from scratch:
Honestly, if you can bake bread (find a recipe here for freshly baked bread) then you can absolutely make these little steamed buns.
Sift the flour and add in all the dry ingredients an place it in a mound on a clean kitchen surface. For this one, I didn’t use my stand mixer as I felt it was easier to knead the dough by hand. Make a well in the middle and add the oil and water.


Gradually bring the flour wall into the liquid well using only the tips of your fingers until all the liquid has been absorbed. You can also use a fork if you don’t like to get your hands dirty. If you don’t incorporate the flour into the liquid gradually you run the risk of the liquid spilling all over the counter. The dough will look very dry and crumbly, but just bring it all together until you have somewhat of a cohesive mass. This is now the important part: cover this cohesive flour ball with a bowl and leave on the kitchen counter for around 15-20 minutes.
The aim of leaving the dough isn’t to allow the yeast to work, but rather for the flour to hydrate. Hydrated flour is not only more pliable, but also softer and more delicate. Once the dough has rested, take it out and start kneading it by pulling the dough out away from you and folding it back over itself. Keep going and knead for around 10 minutes until the dough is elastic and springs back when you push it slightly in.
Now for the fun part: place your dough inside the silver lining of the Instant pot. Put a glass lid (or upturned plate) on top to cover the pot. This will not go to pressure and doesn’t need the pressure lid. Also if the dough happens to push so high that it pushes the pin up, it will lock the lid in place and you won’t be able to take it off.
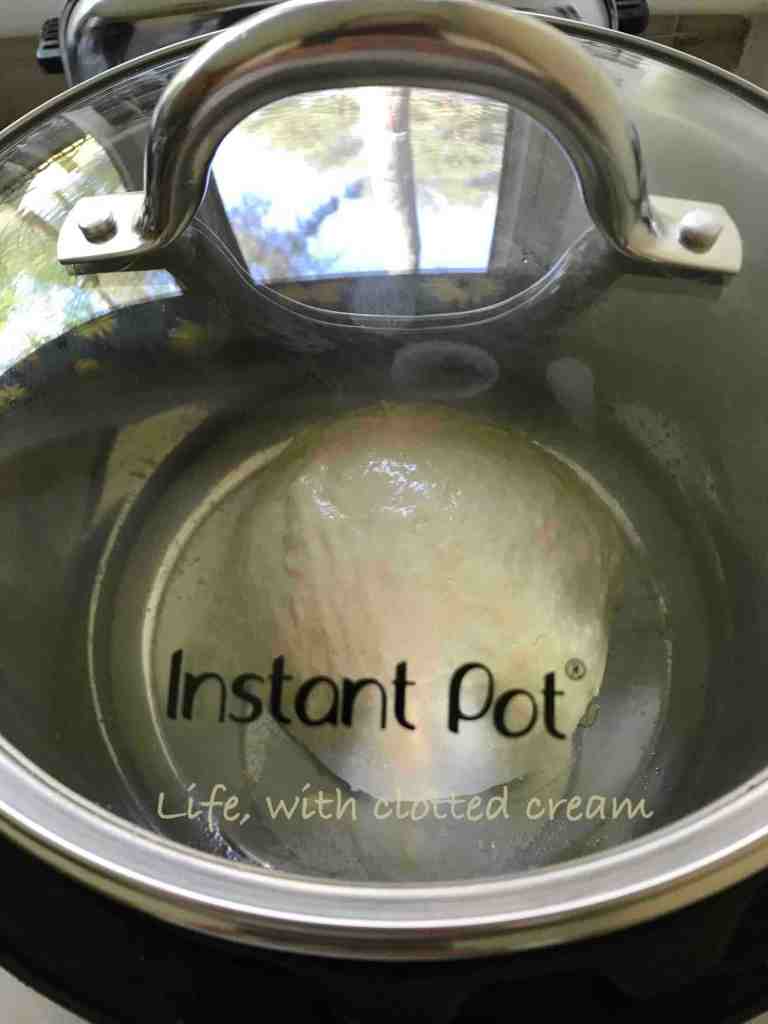
Set the dough on the Yogurt setting for 40 minutes. This is the perfect temperature to allow the dough to rise! Don’t be alarmed if this dough will not rise as much as bread dough as the amount of yeast is not that much. Whilst the dough is proving, cut some parchment paper into 10cm by 10cm squares. You will need six of these.
Once the dough has proved you will need to weigh the dough to allow you to cut it into six equal pieces. The dough should be smooth and you should not need to flour the surface or the rolling pin.
Shape each piece of dough into a rough ball before rolling it into an oval. Brush or spray a little oil on the surface and ensure that it is coating the top very well. Now use a chopstick to hold down the oval in the middle whilst you flip over one of the edges onto the other edge to form a book. Place the bun onto a piece of parchment and cover with a tea towel whilst you roll and fold the rest.


Once all the buns are rolled and folded and have rested for a further 30 or so minutes they are ready for the steamer. Low and behold, I’m also doing this in my Instant Pot!
First I place the trivet in the bottom of the liner, then pour in some hot water. I don’t use cold water as this takes longer to heat. I then set my steamer basket on top of the trivet and press the sauté button to let the water boil. As soon as the water boils I gently place a few buns inside the steamer basket, ensuring that they don’t touch as they will expand slightly during cooking. I then place the glass lid on and let them steam for around 10 minutes.
I’ve tried using the steam function on the Instant Pot before, but this just overcooked the buns and lead to them shrinking when I took it out.


How to make the crispy buttermilk chicken from scratch:
Making this chicken honestly could not be simpler!
An hour or so before starting on the bao dough, I place some skinless, boneless chicken thighs in buttermilk and let it marinate.
Once the bao has been rolled and whilst it is resting, I take the chicken out of the buttermilk and gently shake off most of the liquid. I keep just enough liquid on the chicken to allow the panko to stick. Once the chicken has been coated in panko crumbs I mix up some dried garlic, smoked paprika and dried onion and season the chicken pieces with this and a touch of salt.

Whilst the bao is steaming, I spritz the chicken with some oil and airfry until cooked through.
Serve hot with the bao, hoisin sauce, celery and cucumber.

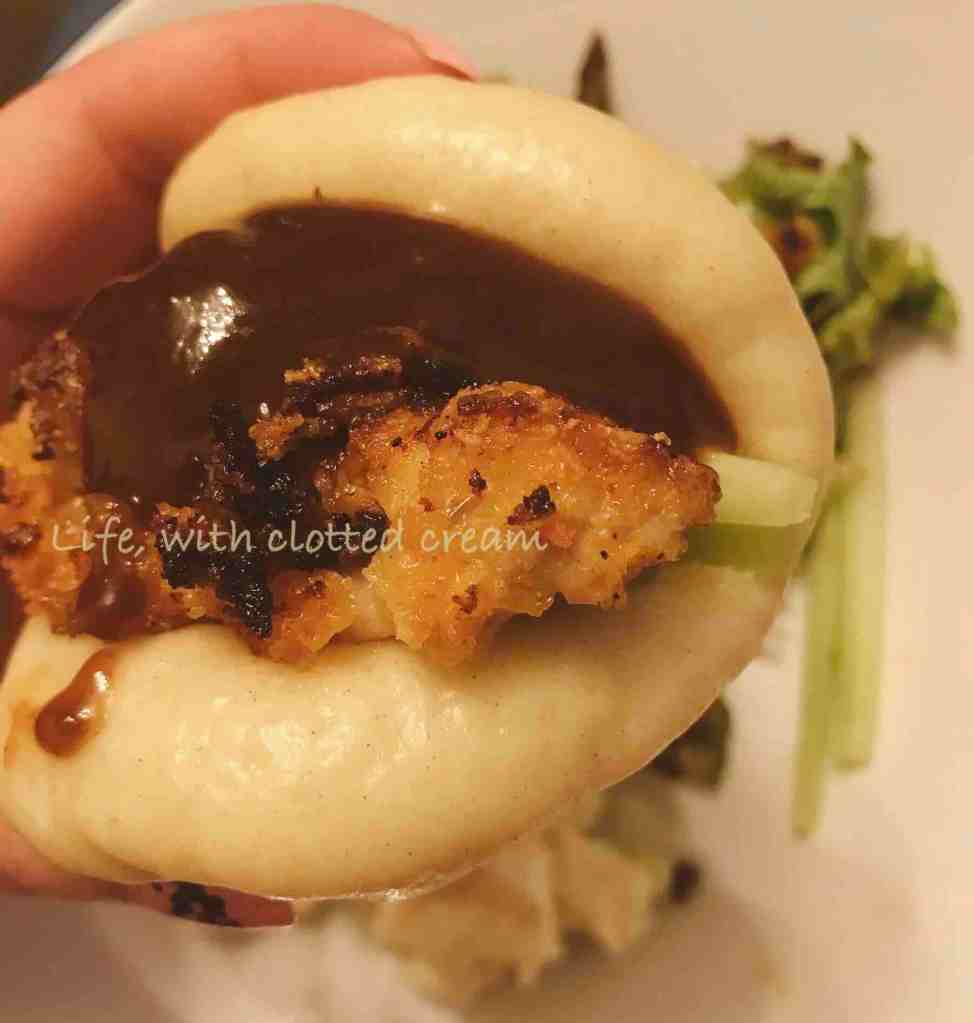
Steamed bao with crispy buttermilk chicken
Ingredients
- Bao
- 300 grams strong white bread flour
- 4 grams instant yeast
- ½ teaspoon baking powder
- ½ teaspoon bicarbonate of soda
- big pinch salt
- 12 grams sugar
- 70 grams hot tap water
- 50 grams vegetable oil
- 340 grams of chicken thigh fillets, without skin or bone
- 1 cup panko crumbs
- 300ml buttermilk
- 1 teaspoon dried garlic
- 1 teaspoon smoked paprika
- 1 teaspoon dried onion
- pinch of salt and pepper to taste
- celery, sliced into match sticks
- cucumber, sliced into match sticks
- hoisin sauce
Crispy chicken
To assemble
Directions
- Bao
- Mix the dry ingredients and make a well in the middle.
- Pour the liquid into the flour well and mix until a rough dough forms. Cover and rest for 15 minutes.
- After 15 minutes, knead the dough until supple and elastic. Place in the Instant Pot on the yogurt function and leave to prove for 40 or so minutes.
- Weigh the dough and divide equally into six pieces. Roll each piece into an oval, spritz with a little oil and fold over like a book. Rest covered for 30 minutes.
- Steam in a steamer for about 10 minutes until fully cooked through.
- Marinate the chicken in the buttermilk for a few hours.
- Drain the buttermilk and roll the chicken thighs in panko breadcrumbs.
- Mix the herbs and spices together and season the chicken with the spice mix. Salt and pepper to taste.
- Spritz with some oil and place in airfryer in a single layer. Fry until cooked through and no longer pink.
Crispy buttermilk chicken
Assembly Serve the bao with the chicken along with celery and cucumber match sticks and hoisin sauce.
Have you made bao before? Let me know what your favourite toppings are in the comments below.
Please follow me on these platforms:
- Facebook: Life, with Clotted Cream
- Pinterest: Life, with Clotted Cream
- Twitter: Annelize – Life, with Clotted Cream
- Instagram: Life, with Clotted Cream
![]()


Looks delicious! I’m reminded of the buns sold at ramen joint Ippudo with your recipe.
LikeLike
Thank you! I just had a look at their menu and it looks fantastic! Definitely somewhere to go when I’m next in London.
LikeLiked by 1 person