Life, with Clotted Cream
An ordinary life with a dusting of luxury.
Homemade Gyoza with two fillings (Pork and Veg)

Homemade Gyoza (or Japanese potsticker dumplings) made with homemade wrappers filled with a minced pork filling and a vegetarian filling.
Whenever we go for a day out in London (I miss those days!) we absolutely love finding little hidden gems that sells gyoza. They’re brilliant as a pre-vening or midmorning snack whilst browsing the market stalls in Spitalfields or feasting your senses down the cobblestones of Covent Garden. Joel Robuchon really summed it up for me with this quote:
The simpler the food, the harder it is to prepare it well. You want to truly taste what it is you’re eating. So that goes back to the trend of fine ingredients. It is very Japanese: Preparing good ingredients very simply, without distractions from the flavour of the ingredient itself.
Joel Robuchon
What is Gyoza?
Gyoza (pronounced as guy-oh-zah) is one of those little morsels of food that is so simple in concept, yet it almost seems impossible to get it absolutely spot on. When you bite through the chewy top of the dumpling you are hit by the crunch of the bottom, the earthiness of the pork and the sweetness of the vegetables. You really can taste each ingredient as it shines through with each savoured chew. Gyozas are just small enough to leave you longing for more, but yet big enough to fill a void that will enable you to wait for the next big meal.
Having never made Gyoza before (but consumed tens of dozens!) I couldn’t find many recipes that would use homemade wrappers. Most of the recipes said to just buy readymade wrappers, but since we were under a full lockdown, this was impossible to find. After a bit of research, I realised that the wrappers were just made from a plain dough – almost like a pasta dough using water instead of egg.
Who would’ve thought that this is such a labour-intensive dish! Don’t even think about making these little beauties from scratch if you are short on time or if you are tired after a long day at work. This is more like a I’m-spending-the-whole-Saturday-in-the-kitchen kind of dish. On the other hand, the reward when I handed my hubby a plateful to try was his response after the first bite: ‘Keep ’em coming!’ Clearly a sign of success then!
How to make the dough for Gyoza wrappers:
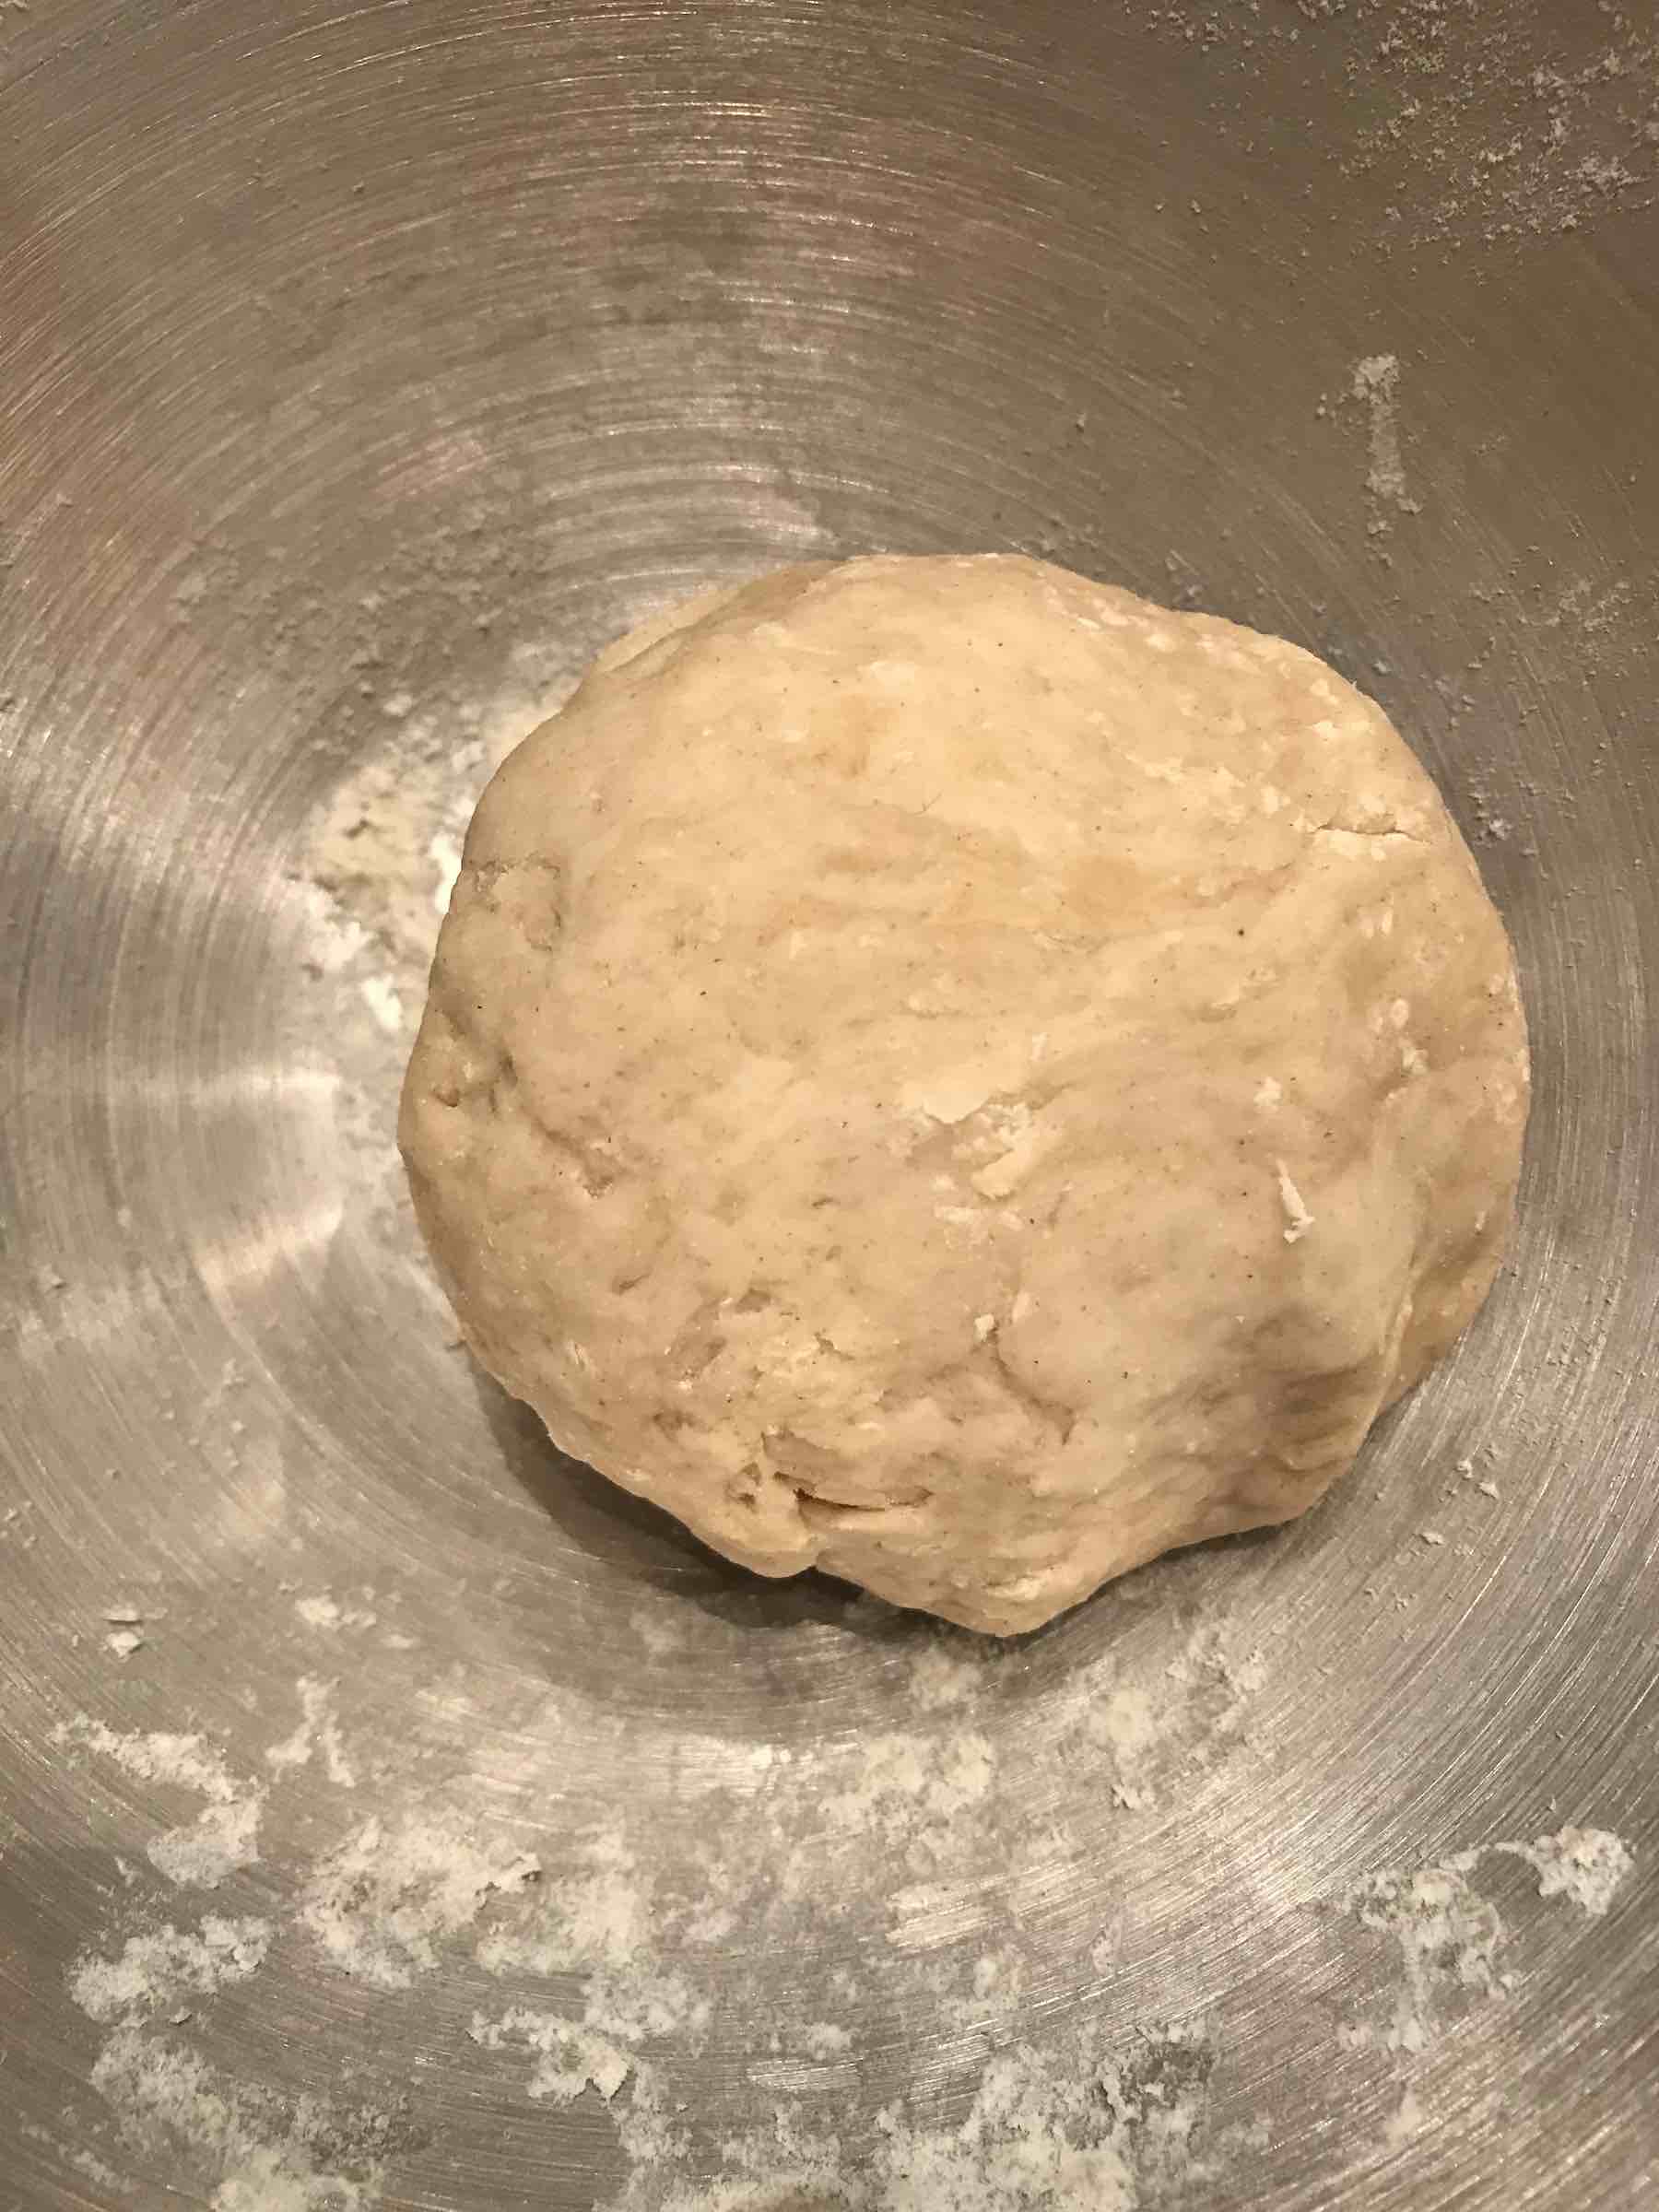
To make the dough was surprisingly easy. The hardest part was finding flour during lockdown! I ended up using equal parts plain flour and strong white flour simply because I didn’t had enough of either. It ended up being the perfect consistency and rolled like a dream! For a bit of Japanese flavour I also used my favourite toasted sesame oil instead of a neutral oil to flavour the dough.
Once I added the hot water and oil, it seemed at first as if the water wasn’t enough. The dough was crumbly and it barely came together to make a cohesive ball. Nevertheless, it will clump together and it is best wrapped in clingfilm before leaving the dough to rest. This was the first time ever I truly understood the reason behind resting the dough. It was eye-opening to see how the consistency of the dough changed as the flour particles started to hydrate.
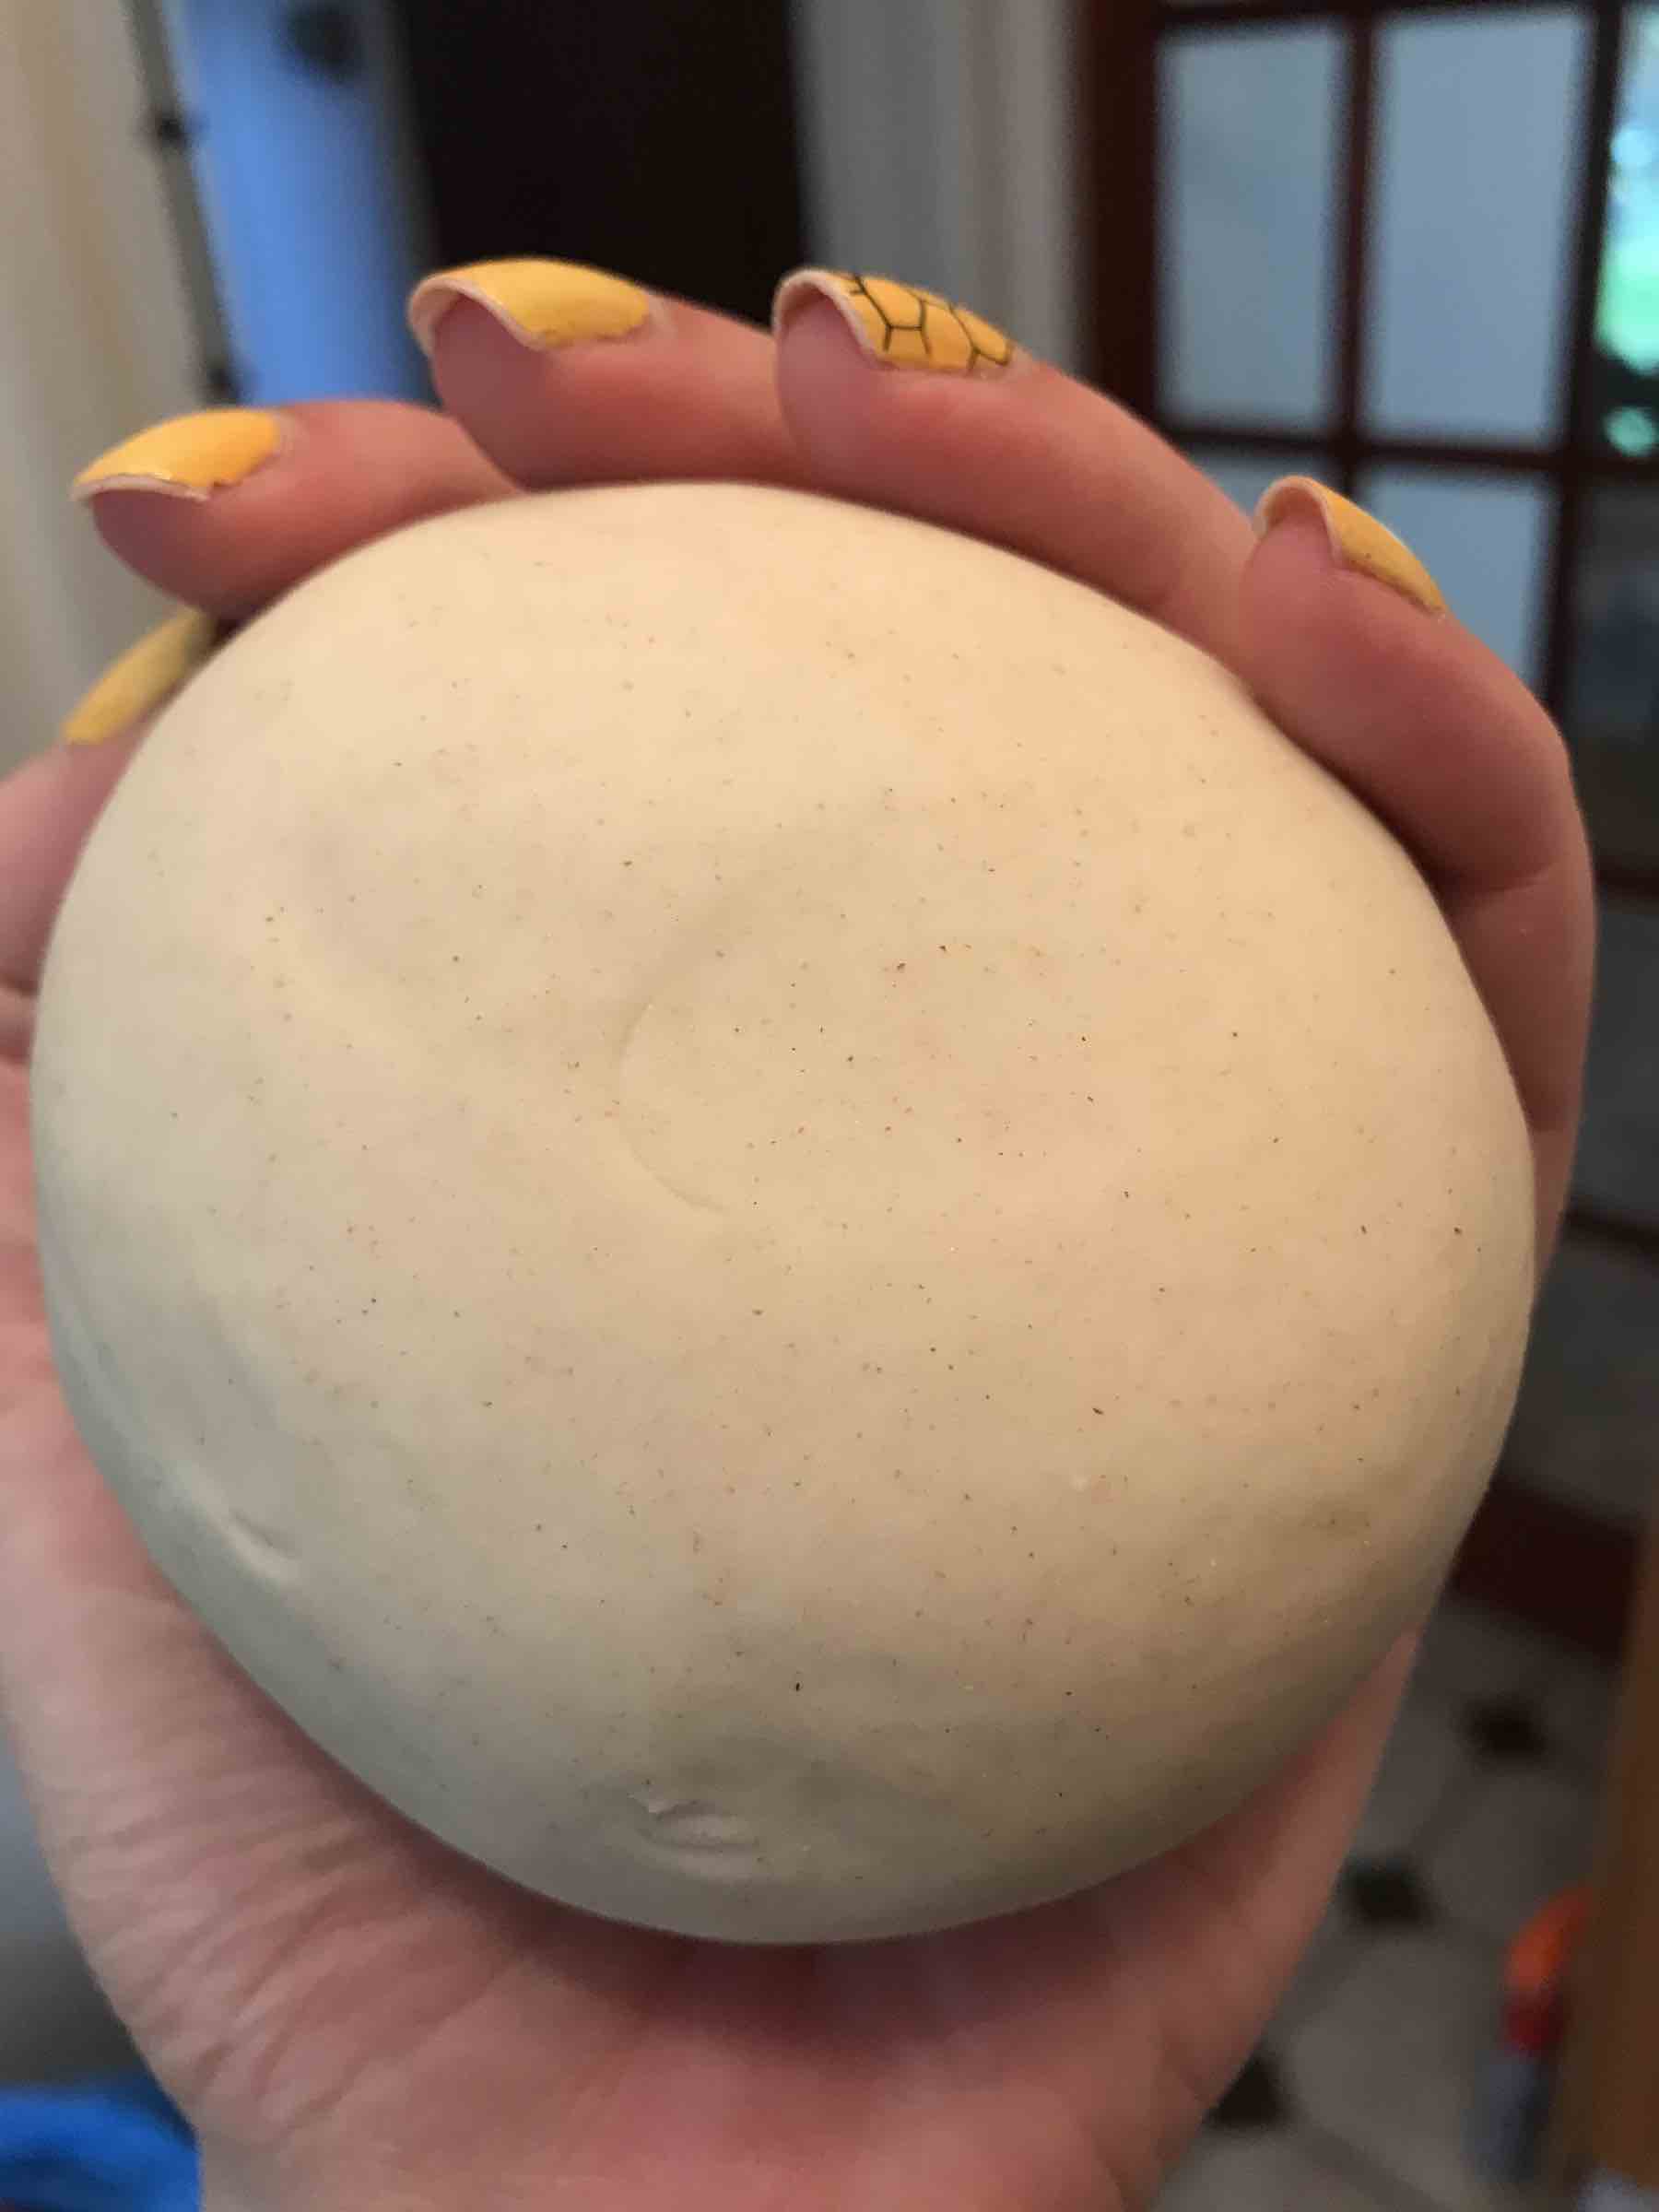
After the first rest, knead the dough for at least 10 minutes before leaving it to rest once more. After the second rest repeat the kneading (this time only a few minutes) and leave it to rest one more time. This will result in a beautifully smooth dough that will be springy to touch and a joy to roll out.
Once the dough is super smooth roll it into a big ball. At this stage I found it easier to make a hole in the middle and work it into a big circle until the dough sausage is about 1.5cm in diameter. Cut the dough in half and then proceed to cut each halve into 15 equal pieces so you end up having 30 equally sized little balls of dough. Cover these so they won’t dry out whilst you are rolling the wrappers. I only rolled half of the wrappers before I filled the first half as they became a bit brittle and a tad difficult to fold. Once the first batch were filled, I rolled the second batch before filling with a different filling.
Vegetable filling
Wow, cabbage has a lot of water! I used my food processor to grate the vegetables as this allowed it all to be evenly sized and also to squeezed the juices out more easily.
Once grated, I found that the easiest way to squeeze out the veggie juice was to spoon the mixture into a muslin cloth and just twist it really tight. By squeezing out the juices, it allows you to add in some liquid flavouring (soy and vinegar) without making the mixture too saucy. This, in turn, ensures that the bottom of the gyoza stays crisp.
Once the veggies have been squeezed, I divided it into ⅓ and ⅔ . I kept the ⅔ ‘s as part of the veggie filling and added the one third to the pork mixture.
Pork filling
I didn’t really know at first how much pork to use so I just used the smallest pack our supermarket carried (250g) and realised afterwards that this was just a tad too much. It was great in the sense that I had a bit left-over that I could use as a filling for some left-over bread dough.
Using a food processor to process the meat was a great idea as it held up great inside the dough wrapper. I did not process the carrots with the meat as it kept its integrity. I made both of the fillings straight after I made the dough to allow it to marinate and the flavours to develop whilst the dough was resting.
The Crimp
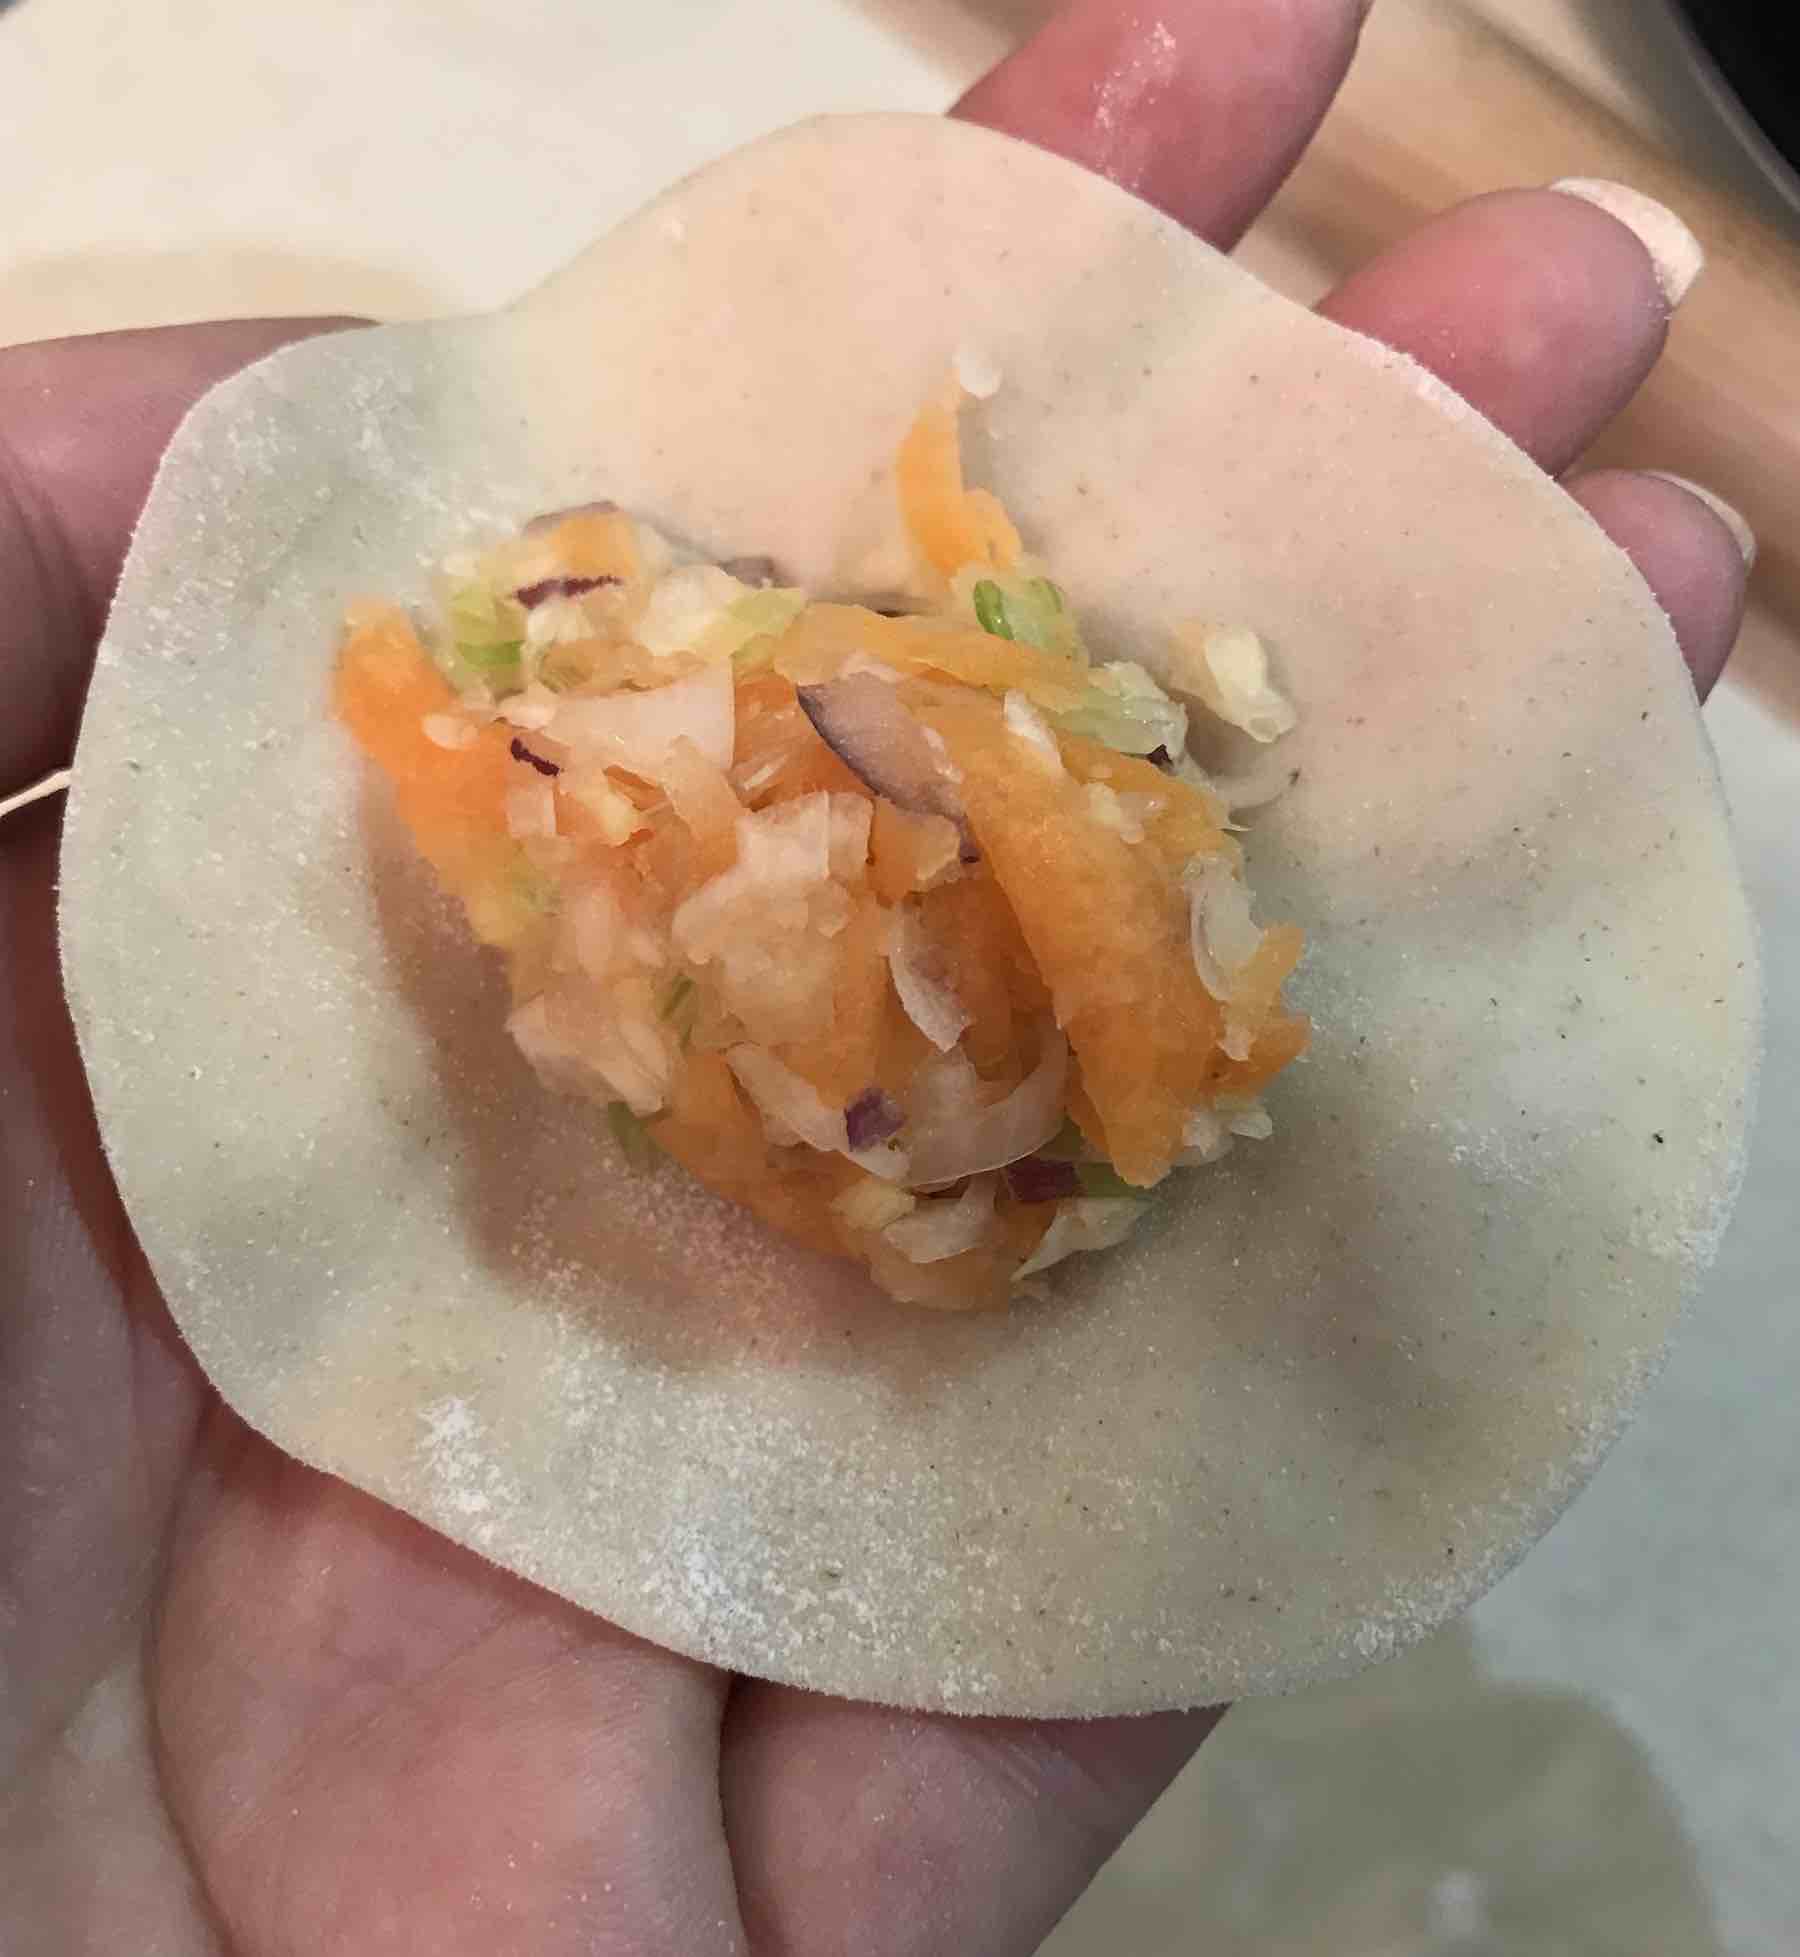
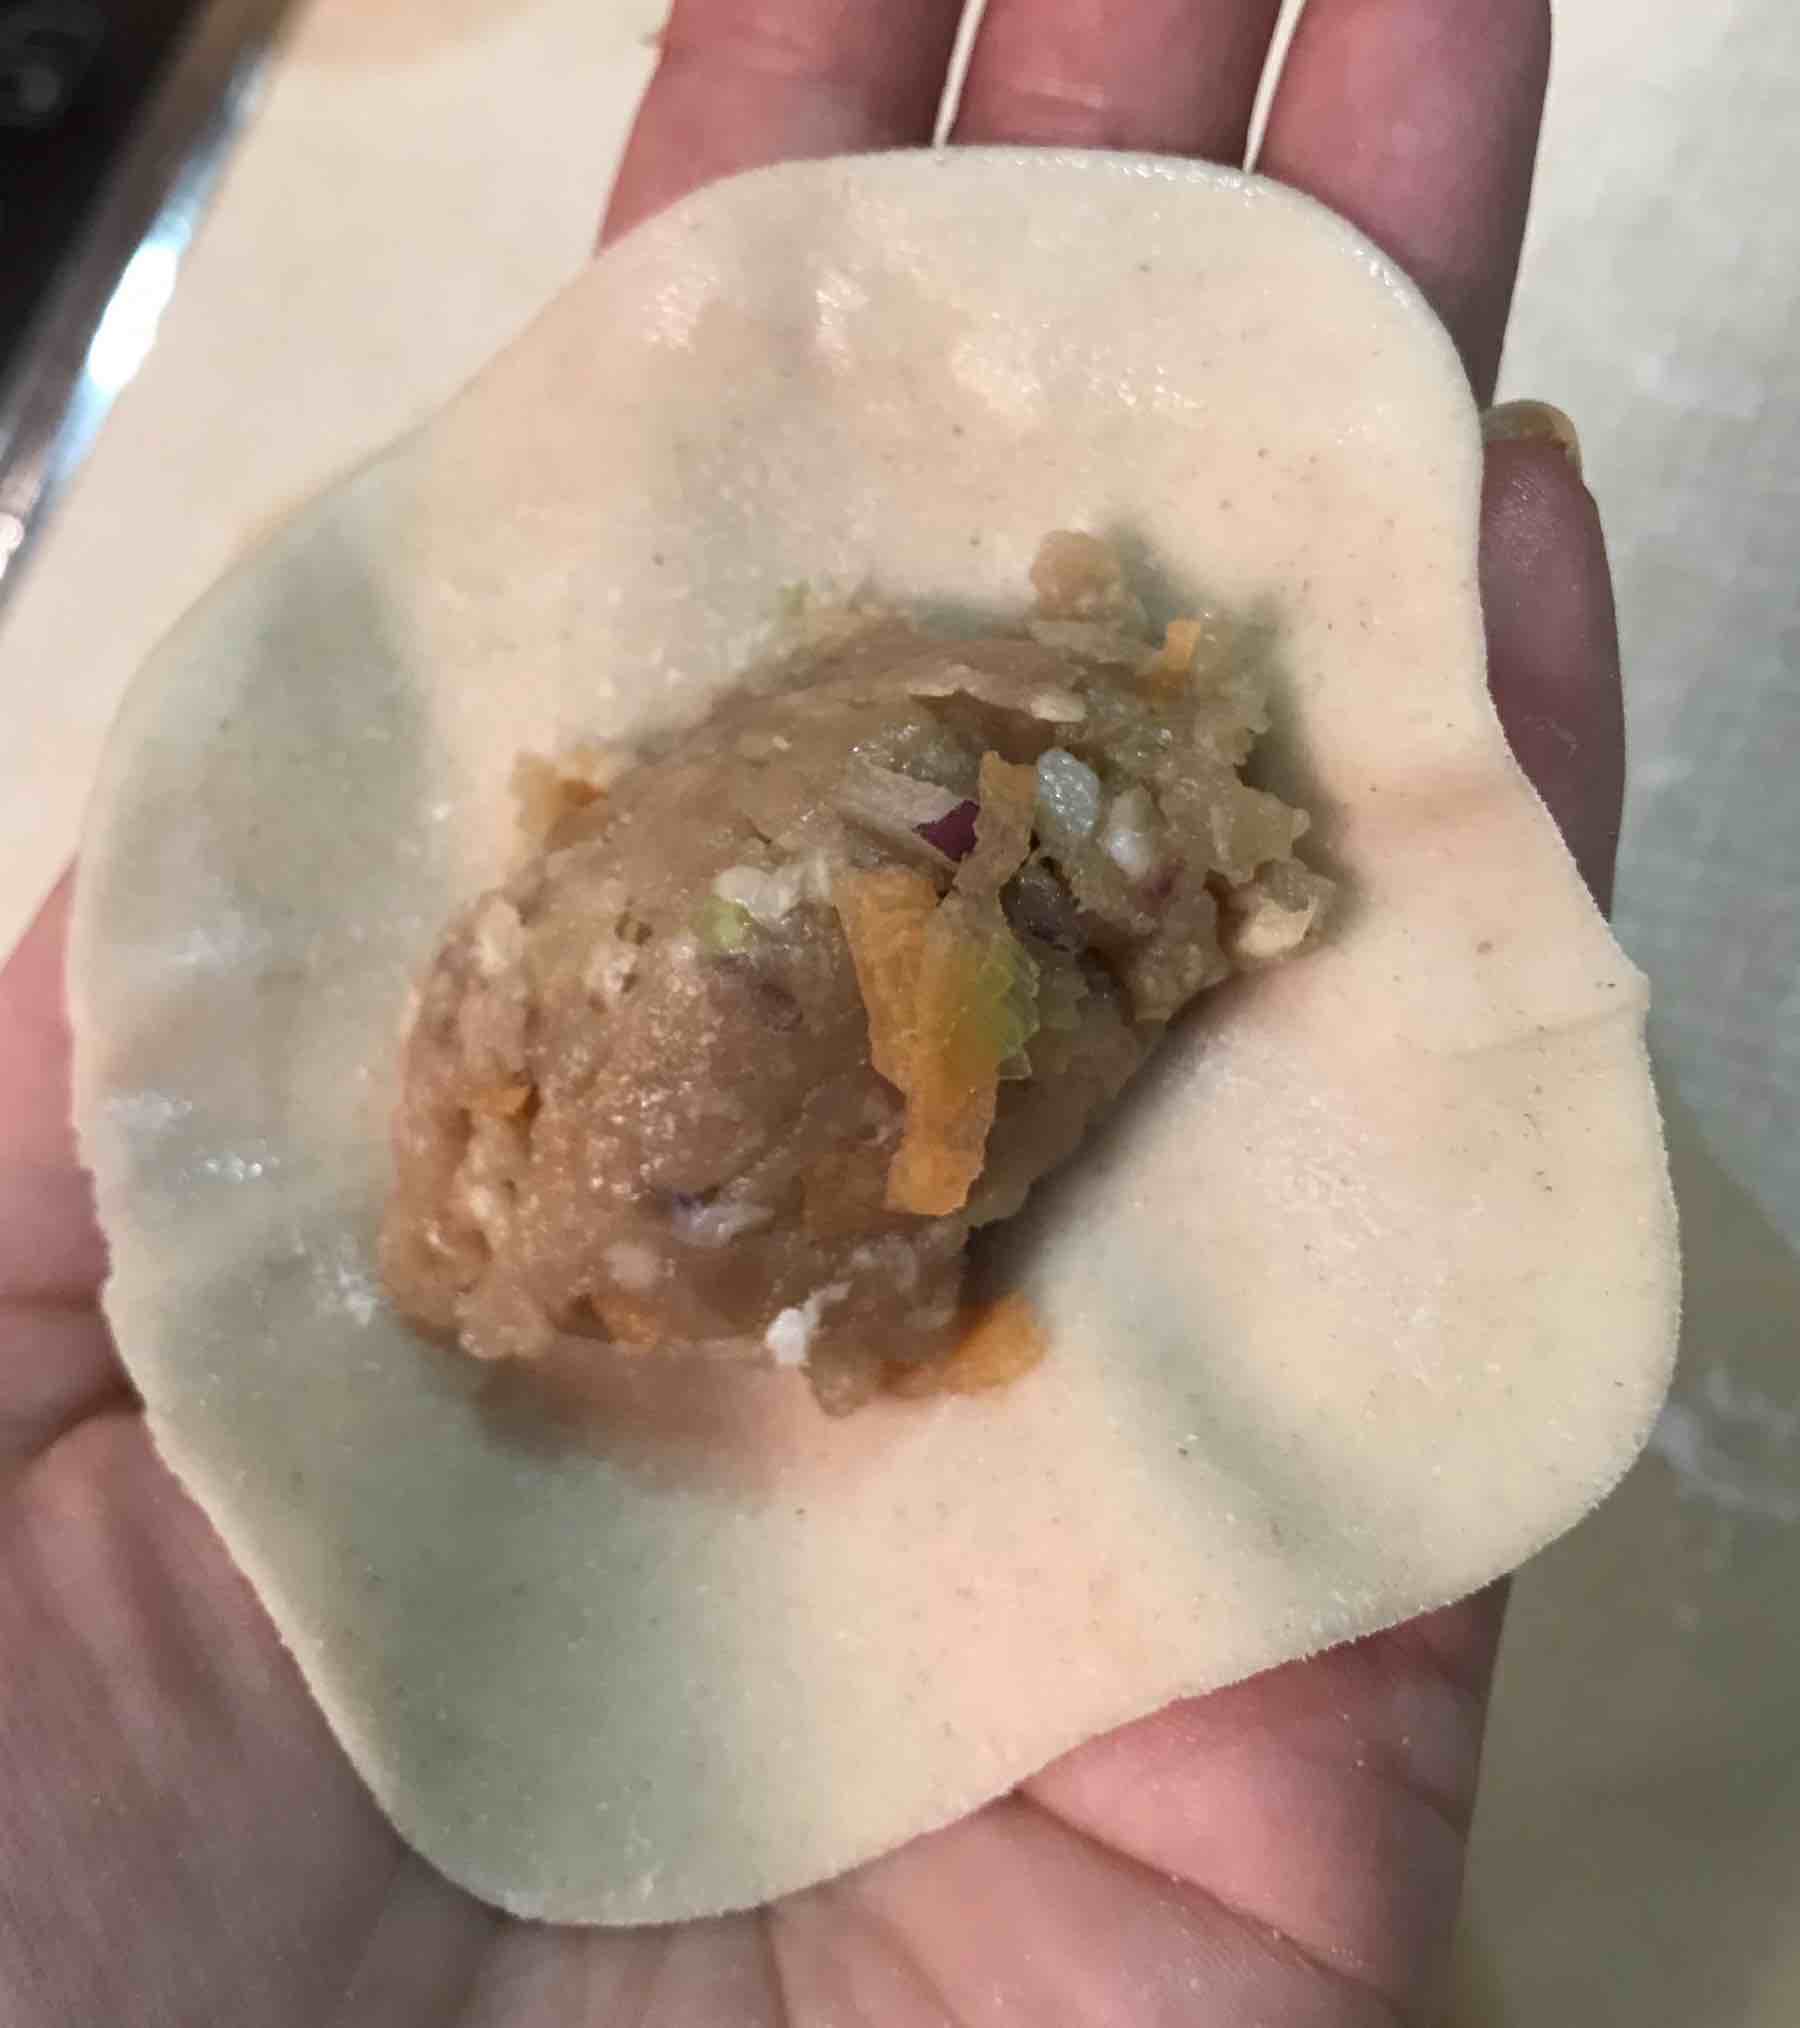
Once everything is ready for assembly lay a wrapper over your (non-dominant) fingers and spoon no more than a heaped teaspoon of filling into the middle of the wrapper. If the edge of the wrapper has dried too much then dab your pinky in a drop of water and run it along the edge of one half of the wrapper. Now fold it over and use your thumb and index finger to make pleats from the centre outwards, sealing the edges tightly as you go along. Use your middle finger as a guide.

How to cook your Gyoza
Once the gyozas are all shaped and you are ready to cook them ensure you have everything ready to go: ¼ cup of water per batch, a tight fitting lid and a spatula.
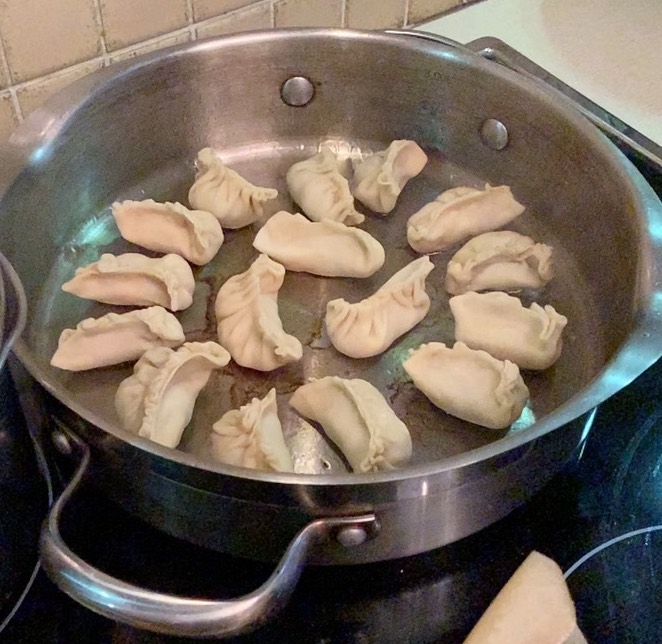
This is the exciting part of making your homemade gyoza. Use a wide, but flat-ish, saucepan and over a medium-high heat gently heat a teaspoon or so of sesame oil (it should only just cover the bottom of your pan). Place the gyoza in a single layer ensuring there is some space between them to allow you to stick your spatula underneath. They shouldn’t touch at all.
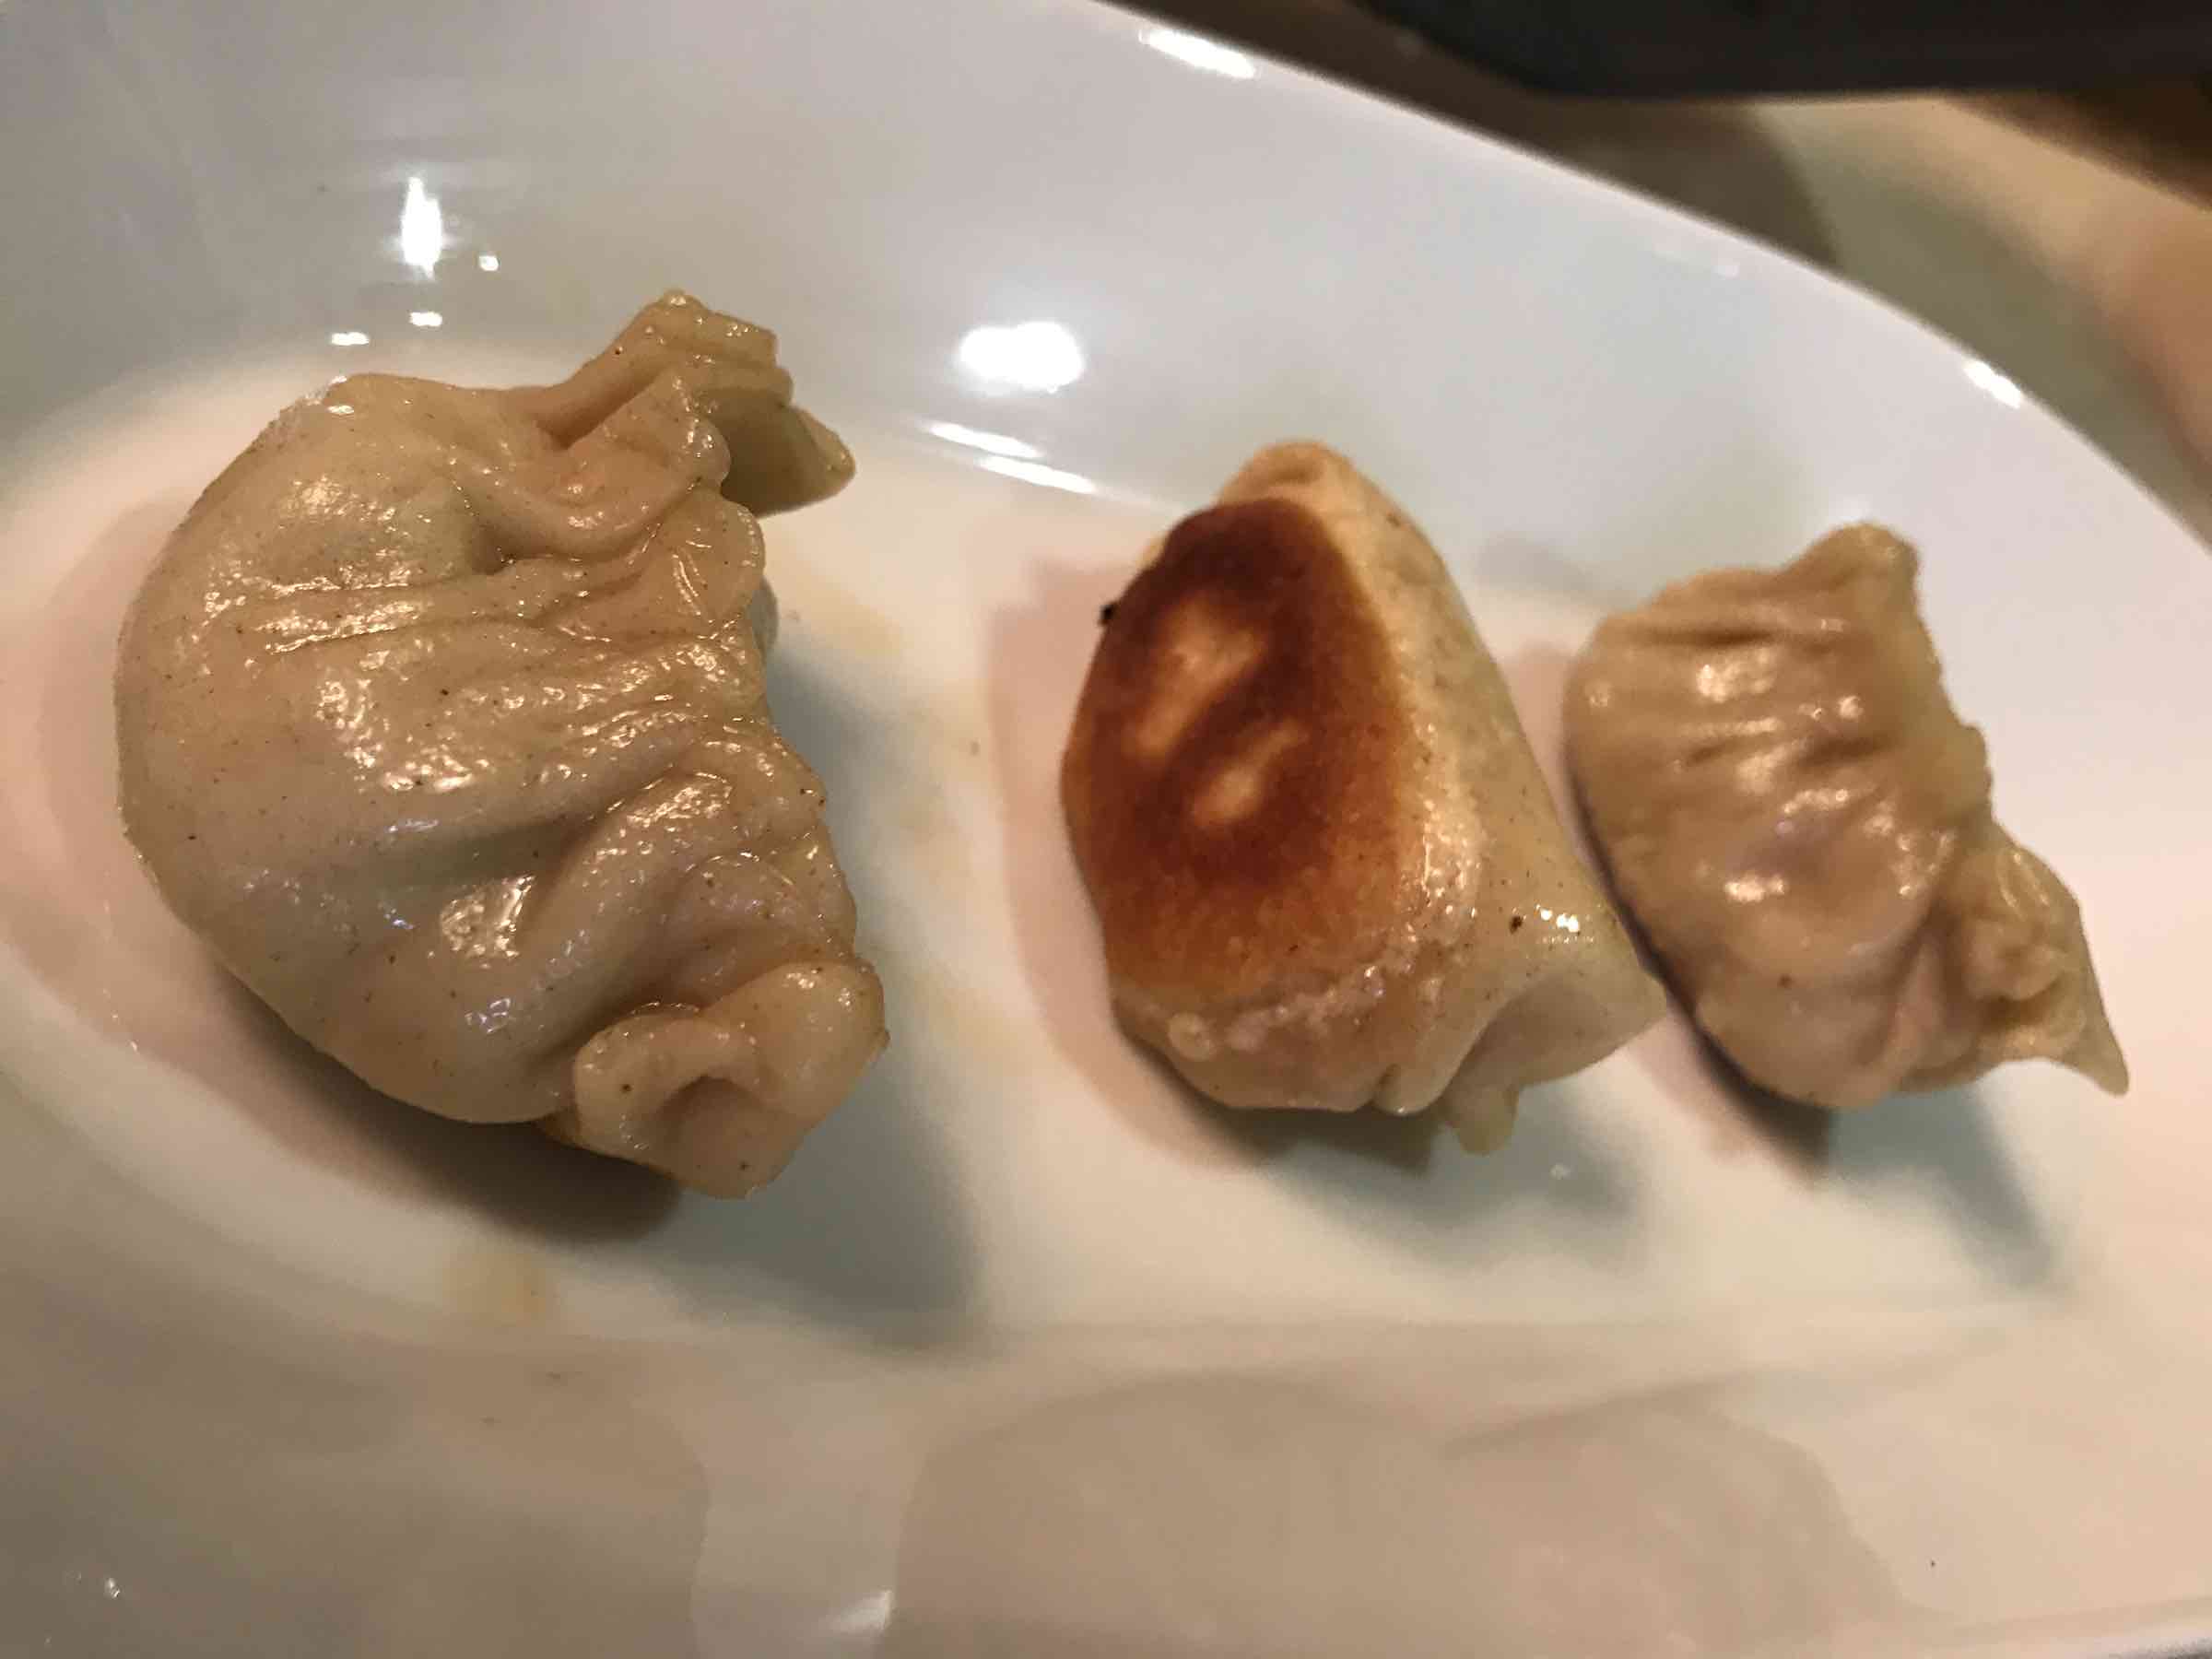
Once you placed the gyoza in the hot oil it should sizzle. Leave this until they are golden brown on the bottom. Have the lid ready in one hand and the ¼ cup of water ready in the other. Pour the water in the side of the pan and immediately place the lid on to trap the steam. Steam the gyoza until most of the water has evaporated – for me this took around 5 minutes. Once the water has mostly gone, take the lid off and let the gyoza cook dry for another minute before pulling the pan off the heat. With the spatula, gently lift the gyoza out of the pan and onto your serving dish. Serve immediately whilst it is still hot.

Can Gyoza be frozen?
Yes definitely! Freeze them on a baking tray lined with parchment paper. Once they are frozen, pop them in a freezer bag. When you are ready to eat your gyoza, cook from frozen with the method as described above. You’ll find that they take a tad longer to turn golden brown on the bottom and steam them for a minute or so longer to allow the gyoza to cook all the way through.
How to eat Gyoza:
These beautiful little dumplings are best served hot with a simple dipping sauce. Some of my favourite combinations include:
- Plain soy sauce
- Soy sauce mixed with lime juice and chilli oil
- Sweet chilli sauce with lime juice and soy sauce
- Soy sauce with sesame seed oil and chilli oil
- Tamarind paste, soy sauce and lime juice
What type of fillings can you put into a gyoza wrapper?
The possibilities are literally endless. You can literally fill your gyoza with anything you fancy. I really like the base flavours of soy, garlic and ginger. The myriad of fillings that you can combine with these base flavours are countless.
Some of my favourite fillings include:
- Chicken, cabbage and carrot
- Beef, carrots and onion
- Wild mushrooms with onions
- Beansprouts, cabbage and carrots
Why not give your gyoza some fusion flavours with the following fillings? I will leave out the base flavours for these and adjust the dipping sauce to complement the filling.
- French: Beef cooked in red wine, garlic and rosemary with a red wine and caramelised onion dipping sauce.
- Greek: Lamb cooked with garlic served with a minty dipping sauce.
- American: Turkey and sage stuffing with a cranberry dipping sauce.
- South African: Boerewors squeezed out of its casing and Mrs Ball’s chutney as dipping sauce.
- Indian: Chickpea and potato curry filling with raita as dipping sauce.
- British: Cheddar cheese and onion filling with a Branston pickle dipping sauce.
Although a labour-intensive dish, Homemade Gyoza is simple to make from scratch and a brilliant starter for any occasion or simply a flavourful snack to tick you over until your next big meal.
Homemade Gyoza
Ingredients
- Gyoza Wrappers
- 200g plain flour (or 100g each of plain and bread flours)
- 100ml hot water
- 1 tablespoon oil (I like roasted sesame oil)
- salt to taste
- extra flour for kneading and rolling
- 1 large carrot, grated
- 1 cup white cabbage, grated
- 1 red onion, grated
- 3 spring onion, finely sliced
- 1 clove garlic, minced
- 1 inch ginger, minced
- 1 tablespoon soy sauce
- 1 teaspoon sesame oil
- 1 teaspoon rice wine vinegar
- salt to taste
- ⅓ vegetable filling
- 200g minced pork
- 3 button mushrooms, finely chopped
- salt to taste
- 30 ml sesame seed oil
- 1 cup tap water
Vegetable Filling
Pork Filling
Assembly
Directions
- Gyoza Wrappers
- In a glass bowl, place your flour and salt. Make a well in the middle and pour the liquid in. Mix with a spoon or fork until the liquid and the flour has combined.
- Clump the crumbly dough together to form a ball and wrap in clingfilm. Put to one side for 30 minutes.
- After 30 minutes, knead the dough for at least 10 minutes (by hand) on a lightly floured surface until it becomes smooth and elastic. Cover with the clingfilm again and leave for another 30 minutes.
- Knead the dough again on a lightly floured surface for about 5 minutes (by hand) until it is silky and very pliable. Roll into a ball.
- Make a hole through the middle using your fingers, then keep thinning the dough in the round until you have a 1.5cm diameter sausage.
- Cut the sausage into two equal parts. Cut each halve into thirds and each third into fifths. This way you’ll end up with 30 pieces of dough. Keep the dough covered in clingfilm to avoid it drying out.
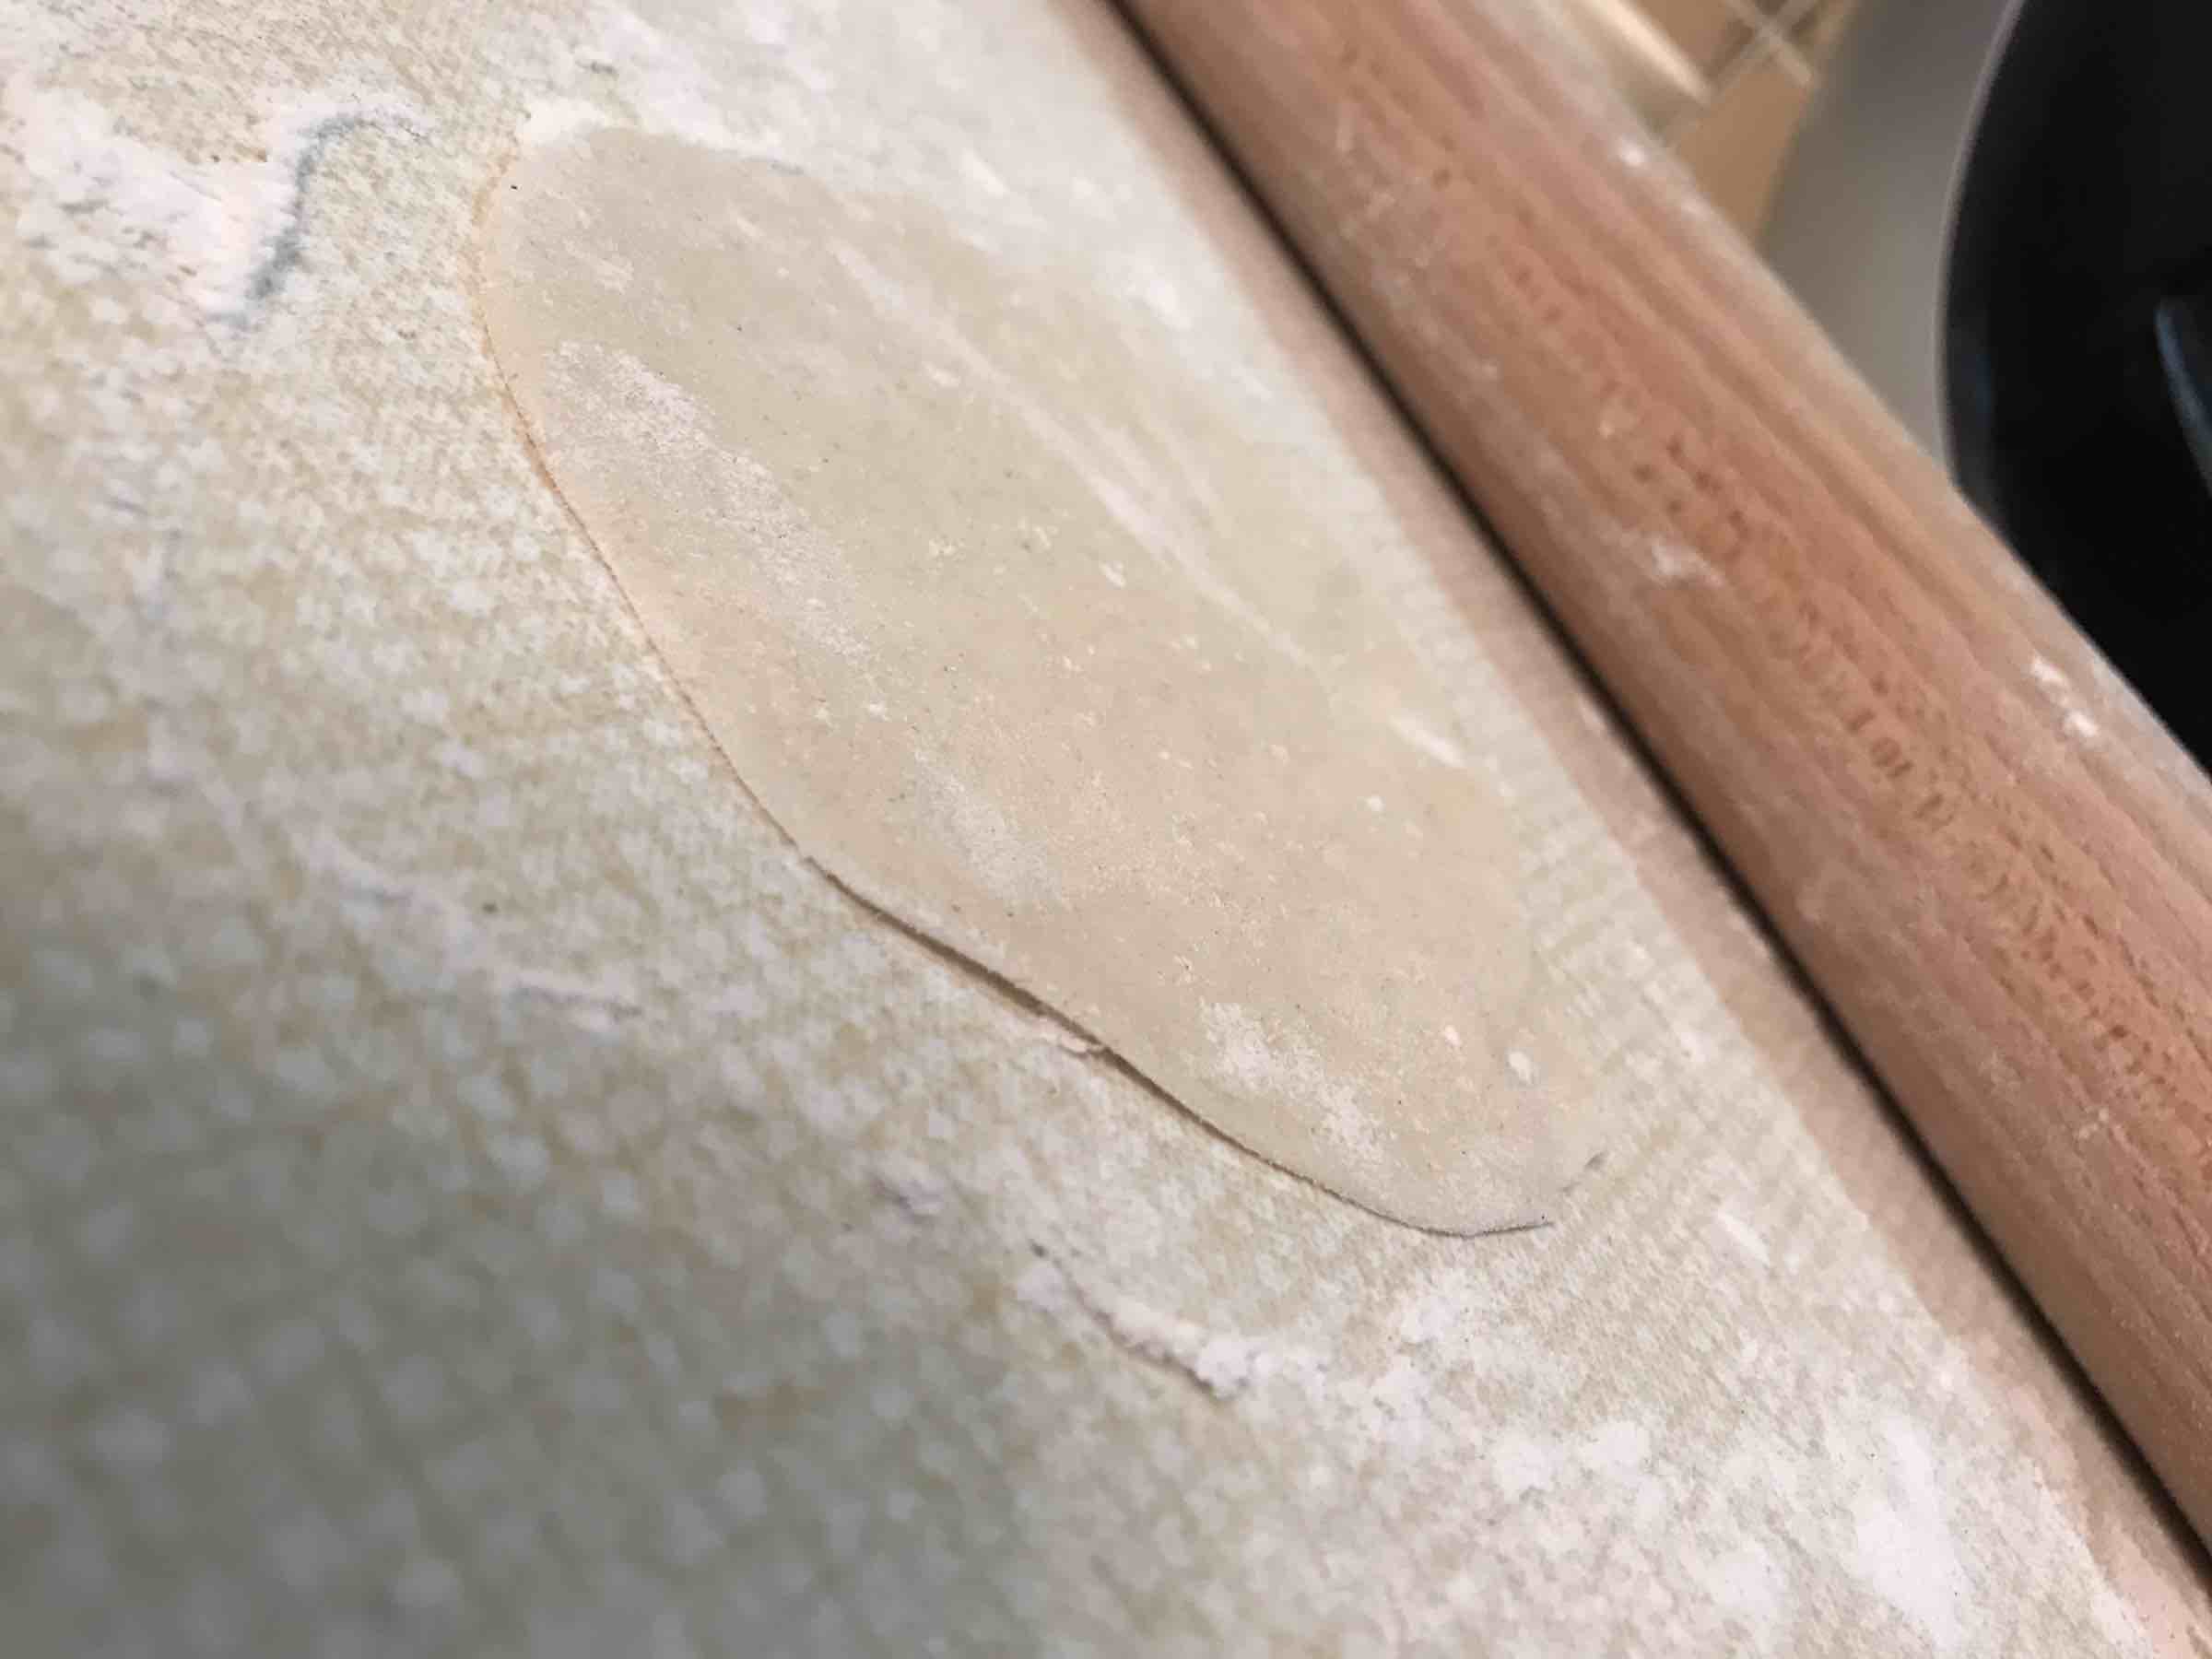
- Roll each piece into a ball, flatten slightly with the palm of your hand before dusting it with flour.
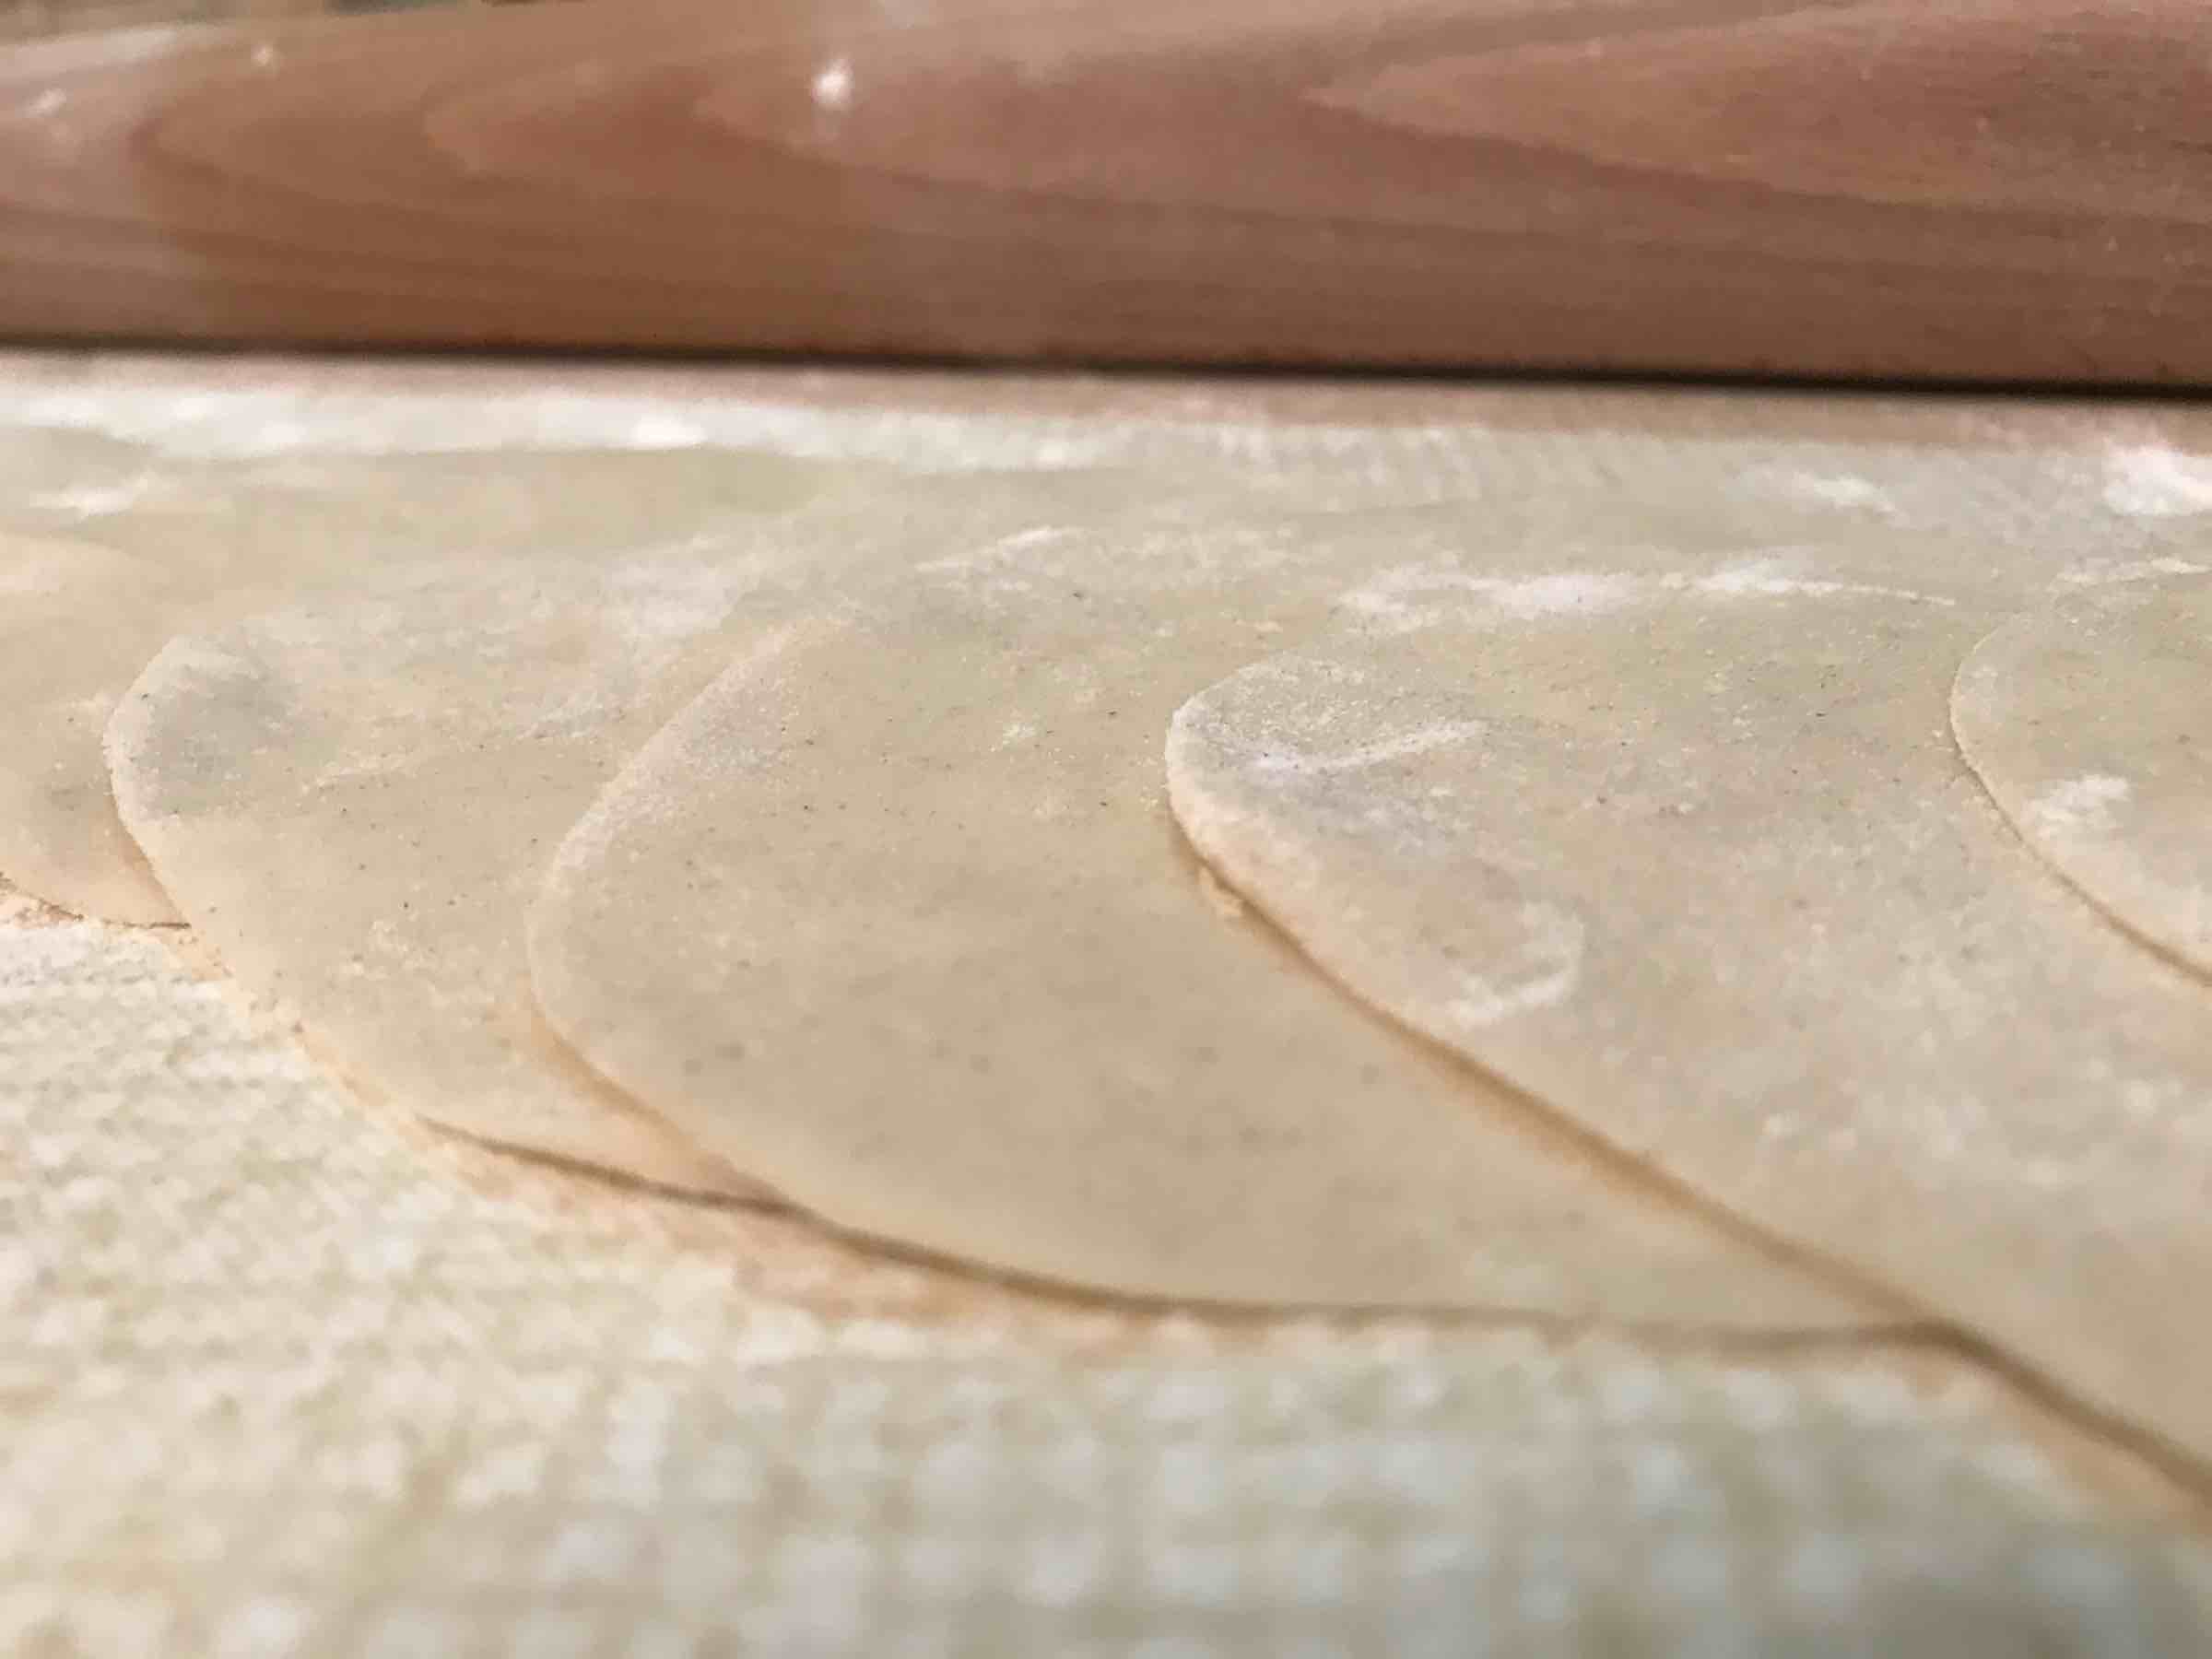
- With a rolling pin, roll the the ball into a flat circle. Keep turning the dough to maintain the shape. Roll until the doughy disc is about 2-3mm thick.
- Keep the discs separated with parchment paper and covered with clingfilm until you are ready to fill them.
- Grate the carrots, cabbage and onion using a food processor.
- Scoop the grated vegetables into a muslin cloth and squeeze out the juice. Place in a bowl.
- Add the spring onion, garlic, ginger soy sauce, sesame oil and vinegar and give it a stir. Season to taste.
- Scoop one third of the filling into a different bowl for the pork.
- Mix the vegetables with the pork and the mushrooms. Adjust the seasoning to taste. You can add more garlic/ginger/soy if needed.
- Scoop a teaspoon of filling into the middle of a wrapper.
- Wet the edge of half the wrapper if needed and seal by folding the dough over and crimping it using your thumb and index finger. Use your middle finger as a guide
- Depending on the size of your saucepan (I can fit 15 gyoza into my pan) heat half the oil on medium-high heat and place your gyoza into the hot oil.
- Once the bottom is golden brown, pour in about ¼ cup water and place the lid on to allow the gyoza to steam.
- When most of the water has evaporated, take the lid off and allow to cook completely dry.
- Serve immediately with a dipping sauce of your choice.
Vegetable Filling
Pork Filling
Assembly
You can also follow me on the following platforms:
- Facebook: Life, with Clotted Cream
- Pinterest: Life, with Clotted Cream
- Twitter: Annelize – Life, with Clotted Cream
- Instagram: Life, with Clotted Cream
If you did like this Gyoza recipe, why not check out some of my other posts?


![]()


Tous mes remerciements pour cet article!!
LikeLiked by 1 person
These look and sound just delicious 🙂
LikeLiked by 1 person
Thank you, Carol 🙂
LikeLiked by 1 person